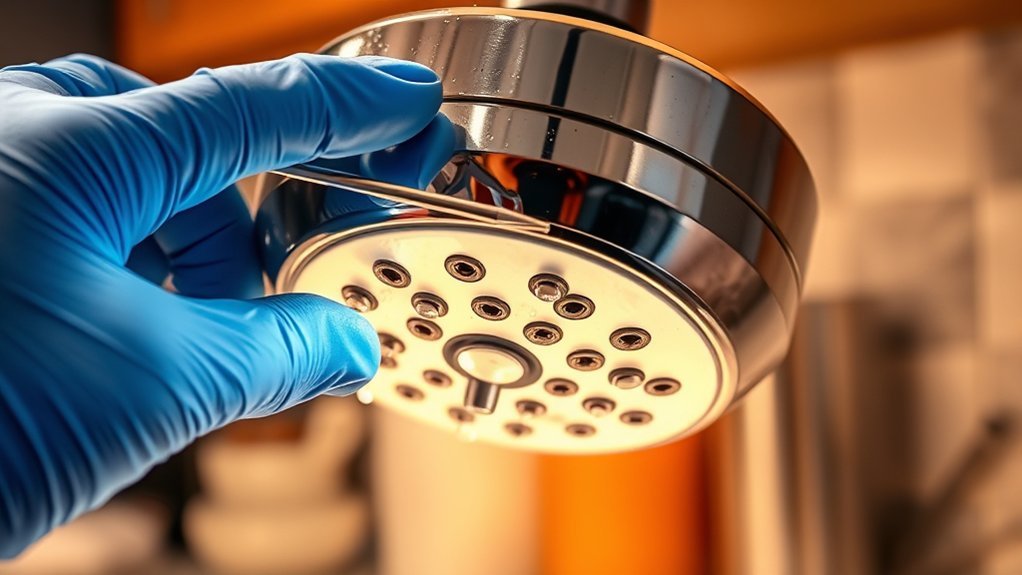
A clogged or dirty coffee maker showerhead can slow the brew cycle and distribute water unevenly over the grounds. Cleaning it is usually simple, but the correct method depends on your machine. Some showerheads unscrew by hand, some are attached to a hinged brew area, and others are not user-removable. Check your model’s care manual before using a cleaner, soaking a part, or taking anything apart.
Quick Answer
Check your coffee maker’s manual first. Switch off and unplug the brewer, then let it cool for the required time. If the showerhead is user-removable, wash it with warm water and mild dish soap, clear approved holes with a toothpick or supplied tool, rinse, reinstall, and complete the manufacturer’s water-rinse or test procedure.
Key Takeaways
- Confirm whether the showerhead is removable before turning, pulling, or unclipping it.
- Switch off and unplug the coffee maker, then allow retained water and internal parts to cool for the full time required by the manual.
- Warm water, mild dish soap, and a soft nylon brush are good default supplies for washable, user-accessible parts unless the manufacturer specifies another method.
- Use vinegar, a citric-acid descaler, or another commercial cleaner only when your model’s instructions approve that product and procedure.
- Do not use an adjustable wrench, metal needle, drill bit, or pliers unless the manufacturer specifically directs you to use that tool.
- After reassembly, complete the prescribed rinse or test procedure and check for normal flow, leaks, and unusual noises.
At a Glance
| Time Required | About 15–30 minutes of hands-on cleaning, plus the full cooling time and rinse sequence required by your model |
| Difficulty | Easy for a user-removable or accessible showerhead |
| Tools Needed | Soft cloth, mild dish soap, soft nylon brush, bowl, and a toothpick or manufacturer cleaning tool only when approved |
| Cost | Usually no added cost if you already have basic cleaning supplies; approved descaler or replacement parts cost extra |
Why Cleaning Your Coffee Maker Showerhead Matters
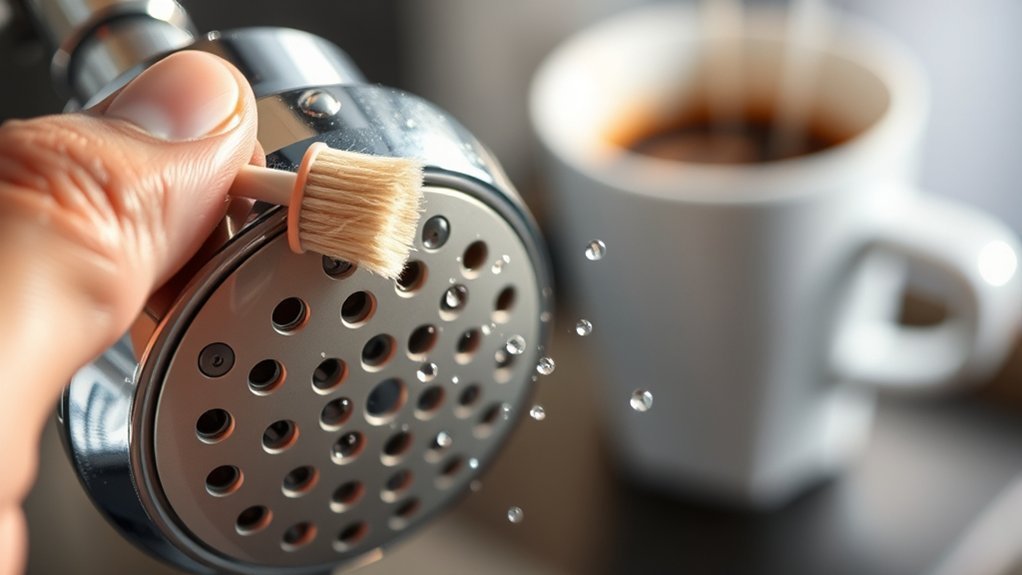
The showerhead controls where hot water lands on the coffee bed. Coffee residue, fine grounds carried by splashing, and minerals from water can collect around its openings. Even when light appears to pass through a hole, a thin deposit may still change the flow or spray pattern.
Restricted or uneven flow can leave parts of the coffee bed less evenly saturated, which can contribute to inconsistent extraction and flavor. BUNN’s Sprayhead Basics guide explains that the sprayhead regulates flow into the brew funnel and that hole placement and spray coverage influence how water contacts the coffee bed.
A showerhead can look open while a thin layer of residue still changes how water reaches the grounds.
Cleaning the exposed showerhead also removes residue that may collect around the brew area. However, cleaning the showerhead does not replace routine cleaning of the reservoir, brew basket, carafe, water tubing, or internal heating system.
Sprayhead hole size, hole count, screens, seals, and flow restrictors can also be part of the brewer’s calibrated water-delivery system. For that reason, do not enlarge holes or substitute a different sprayhead simply because it physically fits.

Power your essentials anywhere with a 999Wh pure sine wave power station delivering up to 1000W continuous with 2000W surge. It supports fast charging via USB-C PD 60W and USB-A QC 18W, plus simultaneous output for multiple devices through AC, USB, wireless, and car/DC ports. Recharge using AC, car, or solar with a built-in MPPT controller and dual cooling fans, while the upgraded battery management system protects against surges, short circuits, and overheating.

Descales your coffee maker, fighting hard water deposits and mineral buildup for a better tasting brew

Bulk Coffeemaker Decalcifier Tablet: 24 Tablets Work out to a Year Supply or more. Compare to other products like powder, pods, sachet, packets. Choose ACTIVE Cleaning Tablets for better Values
Identify Your Showerhead Design Before Cleaning
Do not assume the showerhead should unscrew. Find the model number on the bottom, back, or rating label of the coffee maker, then locate the matching use-and-care manual on the manufacturer’s website.
- Confirm the exact model number: Similar-looking brewers can use different cleaning procedures.
- Find the manufacturer’s owner guide: Check whether the showerhead is removable, hinged, fixed, or non-serviceable.
- Check the stated removal method: Turn, pull, unlatch, or leave attached only as instructed.
- Check dishwasher status: A removable part is not automatically dishwasher-safe.
- Check approved cleaners and tools: Follow the specified product, dilution, soaking time, and rinse procedure.
Removable Threaded Showerheads
Some BUNN brewers have a round sprayhead that the owner can unscrew with their fingertips. On compatible Speed Brew models, the sprayhead is cleaned separately and the tube is delimed with the supplied tool. Follow the cooling time and procedure in the exact manual because instructions can differ even within one product family.
Hinged or Fixed Showerheads
Some machines have a showerhead or water-distribution area attached to a hinged hood, lid, or brew assembly. Ninja, for example, publishes model-specific DualBrew owner guides rather than one universal removal procedure. If your manual treats the showerhead as an attached part, clean only the surfaces it identifies as user-accessible instead of twisting the part off because another brand uses a removable design.
Enclosed or Non-Serviceable Designs
If the showerhead is enclosed, has no visible release point, or does not move with light hand pressure, leave it attached. Clean only the surfaces the manual identifies as user-accessible. Never remove screws or open the brewer housing unless the manufacturer’s service documentation specifically authorizes owner access.
Warning: Switch off and unplug the coffee maker before cleaning. Allow it to cool for the full time listed in the manual. Water in an internal tank or reservoir may remain hot after the machine is turned off. Do not tip the brewer or immerse its body, cord, or plug in water unless the manufacturer gives a specific draining procedure for your model.
Supplies for Cleaning a Coffee Maker Showerhead
Essential Cleaning Supplies
- Warm water: Loosens fresh residue and rinses away soap.
- Mild dish soap: Removes coffee residue and oils from washable showerhead surfaces.
- Soft cloth or nonabrasive sponge: Cleans broad surfaces without scratching them.
- Soft-bristle toothbrush or small nylon brush: Reaches around spray openings and threads.
- Cotton swabs: Help clean grooves and corners on accessible parts.
- Wooden toothpick or manufacturer cleaning tool: Use only when the manual approves clearing the spray openings this way.
- Small bowl: Holds a removable part during washing or an approved short soak.
- Clean towel: Protects the counter and gives small parts a safe place to drain.
Choosing a Cleaning Solution
Use warm water and mild dish soap for washable showerhead surfaces unless the manual directs you to use another product. This is the cleaning method BUNN specifies for the removable sprayhead on several Speed Brew models.
Vinegar is not universally recommended. Hamilton Beach approves plain white vinegar for specified internal cleaning procedures on some of its machines. In contrast, Moccamaster advises against vinegar because it may not remove scale effectively and can be difficult to rinse completely. Follow the cleaner, amount, dilution, hold time, and rinse sequence listed for your exact model.
Note: Do not improvise with baking-soda paste, bleach, ammonia, pure or undiluted citric acid, or another household cleaner inside the brewer unless the manufacturer approves it. Some formulated commercial descalers use citric acid safely at controlled concentrations, so follow the product and dilution named for your machine. Never mix cleaning agents.
Tools to Avoid
- Adjustable wrenches or pliers unless the manual specifically requires them
- Metal needles, safety pins, drill bits, wire brushes, or knives
- Abrasive pads or scouring powders
- High-pressure air that could force debris farther into a tube
- A zip-top bag of liquid strapped around electrical or non-waterproof housing
A metal tool can enlarge a spray opening, damage a screen, scratch a coating, or deform a flow restrictor. If a restrictor, gasket, screen, or sprayhead appears damaged, replace it with the correct manufacturer part rather than reshaping it.
Step-by-Step Guide to Cleaning the Showerhead
1. Prepare the Coffee Maker
- Finish the current brew cycle and discard the grounds.
- Switch the coffee maker off and unplug it.
- Allow it to cool for the full period specified in the manual. Do not substitute a generic cooling time. For example, BUNN’s Speed Brew instructions require at least two hours of cooling before sprayhead-tube cleaning.
- Remove the carafe, brew basket, filter holder, and other washable parts the manual permits you to remove.
- Place a towel below the showerhead area to catch drips and small parts.
Pro Tip: Before removing a multi-part sprayhead, take a quick photo of its position, gasket, screen, and any flow restrictor. The image can help you reinstall each part in the correct order.
2. Clean a Removable Showerhead
- Confirm in the manual that the showerhead is user-removable.
- Turn, pull, or unlatch it only in the direction and manner the manufacturer specifies. If the manual says to turn it with your fingertips, stop if it binds, flexes, or requires substantial force.
- Inspect the threads, holes, screen, gasket, and restrictor for residue, cracks, warping, or missing parts.
- Wash the part in warm water with mild dish soap when that method is approved.
- Use a soft nylon brush to clean the face, edges, and threads.
- If the manual permits it, clear blocked holes gently with a wooden toothpick or the supplied cleaning tool. Remove the deposit without enlarging the opening.
- Rinse the part thoroughly with clean water.
3. Clean a Fixed or Hinged Showerhead
- Open the hood, lid, or brew-basket area as directed in the manual.
- Wipe the accessible showerhead with a soft cloth dampened with warm, soapy water if the manufacturer allows this method.
- Use a soft toothbrush or cotton swab around accessible openings and edges.
- Wipe again with a separate cloth dampened with clean water to remove soap.
- Keep excess liquid away from vents, displays, switches, electrical seams, and openings that the manual says must remain dry.
4. Reinstall and Test
- Check that the gasket, screen, or flow restrictor is seated exactly as shown in the manual.
- Thread or attach a removable showerhead by hand when the manufacturer specifies hand installation. Stop and restart if a threaded part feels cross-threaded.
- Tighten only as firmly as the manufacturer specifies. Hand-tight is common on user-removable plastic sprayheads, but your manual takes priority.
- Reinstall the brew basket and position the empty carafe or cup as required.
- Complete the manufacturer’s prescribed rinse or flush procedure. On many reservoir-style brewers this includes a water-only cycle; internal-tank brewers may use a different sequence.
- Observe the water flow from a safe distance. Water should exit the intended openings without leaking around the connection.
- Discard all rinse water before brewing coffee.
5. Confirm the Cleaning Worked
- The intended spray openings are visibly clear.
- The showerhead sits straight and secure, with its gasket or screen in the correct position.
- No water leaks around the showerhead connection.
- No soap, vinegar, or descaler odor remains after the required rinses.
- Water distribution looks more even and the brewer operates without a new unusual noise.
- If the brew cycle is still unusually slow, move to the model-specific deliming or descaling procedure instead of forcing the showerhead openings.
How Long Should You Soak a Coffee Maker Showerhead?
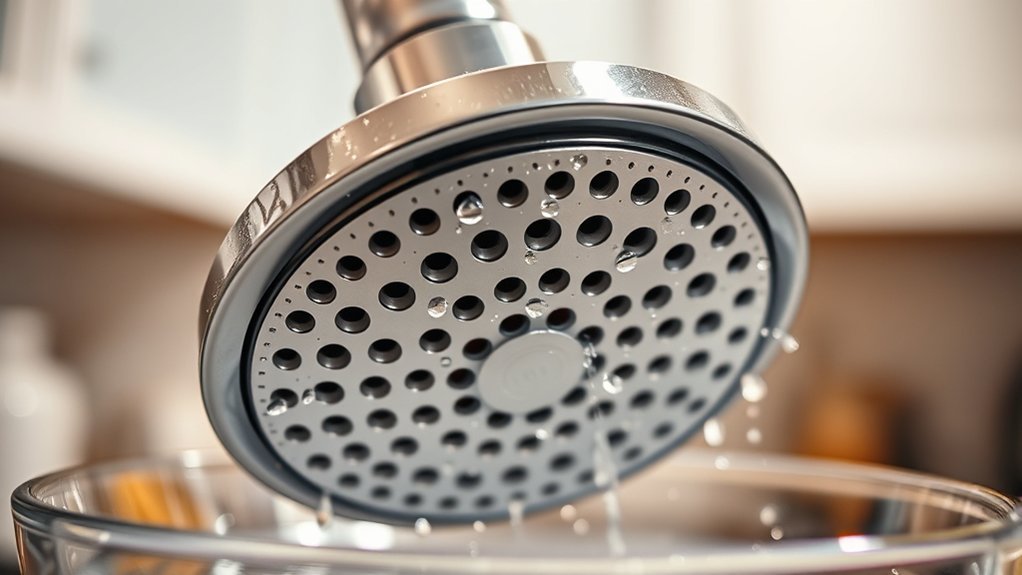
There is no universal two-hour or overnight soaking time. The correct duration depends on the showerhead material, the type of deposit, and the cleaner approved by the manufacturer. Some showerheads require only washing and rinsing, with no acid soak at all.
| Condition | Safer First Step | What to Avoid |
|---|---|---|
| Light coffee residue or surface film | Wash with warm water, mild dish soap, and a soft brush when approved | Unnecessary acid soaking |
| Visible mineral film | Use the model-approved cleaner for the stated concentration and time | Guessing a vinegar ratio or acid concentration |
| Several blocked openings | Repeat the approved wash and use the supplied cleaning tool or toothpick if permitted | Needles, drill bits, wire, or forced scraping |
| Severe or recurring clog | Delime or descale the machine according to its manual, or contact service | An improvised overnight soak |
On some BUNN Speed Brew models, a two-hour vinegar hold is part of a whole-machine mineral-cleaning procedure. It is not a general instruction to soak every detached showerhead in vinegar or a 1:1 solution. Other manufacturers specify different cleaners, concentrations, and wait times.
Tips for Scrubbing, Rinsing, and Inspection
- Use soft bristles: A nylon toothbrush can loosen residue without scratching plastic or stainless-steel surfaces.
- Work from both sides when accessible: Brush the outer face and inner surface of a removable showerhead when the design allows access.
- Protect the hole size: Use only a wooden toothpick or manufacturer tool when approved. Do not widen an opening.
- Clean the threads gently: Residue on threads can prevent the part from seating correctly.
- Rinse completely: Soap, vinegar, or descaler left behind can affect the next brew and may require additional water rinses.
- Inspect the seal: Replace a flattened, torn, swollen, cracked, or missing gasket with the correct model-specific part.
- Check the spray pattern: The manufacturer’s water-rinse or test sequence should reveal whether flow is normal and whether the connection leaks.
Note: If a cotton swab leaves fibers behind, remove them before reassembly. Loose fibers can obstruct a small opening.
Showerhead Cleaning vs. Deliming and Descaling
Cleaning the visible showerhead may not solve a slow brew caused by mineral scale deeper inside the machine. Use the correct process for the location and type of buildup.
| Task | What It Removes | Typical Method |
|---|---|---|
| Showerhead cleaning | Coffee residue, loose grounds, and deposits on the exposed part | Warm water, mild dish soap, soft brush, and an approved hole-cleaning tool |
| Spray-tube deliming | Mineral deposits in the tube feeding the showerhead | A manufacturer-supplied deliming tool on compatible machines |
| Internal descaling | Mineral scale in the heating system and internal water path | The exact descaler or vinegar procedure approved for the model |
For example, the BUNN Speed Brew manual separates washing the sprayhead from deliming its tube and deep-cleaning the internal tank. Hamilton Beach publishes vinegar procedures for specified products, while Moccamaster advises owners to use approved cleaning and descaling products instead of vinegar.
Coffee Maker Maintenance for Better Flow and Flavor
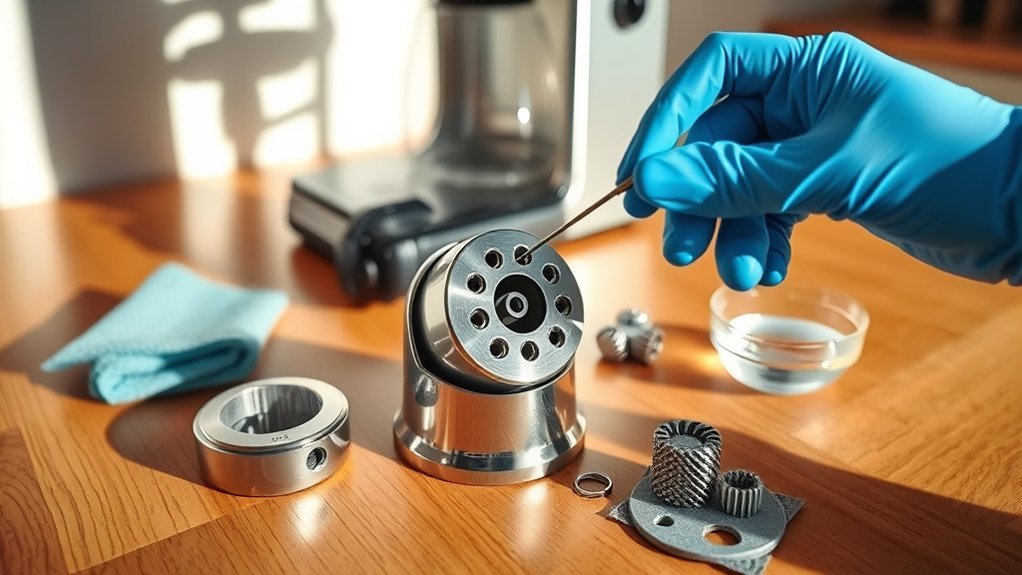
A practical maintenance schedule should reflect your manufacturer’s instructions, brewing frequency, and water hardness. Use this table only as a starting point; the schedule in your model manual takes priority.
| Task | Practical Starting Point |
|---|---|
| Discard grounds and rinse the brew basket and carafe | After each use, unless your manual specifies another care method |
| Wipe the accessible showerhead and surrounding brew area | When residue is visible or during routine brew-area cleaning |
| Inspect spray openings, seals, and removable parts | About monthly for a frequently used brewer, or when flow changes |
| Clean a removable showerhead and compatible spray tube | At the interval in the manual; about every three months is specified for some BUNN Speed Brew maintenance |
| Descale the internal water path | When the manual, clean indicator, water hardness, or slower brew time calls for it |
| Clean the warming plate after it cools | Whenever coffee spills or stains appear |
Hard water can increase mineral buildup and shorten the interval between descaling cycles. Use only water filters and water types compatible with your brewer, and remember that a filter does not automatically eliminate the need for descaling. Do not assume distilled or heavily softened water is appropriate unless the manufacturer permits it.
Troubleshooting Showerhead Clogs and Flow Problems
| Symptom | Possible Cause | What to Do |
|---|---|---|
| Weak or uneven spray | Blocked openings or surface deposits | Wash the showerhead and clear approved holes with the manufacturer-approved tool or a toothpick when permitted |
| Brew cycle remains slow after cleaning | Scale in the spray tube, heater, valve, or internal water path | Perform the model-specific deliming or descaling procedure |
| Water leaks around the showerhead | Cross-threading, loose connection, damaged seal, or missing part | Unplug, cool, remove if permitted, inspect, and reinstall correctly; replace a damaged gasket with the correct part |
| Brew basket overflows | Missing or incorrect sprayhead, wrong filter, overly fine grind, excessive coffee, or another flow problem | Confirm the sprayhead, filter, grind, coffee dose, and other brew parts match the model manual |
| One hole will not clear | Hardened scale or physical damage | Repeat the approved cleaning process or replace the sprayhead instead of enlarging the hole |
| Recurring clog soon after cleaning | Hard water, internal scale, damaged component, or an incorrect replacement part | Check the manufacturer’s water guidance, descale as directed, and contact the manufacturer if the problem continues |
Warning: Stop using the brewer if it leaks near electrical parts, trips an outlet, smells burned, has a damaged cord, or continues to malfunction after the approved cleaning procedure. Do not open a sealed housing; contact the manufacturer or a qualified repair provider.
Frequently Asked Questions
Can I use a cleaner other than vinegar?
Yes, but use only a cleaner approved for your exact model. Some manufacturers recommend a formulated commercial descaler, while others permit plain white vinegar. Do not assume baking soda, pure citric acid, bleach, or another household product is safe to run through the brewer.
How often should I clean the showerhead?
Inspect it regularly and clean it whenever you see residue, notice uneven flow, or experience slower brewing. Follow the manual’s schedule for deeper maintenance. Some BUNN Speed Brew instructions use about every three months as a rule of thumb for sprayhead-tube cleaning and call for more frequent maintenance with very hard water.
What if the showerhead is not removable?
Leave it attached. Open the brew area as directed by the manual, then clean only the accessible surfaces with the approved method. Keep excess liquid away from electrical seams, switches, vents, and displays.
What type of brush should I use?
Use a small nylon cleaning brush or a soft-bristle toothbrush. Avoid wire brushes, abrasive pads, and stiff metal tools that may scratch the surface or alter the spray openings.
Will cleaning the showerhead improve the taste of my coffee?
It can help when residue or blocked openings are disrupting water distribution. A clean spray pattern supports more consistent contact with the grounds, but beans, grind size, coffee dose, water quality, internal scale, and a dirty carafe can also affect flavor.
Can I clear the holes with a pin or needle?
A metal pin or needle is not recommended unless the manufacturer specifically calls for one. It can enlarge, scratch, or deform a small opening. Use a wooden toothpick or supplied sprayhead-cleaning tool only when your manual permits it.
Can I put the coffee maker showerhead in the dishwasher?
Only if the manufacturer identifies that exact part as dishwasher-safe. A removable showerhead is not automatically safe for a dishwasher, and heat or detergent can affect some plastics, seals, coatings, or screens. When dishwasher approval is unclear, follow the manual’s hand-washing method.
Can I soak the showerhead overnight?
Do not use an overnight soak unless the manufacturer specifically approves that cleaner, concentration, and duration for the removable part. Many showerheads need only washing and rinsing, while long acid exposure may be unnecessary or unsuitable for certain materials and seals.
Why is my coffee maker still brewing slowly after I clean the showerhead?
The restriction may be in the sprayhead tube, internal heater, valve, or another part of the water path rather than the exposed head. Follow the manual’s deliming or descaling procedure. If the brewer remains slow, contact the manufacturer instead of opening the housing.
When should I replace the showerhead?
Replace it if it is cracked, warped, badly corroded, missing a required screen or restrictor, leaking after correct installation, or still blocked after approved cleaning. Order the exact part listed for your model because spray pattern and flow rate can affect brewing performance.
Conclusion
Cleaning a coffee maker showerhead can restore more consistent water distribution and help correct clogs, but the safest method begins with the exact model manual. Unplug and fully cool the machine, remove only owner-serviceable parts, use mild soap and soft tools for washable surfaces, and reserve vinegar or descaler for procedures the manufacturer approves. After reassembly, complete the required rinse or test sequence and check for normal flow and leaks. If slow brewing continues, the problem may be deeper in the water path and require deliming, descaling, a replacement part, or manufacturer service.
Sources
- BUNN Speed Brew Owner’s Manual — sprayhead removal, cooling, cleaning, tube deliming, deep cleaning, and troubleshooting instructions.
- BUNN Sprayhead Basics — sprayhead flow rate, spray coverage, turbulence, water distribution, and extraction principles.
- Ninja DualBrew Pro Support — model-specific manufacturer support for DualBrew care and maintenance.
- Moccamaster Cleaning and Descaling Guidance — approved cleaning products, descaling frequency, and the manufacturer’s guidance against vinegar.
- Hamilton Beach Coffee Maker Cleaning Guide — manufacturer-approved vinegar procedures for specified machines and required clean-water rinses.