Programming a coffee maker’s auto-brew timer allows you to wake up to fresh coffee at an exact scheduled time without starting the machine manually. While button names differ across manufacturers, the fundamental setup is consistent: set the master clock, choose your target brewing time, prepare the basket and reservoir, and activate the Auto or Program mode.
Quick Answer
To program auto-brew, set your coffee maker’s clock to the current time, select your desired brew time using the Program or Delay Brew button, verify the AM/PM setting, and activate the timer until the indicator light illuminates. Fill the reservoir with cold water, add grounds, seat the carafe, and keep the machine plugged in overnight.
Key Takeaways
- Always set the current clock before entering a delayed brewing time.
- Check the AM or PM indicator carefully to prevent your machine from brewing 12 hours late.
- Complete the full physical setup—water, filter, grounds, lid, and carafe—before arming the timer.
- Confirm that the Auto, Program, or Delay Brew indicator light stays continuously illuminated.
- Grind-and-brew models require a dry coffee chute to prevent overnight steam clogs.
- Power outages and unplugging will erase the clock and cancel any saved auto-brew schedule on most models.
At a Glance
| Time Required | About 3–5 minutes |
| Difficulty | Easy |
| Tools Needed | Coffee maker, compatible filter, fresh grounds or beans, cold water, carafe, and model manual |
| Cost | No additional cost ($0) |
Key Features and Controls on a Programmable Coffee Maker
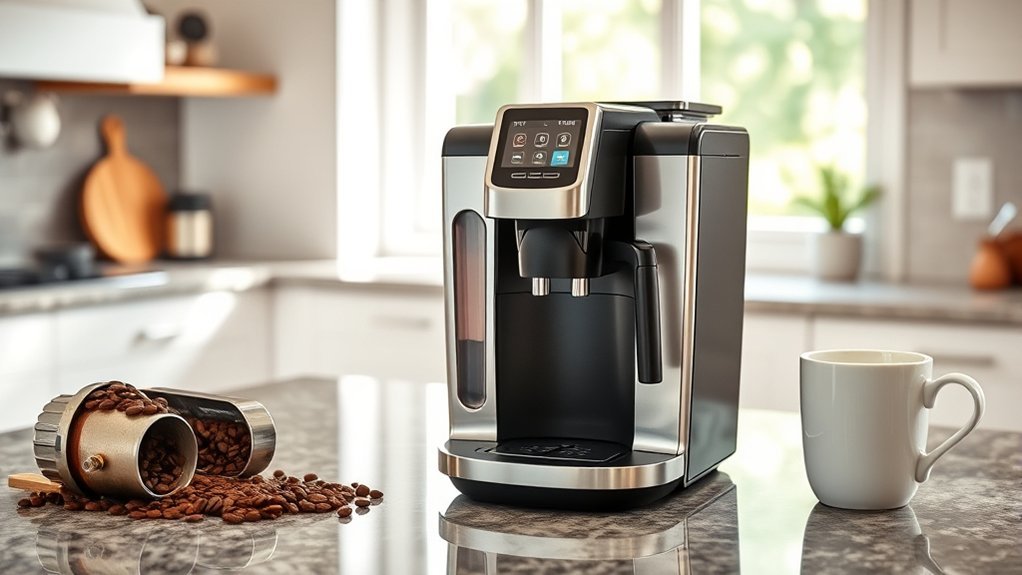
The auto-brew timer starts a pre-loaded brewing cycle at a scheduled time. Most drip models accommodate a 24-hour cycle window, but control panel labeling varies significantly between manufacturers.
Common button functions and control labels include:
- Clock, Time, HR, HOUR, MIN, or SET TIME: Adjusts the machine’s primary time of day.
- PROG or PROGRAM: Opens the schedule programming menu or saves the delayed brew time.
- AUTO, AUTO ON, BREW LATER, or DELAY BREW: Arms the delayed brew function.
- BREW NOW, MANUAL, or ON/OFF: Initiates an immediate brewing cycle.
- BREW STRENGTH / BOLD: Selects water delivery speed (adjust this before arming the timer).
Active delayed brewing is typically indicated by an illuminated LED, a backlight change, a clock icon, or an on-screen “Auto” indicator. To confirm specific button sequences for your exact unit, check the model number on the rating plate underneath the base and consult manufacturer documentation, such as Cuisinart coffee maker manuals or Mr. Coffee instruction manuals.
Note: On single-serve pod systems (such as Keurig models with scheduling features), “Auto-On” often refers strictly to preheating internal water tanks rather than auto-puncturing and dispensing a pod. Drip and carafe brewers, by contrast, complete the full brew cycle automatically.

Power your essentials anywhere with a 999Wh pure sine wave power station delivering up to 1000W continuous with 2000W surge. It supports fast charging via USB-C PD 60W and USB-A QC 18W, plus simultaneous output for multiple devices through AC, USB, wireless, and car/DC ports. Recharge using AC, car, or solar with a built-in MPPT controller and dual cooling fans, while the upgraded battery management system protects against surges, short circuits, and overheating.

12-CUP DURALIFE GLASS CARAFE: The sturdy 12-cup* carafe has measurement markings for accurate filling and an easy-grip handle for comfortable pouring. *Cup equals approximately 5 ounces (varies by brewing technique).

2 WAYS TO BREW: SINGLE CUP OR FULL POT. The included single-serve scoop makes it easy to just scoop, place and brew. You can brew up to 14 oz. into a cup or travel mug on the single-serving side or make up to 12 cups on the carafe side with ground coffee.
Preparing for Brewing: Essential Steps
A programmable machine cannot sense if ingredients are missing. Every mechanical component and consumable must be ready before arming the timer.
- Insert the proper filter: Seat a paper filter flush against the basket walls or insert your gold-tone permanent mesh filter.
- Add fresh coffee grounds: Use medium-grind coffee for standard flat-bottom or cone drip baskets. Standard dosing is 1 to 2 level tablespoons per 6 fluid ounces of water, adjusted to preference.
- Grind-and-brew preparation: If using a machine with an integrated grinder, ensure the bean hopper lid is sealed and check that the internal coffee chute is clean and dry. Condensation trapped overnight can gum up the chute when grinding starts.
- Add filtered cold water: Fill the water reservoir exactly to the cup line you intend to brew. Most drip machines brew all water present in the reservoir regardless of programmed settings.
- Seat the brew basket: Ensure the basket clicks firmly into position. If misaligned, the anti-drip stop valve will not open, causing the basket to overflow.
- Position the carafe: Place the glass carafe squarely on the warming plate or align the thermal carafe spout directly beneath the brew basket discharge valve.
- Close all reservoir and brew lids: Safety interlocks on modern brewers will halt timed brewing if lids remain open.
Warning: Never add milk, creamer, flavorings, or hot water to the water reservoir. Ensure the carafe lid is securely attached; brewing into an open or offset carafe prevents the drip-stop mechanism from depressing and will flood your countertop.
How to Set the Current Time on Your Coffee Maker

The internal clock must be accurate for the delayed timer to trigger at the intended moment.
- Plug the machine into a functional wall outlet. The display will typically flash 12:00.
- Press the Clock, Time, or Set Time button. On basic models, pressing Hour directly enters time-setting mode.
- Press or hold HOUR (or HR) until the correct hour is reached.
- Verify AM/PM: Look closely for an “AM” or “PM” light or text icon on the LCD panel. Cycle through 12 hours if the indicator is incorrect.
- Press or hold MIN until the correct minutes appear.
- Press Clock again or leave the controls untouched for 5 seconds to lock in the time.
Once set, the digital display should stay solid and track standard time of day.
Pro Tip: Recheck the clock when Daylight Saving Time begins or ends. Because coffee makers do not connect to network time servers, an unadjusted clock will cause your coffee to brew one hour early or late.
How to Program Your Coffee Maker for Auto-Brew
Once the clock is set and ingredients are loaded, program your target start time using one of two standard control workflows.
Common Program-Button Method
- Press and hold PROG or PROGRAM until the digital clock digits flash.
- While flashing, press HOUR and MIN to select your target wake-up brew time.
- Verify the AM/PM indicator matches your morning or afternoon goal.
- Release the buttons and allow the display to return to the current time of day (usually 3–5 seconds).
- Press and release the PROG or AUTO button once to arm the system.
- Ensure the dedicated program LED indicator stays illuminated.
Set-Time or Menu Method
- Press the BREW LATER, DELAY BREW, or AUTO button once.
- Use the separate SET TIME or navigation buttons to adjust the target hour and minute.
- Confirm the AM/PM designation.
- Press BREW LATER or ENTER/CONFIRM to save the schedule.
- Confirm that the status indicator light or icon remains illuminated on the control panel.
For example, the official Hamilton Beach 49940 manual specifies holding the Program button while using the Set Time buttons, followed by an additional press of the Program button to activate the system. By contrast, models referenced in the Cuisinart Coffee Center SS-12 manual utilize an Auto On knob/button sequence with a dedicated 24-hour advance window.
A programmed cycle will only initiate if the status LED remains lit. If the indicator light is off, the machine will remain in standby regardless of what time is stored in memory.
Pro Tip: Run a test run before relying on the machine for your morning routine: program the auto-brew timer for 5 minutes ahead of current time with a cup of plain water to verify that the heating element and valve engage smoothly.
How to Verify, Change, or Cancel Auto-Brew
Verify the Saved Start Time
To inspect what time is programmed without clearing it, press and momentarily hold the PROG, AUTO, or DELAY BREW button. The display will show the saved time. Release the button without pressing the Hour or Minute controls, and ensure the indicator light stays on.
Change the Start Time
Re-enter programming mode, adjust the hour and minute values, verify AM/PM, and re-engage the Auto mode. Adjusting time values without re-activating the button often leaves the auto-timer disarmed.
Cancel the Program
Press the AUTO, PROGRAM, or DELAY BREW button once until the indicator LED turns off. On models like the Hamilton Beach 49630, pressing Program toggles the timer off. Do not press the main Power or Brew Now button to cancel, as this will start a manual brew cycle immediately.
Reactivate for the Next Day
Most programmable coffee makers store your chosen time in memory but require you to manually press the AUTO or PROG button each night after prepping the water and filter. Make arming the timer the final step of your evening kitchen routine.
Note: On dual-sided coffee makers (carafe and single-serve), delayed brewing functions exclusively on the full carafe side on most models. Ensure the side-selector switch is toggled to Carafe before arming the timer.
What Happens After a Power Outage?
Because domestic drip coffee makers rely on volatile electronic microcontrollers without battery backups, power interruptions will reset the machine. If the power cuts out overnight:
- The master clock resets to a default flashing 12:00.
- All programmed start times are cleared.
- The armed Auto status is deactivated.
- Pre-loaded water and coffee grounds will sit unheated in the basket.
When power returns, reset the current clock, re-enter the target auto-brew time, confirm the AM/PM setting, and verify that the grounds and water remain fresh before re-arming.
Troubleshooting Common Programming Problems and Maintenance Tips

When an auto-brew cycle fails to start or produces poor results, check these common mechanical and digital issues:
| Problem | Likely Cause | What to Do |
|---|---|---|
| Brewed 12 hours late or early | AM/PM mismatch on clock or program | Cycle through hours until the correct AM/PM indicator illuminates on both clock and timer. |
| Timer set, but machine never brewed | Auto mode was saved but not armed | Press Auto/Program after setting time and verify the status LED remains lit. |
| Display is flashing 12:00 | Power interruption or surge overnight | Reset the master clock, reprogram the brew time, and re-arm the Auto function. |
| Light on, but no coffee in carafe | Empty reservoir, open lid, or unseated basket | Ensure water is filled, basket is snapped shut, and lid safety switches are engaged. |
| Basket overflowed with grounds | Too fine grind, folded paper filter, or missing carafe | Use medium drip grind, ensure filter sits flat, and seat carafe squarely under the valve. |
| Brews excessively slow or steams heavily | Mineral scale buildup inside heating element | Descale the coffee maker with manufacturer-approved descaling solution or diluted white vinegar. |
| Buttons unresponsive | Control board lockup or active brew cycle | Unplug the unit for 60 seconds to perform a power cycle reset, then plug back in. |
Routine descaling every 30 to 90 days prevents calcium and limescale from obstructing the internal aluminum heating tube. While descaling resolves slow flow and temperature faults, electronic timer failures are resolved by verifying clean line voltage and resetting internal clocks.
Frequently Asked Questions
Can I program multiple brewing times for my coffee maker?
Most standard drip coffee makers store only one scheduled auto-brew time in memory. Certain smart or Wi-Fi-connected coffee makers (managed via smartphone apps) allow multiple schedules for weekdays versus weekends. Check your model’s companion app or manual for multi-schedule support.
What happens if I forget to turn off Auto-Brew?
Most modern drip coffee makers feature an automatic shutoff mechanism that powers down the warming plate after a set period (typically between 2 and 4 hours). Thermal carafe models usually shut off immediately following the brew cycle. Refer to your manual to check your specific auto-off timer.
Can I use ground coffee instead of coffee pods?
Yes, provided your coffee maker includes a designated filter basket for ground coffee. Never put loose grounds directly into a single-serve capsule holder without a compatible reusable filter basket adapter. On dual-purpose brewers, auto-brew generally operates only on the ground-coffee carafe side.
How long can I set the auto-brew timer in advance?
Standard programmable coffee makers operate on a 24-hour cycle, allowing you to schedule a brew anytime within the upcoming 24 hours. For maximum coffee freshness, prepare grounds and water in the evening rather than multiple days in advance.
Will Auto-Brew work during a power outage?
No. Coffee makers require continuous electrical power to run the pump, heat the element, and operate the digital timer. If power drops out overnight, the timer will clear and the machine will not brew until reprogrammed.
Why is the Program light on if the machine did not brew?
If the indicator light is on but brewing did not occur, check if the AM/PM setting is flipped (e.g., set for 7:00 PM instead of 7:00 AM). Other causes include an unseated brew basket, open reservoir lid, empty water reservoir, or improper carafe placement triggering safety shutoffs.
Does the coffee maker repeat the same Auto-Brew time every day?
It depends on the model. While the programmed time remains stored in memory, most standard drip machines require you to press the Auto or Program button each evening to arm the timer for the following morning. Check your manual to confirm whether your unit requires daily re-arming.
Conclusion
Programming an auto-brew coffee maker comes down to four coordinated steps: calibrating the master clock, setting your target brew time with correct AM/PM values, prepping your water and coffee setup, and arming the timer so the indicator light remains on. By incorporating this simple sequence into your evening routine, you can ensure hot, fresh coffee is ready the moment you wake up.
Sources
- Hamilton Beach 49940 Use and Care Manual — operating procedures, dual-brewer timer restrictions, and programming sequences.
- Hamilton Beach 49630 Use and Care Manual — clock setup, Program-button toggles, dosing recommendations, and auto-off specifications.
- Cuisinart Coffee Maker Manuals — official manufacturer operating, programming, and descaling guidelines.
- Cuisinart Coffee Center Brew Basics Manual — 24-hour Auto On programming workflows and carafe-side controls.
- Mr. Coffee Delay Brew Guide — official brand instructions for configuring Delay Brew on digital drip machines.