A clogged needle or dirty pod holder can make a Keurig-style coffee maker brew slowly, dispense a partial cup, or leave grounds in your drink. The cleaning process is usually simple, but the puncture needles are sharp and the exact controls vary by model. Use the steps below for many home Keurig K-Cup brewers, then confirm any model-specific instructions in your coffee maker’s Use & Care Guide.
Quick Answer
Turn off and unplug the brewer, remove the K-Cup pod holder, rinse the holder and funnel, and gently clear the exit and entrance needle openings with a straightened paper clip. Reassemble the brewer, place a large ceramic mug on the drip tray, and run two water-only cleansing brews.
Key Takeaways
- These steps apply to many Keurig K-Cup brewers, but part removal, button controls, and dishwasher safety vary by model.
- Unplug the brewer and keep your fingers away from the sharp entrance and exit needles.
- Clean the removable pod holder and funnel before clearing the needle openings with a straightened paper clip.
- Run two water-only cleansing brews after cleaning the needles; do not insert a K-Cup pod.
- If the brewer still dispenses a partial cup, check the reservoir and descale it according to the exact model manual.
At a Glance
| Time Required | About 15–20 minutes |
| Difficulty | Easy, with careful handling around the needles |
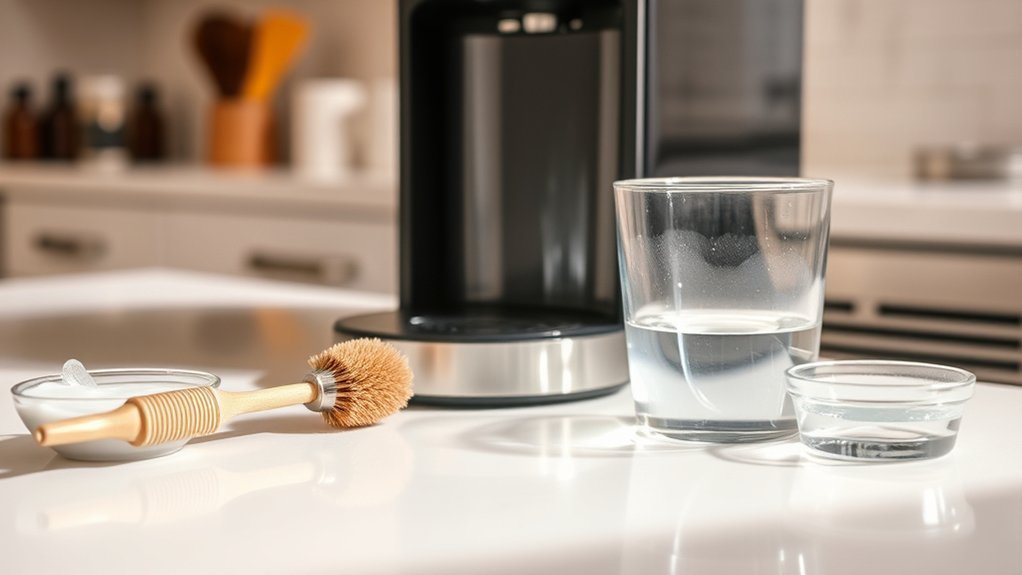
| Tools Needed | Straightened paper clip, soft brush or cloth, large ceramic mug, fresh water, and optional mild dish soap if approved by the model manual |
| Cost | Usually $0–$5, excluding descaling solution |
Warning: Turn off and unplug the coffee maker before removing or washing parts. The entrance and exit needles are sharp, so never place your fingers inside the pod-holder housing. Allow the brewer to cool before cleaning, never immerse the main unit in water, and use a ceramic mug rather than a paper cup for hot cleansing brews.
Why Regular Cleaning Is Essential for Your Coffee Maker
Coffee grounds and oily residue can collect in the K-Cup pod holder, funnel, entrance needle, and exit needle. When these areas become restricted, water may move through the pod unevenly, leading to grounds in the cup, a slower brew, or less coffee than the selected amount.
Mineral scale creates a different problem. It forms inside water-contact components and is not removed simply by rinsing the pod holder or clearing the needles. Keurig therefore treats needle cleaning and descaling as separate maintenance tasks.
Grounds in the cup usually point to the pod holder or needles, while repeated slow or short brews may also indicate mineral scale or a reservoir problem.
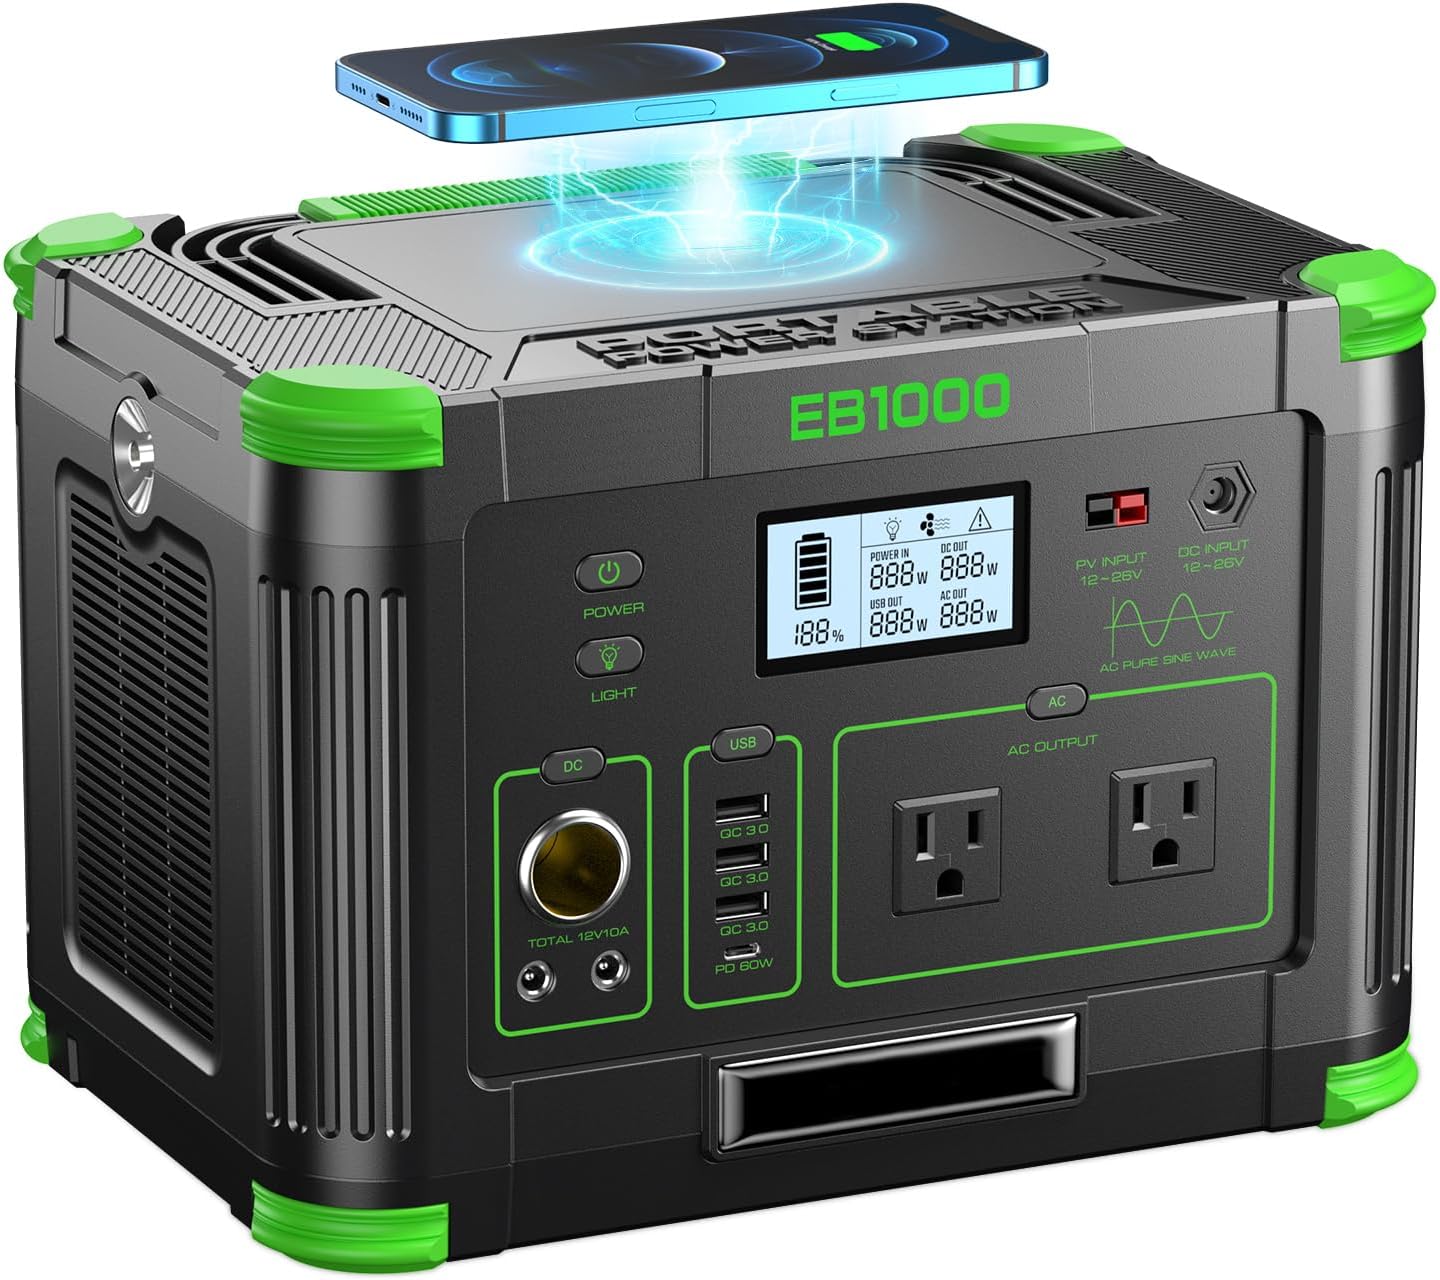
Power your essentials anywhere with a 999Wh pure sine wave power station delivering up to 1000W continuous with 2000W surge. It supports fast charging via USB-C PD 60W and USB-A QC 18W, plus simultaneous output for multiple devices through AC, USB, wireless, and car/DC ports. Recharge using AC, car, or solar with a built-in MPPT controller and dual cooling fans, while the upgraded battery management system protects against surges, short circuits, and overheating.

Single Serve Coffee Maker Cleaning Solution: Are you still looking for a cleaning tool that can deeply clean single serve coffee maker? Come and try our single cup coffee maker cleaner brush sets. The bottle brush can clean the water reservoir and coffee cups. The slender brush and crevices brush can clean the corners and gaps of the brew basket, remove residual coffee grounds, and realizing all-around dead-end cleaning. Make your pod coffee maker cleaner and more comfortable to use.

Quick Brewer Clean Kit: ACTIVE Rinse Pods for Keurig Coffee Maker release an automatic Deep Clean Foam of specially-formulated detergent to remove coffee oils, grounds & residue buildup in your coffeemaker brew chamber, kcup area & needle
Common Signs Your Coffee Maker Needs Attention
One symptom does not prove that a needle is clogged, but the following signs make the pod holder and needles a sensible place to begin troubleshooting:
- The brewer dispenses a partial cup.
- Coffee flows more slowly than usual.
- Loose coffee grounds appear in the mug.
- Brew strength changes even though you use the same pod and cup size.
- Water backs up around the pod or drips after brewing.
- The machine makes unusual sounds while dispensing little or no liquid.
Inconsistent Brew Strength
Weak or uneven coffee may occur when restricted needle openings prevent water from passing evenly through the pod. It can also result from a damaged pod, an overfilled reusable filter, coffee ground too finely for a reusable filter, or a selected cup size that is too large for the amount of coffee.
Start by removing the used pod, cleaning the pod holder and needles, and running two cleansing brews. If the problem continues, try a fresh pod and inspect any reusable filter for overfilling or compacted grounds.
Clogged Needle Indicators
A clogged exit needle is especially likely when coffee grounds appear in the cup or the brewer dispenses only part of the selected amount. Grounds can also collect in the holes of the entrance needle above the pod.
However, no output can also be caused by insufficient water, an incorrectly seated reservoir, mineral buildup, an interrupted brew cycle, or an internal fault. Work through the cleaning and troubleshooting steps below rather than assuming that every no-brew problem is a needle clog.
Before You Start: Check the Model and Gather Supplies
Look for the model name or model number on the brewer, its base, or its original label. Then open the matching guide through Keurig Coffee Maker Support. This is important because pod-holder removal, needle layout, dishwasher compatibility, and descaling controls are not identical across models.
Gather the following:
- A straightened paper clip or the cleaning tool specified by the manual
- A soft, non-abrasive brush or lint-free cloth
- Warm running water
- A large ceramic mug
- Fresh water for two cleansing brews
- Mild dish soap only if the model guide permits it for the removable part
- A towel to catch drips beneath the open brewer
Note: “Top needle” is commonly called the entrance needle. “Bottom needle” is the exit needle inside the K-Cup pod holder. Using the manufacturer’s terms makes the manual easier to follow.
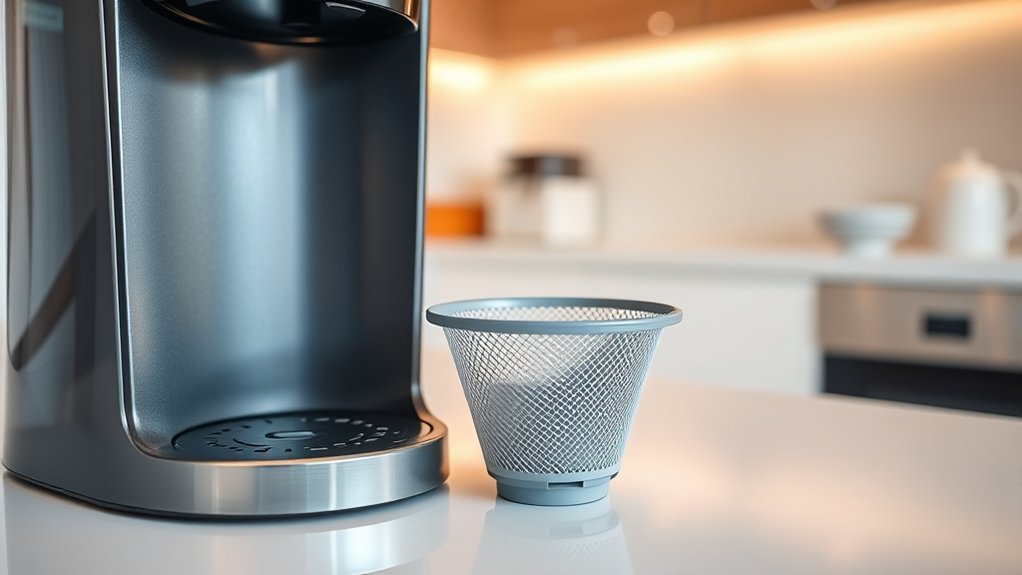
Step 1: Remove and Clean the K-Cup Pod Holder
Gather the Necessary Cleaning Tools
Make sure the brewer is unplugged and cool. Remove the used K-Cup pod, place a towel beneath the brew head, and keep the paper clip and cleaning cloth within reach.
Do not begin by inserting the paper clip into an assembled, powered brewer. Removing the pod holder first gives you better access to the exit needle and reduces the chance of pushing loose grounds farther into the assembly.
Properly Disassemble the K-Cup Pod Holder
On many Keurig home brewers, you can lift the handle, grasp the top of the pod holder, and push upward from beneath until the assembly releases. Do not put your fingers into the center of the holder or near either puncture needle.
Detach the funnel from the pod holder if your model allows it. Rinse both pieces under warm running water and use a soft brush or cloth to remove coffee grounds and oily residue. Pay attention to the openings at the bottom of the holder because blocked passages can restrict flow.
Warm water is the safest default. Use mild dish soap or a dishwasher only when the exact model guide says the part is compatible. Some older holders are dishwasher-safe, while many current manuals require hand-washing. Rinse away all soap before reassembly.
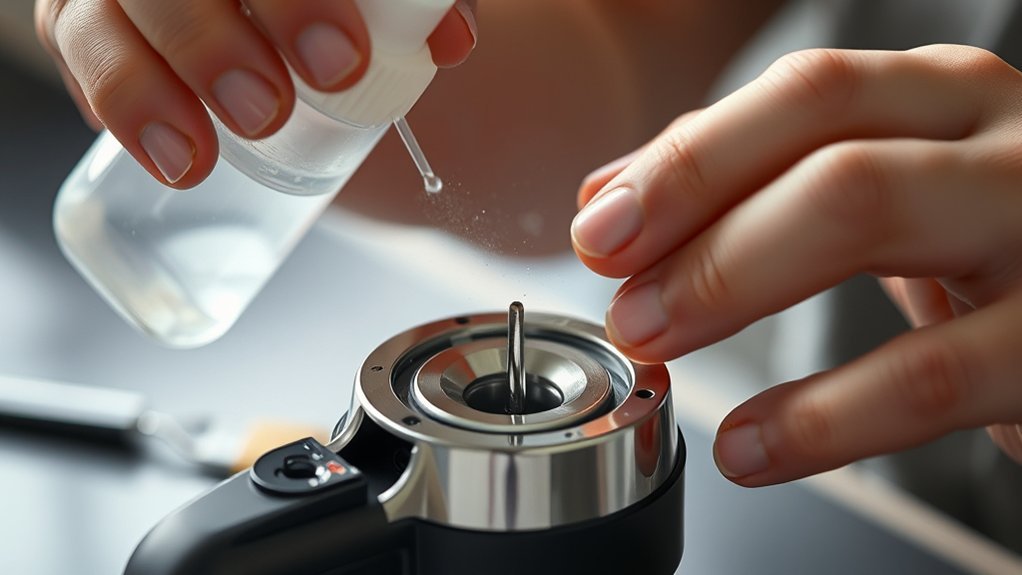
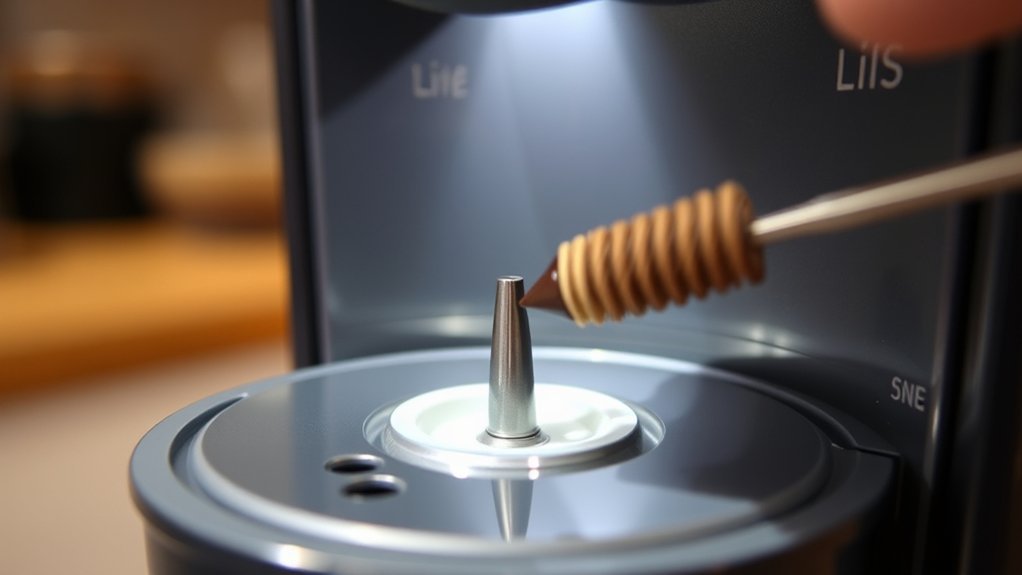
Step 2: Check and Clean the Entrance Needle
With the coffee maker still unplugged, lift the handle and locate the entrance needle on the underside of the lid. Depending on the model, the needle may contain one or more small openings.
Hold the handle securely in the raised position. Carefully insert the straightened paper clip into each opening only as far as needed to loosen trapped grounds. Move it gently rather than forcing or bending it. Keep your fingers away from the needle tip.
The procedure follows the method described in Keurig’s official needle-cleaning guidance, but the number and position of openings can differ by brewer.
Step 3: Clean the Exit Needle
The exit needle is located inside the bottom of the removable K-Cup pod holder. Remove the funnel so you can access the needle passage from the correct side.
Insert the straightened paper clip into the exit-needle opening and gently move it to loosen packed coffee grounds. Do not force the wire, enlarge the opening, or use your finger to test whether the blockage is gone.
Rinse the pod holder again after clearing the needle so dislodged grounds wash away instead of returning to the brewer.
Pro Tip: Hold the pod holder over a white bowl or paper towel while rinsing. Dark flakes and coffee particles are easier to see, so you can tell whether debris is still coming out.
Step 4: Rinse and Reassemble the K-Cup Pod Holder
Rinse the pod holder, funnel, and all accessible openings under running water. Use a soft brush for stubborn residue, but avoid abrasive pads that may scratch the plastic or damage seals.
Allow excess water to drain. Reattach the funnel in the same orientation in which it was removed. Align the pod holder with the brewer opening according to the model guide and press it into place until it is secure.
Confirm that the assembly sits level and that the handle closes normally. Never force the handle if the holder appears misaligned.
Step 5: Run Two Freshwater Cleansing Brews
Fill the reservoir with fresh water, plug in the brewer, and place a large ceramic mug on the drip tray. Do not insert a K-Cup pod.
Close the handle and run a water-only cleansing brew. Use the brew control and a cup size appropriate for your model rather than assuming every brewer has the same 8-ounce button. Empty the mug carefully because the water will be hot, then repeat the cleansing brew a second time.
Keurig manuals for models such as the K-Elite and K-Express direct users to run two water-only cycles after cleaning the entrance needle. The two cycles help flush loosened grounds from the water path and pod-holder assembly.
Clean the Reservoir, Drip Tray, and Exterior
Needle cleaning addresses coffee-ground blockages, but the other removable parts also need routine care:
- Water reservoir and lid: Remove any water filter first. Hand-wash or wipe the reservoir as directed by the model manual, rinse it thoroughly, and allow it to air-dry. Do not wipe the inside with a lint-producing towel.
- Drip tray: Empty it before it overflows. Wash it with warm, soapy water when the model guide permits, rinse it, and dry it before reinstalling it.
- Exterior: Wipe the unplugged brewer with a damp, soapy, lint-free, non-abrasive cloth. Never immerse the main coffee maker or allow water to enter electrical openings.
- Reusable coffee filter: Empty it promptly and wash it after use. Avoid packing it above its fill line or using grounds so fine that they pass through the screen.
Cleaning a Clog Versus Descaling the Brewer
Cleaning the pod holder and needles removes coffee grounds and beverage residue. Descaling removes calcium and mineral deposits from internal water-contact components. A paper clip cannot remove internal scale, and descaling solution does not replace physical cleaning of a clogged needle.
Keurig’s current general guidance says to descale every three to six months or when the brewer’s descale indicator comes on. Some model manuals specify every three months, so follow the schedule and button sequence for the exact machine.
Note: Older Keurig manuals allowed white vinegar for certain legacy brewers. Many current machines specify Keurig Descaling Solution and a dedicated descale mode. Use vinegar only when your exact model manual lists it as an approved method.
Do not improvise a descale-mode button combination from another model. Use the procedure in the manual or Keurig’s official descaling instructions.
Best Practices to Prevent Future Clogs
- Remove the used K-Cup pod after brewing instead of leaving it in the holder.
- Rinse the pod holder and funnel whenever visible grounds or residue collect.
- Run a water-only cleansing brew after cleaning the needles and after the brewer has sat unused for several days.
- Run a cleansing brew after strongly flavored drinks when you want to reduce flavor carry-over.
- Do not overfill reusable filters or use coffee ground finer than the filter manufacturer recommends.
- Keep the reservoir filled with fresh water and seat it firmly on its base.
- Descale on the model’s schedule or when the descale alert appears.
- Replace the reservoir water-filter cartridge at the interval specified for the filter system.
A weekly water-only rinse can be useful for a frequently used brewer, but it should not be presented as a universal substitute for the cleaning and descaling schedule in the manual.
What to Do if the Brewer Still Makes a Partial Cup
If cleaning the pod holder and both needles does not restore normal flow, check the following in order:
- Make sure the reservoir contains enough water and is seated correctly.
- Remove the pod and run another water-only cleansing brew.
- Inspect the pod holder to confirm that the funnel is attached and the assembly is fully seated.
- Try a new K-Cup pod in case the original pod was damaged.
- Clean and correctly fill any reusable coffee filter.
- Check whether the descale light is on or whether the brewer is due for descaling.
- Follow any model-specific water-purge or reset procedure in the manual.
- If the brewer remains unable to dispense a full cup after the prescribed cleaning and descaling procedures, contact Keurig support.
A persistent leak, electrical smell, damaged cord, cracked reservoir, repeated error code, or failure to heat should not be treated as a simple needle clog.
When to Seek Professional Help for Your Coffee Maker
Stop using the brewer and contact the manufacturer when it repeatedly fails to brew after the model-approved cleaning and descaling procedures, leaks from the housing, trips an electrical circuit, displays an error that will not clear, or shows visible damage.
If the brewer may still be covered by warranty, avoid opening the housing or attempting an internal repair. Use Keurig Customer Support or an authorized service provider so you do not create an additional safety risk or affect warranty coverage.
Frequently Asked Questions
How often should I clean my single-serve coffee maker?
Wash removable parts whenever residue becomes visible and clean the needles when grounds appear, flow slows, or the brewer dispenses a partial cup. Run cleansing brews after needle cleaning or after several days without use. Descale every three to six months, or at the interval and alert specified by the model manual.
Can I use vinegar to descale my Keurig coffee maker?
Use vinegar only if the Use & Care Guide for your exact model permits it. Some older Keurig brewers had official vinegar procedures, while many current models call for Keurig Descaling Solution and a model-specific descale mode. Following the current manual also helps ensure the descale notification clears correctly.
What tools do I need to clean a clogged Keurig needle?
You normally need a straightened paper clip, warm water, a soft brush or lint-free cloth, a large ceramic mug, and fresh water. Keep a towel nearby for drips. Use soap, a dishwasher, or a specialized needle tool only as allowed by the model guide.
Is it safe to use soap on the K-Cup pod holder?
Warm running water is a safe default. Mild dish soap may be used when the model manual permits it, but the holder must be rinsed thoroughly. Do not assume the part is dishwasher-safe: some older assemblies are, while many current Keurig manuals specify hand-washing.
Can I clean the Keurig needle without removing the pod holder?
The entrance needle can usually be reached with the handle raised, but the exit needle is inside the pod holder and normally requires the holder and funnel to be removed. Follow the removal method for your model and never place your fingers inside the needle housing.
Why does my Keurig still brew a partial cup after cleaning?
The reservoir may be low or incorrectly seated, the pod holder may be misaligned, mineral scale may restrict the internal water path, or the model may require a purge or reset procedure. Descale according to the manual and contact support if repeated cleaning and descaling do not restore a full brew.
Can a reusable coffee filter cause needle clogs?
Yes. Overfilling a reusable filter, packing the grounds too tightly, or using coffee that is too finely ground can allow particles to reach the pod holder and needle openings. Stay below the filter’s fill line and use the grind recommended by its manufacturer.
Conclusion
To clean a clogged Keurig-style coffee maker, unplug the machine, rinse the removable pod holder and funnel, gently clear both needle openings, reassemble the parts, and finish with two water-only cleansing brews. This process removes coffee grounds, but it does not replace descaling. Follow the exact model manual for soap, dishwasher compatibility, descale timing, and button controls.
If normal flow does not return after cleaning, check the reservoir, try a fresh pod, and complete the approved descaling procedure. Stop using the brewer and contact the manufacturer if it leaks, shows electrical damage, or continues to malfunction.
Sources
- Keurig: Cleaning Your Brewer Needles — manufacturer guidance for clearing coffee grounds from the puncture needles.
- Keurig K-Express Use & Care Guide — pod-holder removal, needle cleaning, cleansing brews, hand-washing, maintenance, and troubleshooting.
- Keurig K-Elite Use & Care Guide — sharp-needle warning, reservoir care, needle cleaning, two water-only cycles, and partial-cup troubleshooting.
- Keurig Descaling Guidance — manufacturer guidance on mineral scale and general descaling frequency.
- Keurig Customer Support — official troubleshooting and service contact information.