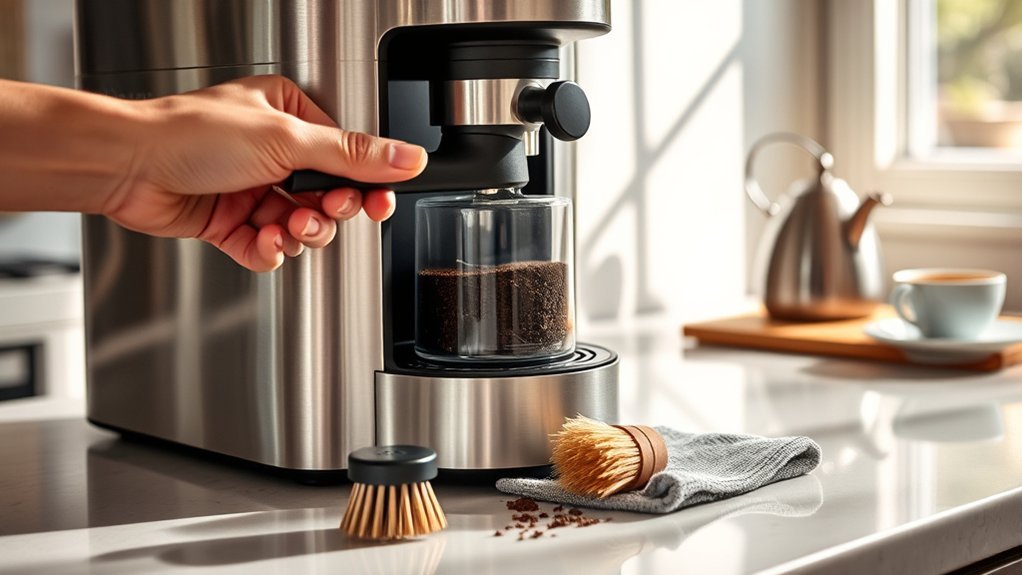
A coffee maker with a built-in grinder needs two different types of care. The brewing system must be washed and descaled, while the grinder needs the cleaning method specified for its design—usually dry brushing around burrs and the grind chute. Because washable parts, cleaning programs, and descaling products vary widely, check the instructions for your exact model before using water, vinegar, descaler, cleaning tablets, or a dishwasher.
Quick Answer
Unplug the machine, let it cool, and empty the beans and grounds. Wash only the removable parts your manual approves, then clean burrs and the grind chute as directed—usually with a dry brush. Descale the water system with the specified product and program, rinse with fresh water, and let every grinder part dry before reassembly.
Key Takeaways
- Always switch off, unplug, and cool the coffee maker before taking it apart.
- Wash the brew basket, carafe, and other removable parts only by the method approved for your model.
- Keep fixed burrs, the grinder motor, electrical openings, and nonwashable grind chutes dry.
- Descaling products, ratios, cycle lengths, and rinse requirements differ substantially between models.
- Allow the hopper, grinder parts, chute, brew basket, and other washed components to dry fully before brewing again.
At a Glance
| Time Required | About 15–20 minutes for routine cleaning; roughly 30–60+ minutes for descaling, depending on the model |
| Difficulty | Easy when the model’s cleaning instructions are followed |
| Tools Needed | Soft cloth, mild dish soap, soft cleaning brush, clean carafe, fresh water, and the descaling product approved for your machine |
| Cost | Varies; routine cleaning may use supplies you already have, while descaler cost depends on the product your model requires |
Warning: Unplug the coffee maker and let the brew basket, carafe, and heater plate cool before cleaning. Never immerse the appliance base, cord, plug, fixed grinder, or electrical housing. Do not pour water into a burr chamber or grind chute unless the manufacturer expressly permits it. If your machine has a removable blade-grinder basket, handle the blade carefully because its edges can be sharp.
Check Your Manual and Identify the Grinder Type
Find the model number on the bottom or rear label and consult its owner manual or current manufacturer support page before removing grinder parts. A blade-style grinder basket can require very different care from an integrated burr grinder.
- Removable blade-grinder basket: Some machines contain a removable cup with a blade. The basket and lid may be washable if the instructions approve it. Keep fingers away from the blade edges while washing and drying.
- Burr grinder: Burr machines may have a removable hopper and upper burr, while the lower burr, motor, and grind chute remain inside the appliance. Follow the model’s instructions for brushing, wiping, or removing these parts.
- Automatic grinder-clean program: Some grind-and-brew models have a dedicated chute or grinder-clean function that must be activated before or during brushing.
- Automatic clean or descale program: A model may require a specific button sequence, water quantity, filter position, descaling product, or rinse cycle.
For example, the Breville Grind Control instruction book directs owners to clean its burrs and grind chute with the supplied brush and states that its parts and accessories should not be placed in a dishwasher. By contrast, current Philips Grind & Brew guidance permits dishwasher cleaning for the filter basket and permanent filter on the cited models. Your exact model instructions therefore take priority over generic advice.
Note: Cleaning and descaling are not the same task. Washing or brushing removes coffee grounds, oils, and food residue. Descaling targets calcium and other mineral deposits inside the reservoir, heater, and water path.

Power your essentials anywhere with a 999Wh pure sine wave power station delivering up to 1000W continuous with 2000W surge. It supports fast charging via USB-C PD 60W and USB-A QC 18W, plus simultaneous output for multiple devices through AC, USB, wireless, and car/DC ports. Recharge using AC, car, or solar with a built-in MPPT controller and dual cooling fans, while the upgraded battery management system protects against surges, short circuits, and overheating.
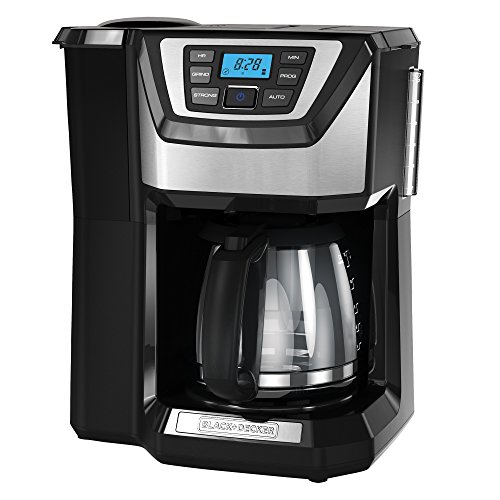
Note: 1)Too coarse a grind, too little coffee, or insufficiently tamping the grounds before brewing can all lead to inadequate pressure for a proper brew. 2)It is important to note that the amount of espresso extracted will vary depending on the grind size and amount and reprogramming may be needed when the size and amount are adjusted.Please refer to user guide or user manual or user guide (provided below in PDF) before first use
Supplies for Cleaning a Coffee Maker With a Grinder
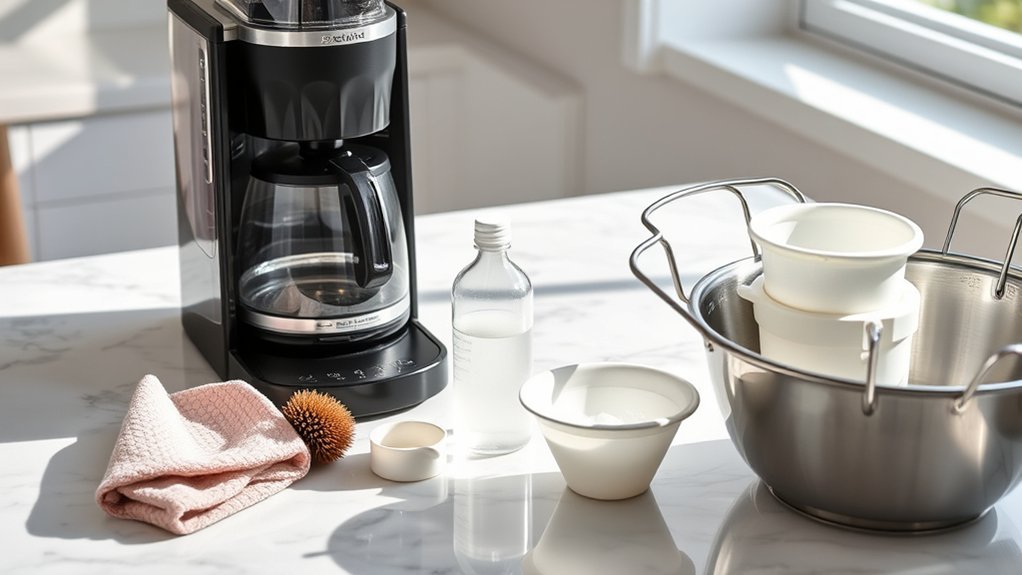
Gather the supplies before taking the machine apart:
- A soft microfiber cloth or nonabrasive sponge
- Mild dish soap
- A soft-bristled grinder or appliance brush
- A soft bottle brush for the carafe, if needed
- A clean, empty carafe or suitable container
- Fresh cold water
- The manufacturer-approved descaler, cleaning solution, or white vinegar only when the model instructions allow it
- Dry towels or a drying rack
Avoid steel wool, scouring pads, bleach, oven cleaner, abrasive powders, knives, and other sharp tools. Do not put rice, grinder-cleaning pellets, tablets, or powders into a built-in grinder unless the manufacturer specifically approves that product for your machine. A cleaning method that is suitable for a separate standalone grinder is not automatically safe for an integrated grind-and-brew system.
Clean the Removable Parts After Brewing
Routine cleaning prevents stale grounds and coffee oils from accumulating. Wait until the machine has cooled, then remove the used paper filter or empty the reusable filter and discard the grounds.
Remove the Grind Chamber Lid or Bean Hopper
Empty loose beans and grounds according to the manual. On a machine with a removable grinder basket, lift out the basket and lid only after the unit is unplugged. On a burr machine, unlock the hopper or upper burr only if the manufacturer provides a user-removal procedure.
Use a dry brush to sweep loose grounds away from seals, hinges, locking tabs, burr surfaces, and the opening above the brew basket. Do not tip grounds into the water reservoir.
Wash the Filter Holder, Carafe, and Approved Grinder Parts
- Remove the brew basket, permanent filter, carafe lid, and other washable parts.
- Wash approved parts with warm water, mild dish soap, and a soft sponge or brush.
- Clear the small holes in a reusable filter without enlarging or damaging them.
- Clean any removable drip-stop component, showerhead, or water spreader only if the manual shows how to remove it.
- Rinse away all soap, grounds, and oily residue.
- Use a dishwasher only when the manual or part marking specifically says it is dishwasher-safe.
A removable blade-grinder basket may be washed when its instructions allow it. A fixed burr chamber, lower burr, motor shaft, or built-in grind chute must not be treated like a washable basket unless the manufacturer explicitly says otherwise.
Clean the Water Reservoir, Drip Tray, and Grounds Catcher
If the reservoir is removable and approved for washing, clean it according to the manual and rinse it thoroughly. If it is fixed, wipe only the accessible surfaces using the method the manufacturer specifies. Never let water run into grinder vents, electrical seams, switches, or the motor housing.
Remove the drip tray, grounds catcher, and similar washable accessories when the design allows it. Wash them with mild soapy water, rinse, and dry them before reinstalling. On machines with a removable showerhead or water spreader, follow the manufacturer’s specific removal and cleaning procedure rather than forcing the part loose.
Dry All Parts Before Reassembly
Shake off trapped water and let each cleaned part dry completely. Pay special attention to the grinder basket, bean hopper, upper burr, chute opening, filter holder, seals, and seams where moisture can collect.
| Part | Usual Cleaning Method | Important Check |
|---|---|---|
| Carafe and lid | Warm soapy water and a soft brush; dishwasher only if approved | Avoid abrasive pads and rinse away all soap |
| Brew basket and reusable filter | Rinse after use; wash with mild soap | Clear holes and inspect the drip valve |
| Removable blade-grinder basket | Wash only when approved by the manual | Mind the sharp blade and dry the shaft area and underside fully |
| Burrs and fixed grind chute | Usually brush or clean using the model-specific procedure | Keep moisture out unless the manufacturer expressly permits washing |
| Drip tray and grounds catcher | Warm soapy water when removable and washable | Dry before reinstalling near the grinder or electronics |
Deep-Clean the Burrs and Grind Chute
A clogged grind chute can reduce the amount of ground coffee reaching the basket, contribute to overflow, or trigger a grinder-clean message. Unusual grinder noise can also indicate compacted grounds, moisture, or a foreign object, so do not assume every noise is caused by routine coffee buildup.
Manufacturer procedures vary. Breville’s Grind Control cleaning guidance covers the burrs and grinds chute, while Philips’ current Grind & Brew instructions use a dedicated chute-cleaning sequence on supported models. Use the procedure designed for your machine.
- Empty the bean hopper and clear remaining beans only as the instructions direct.
- Switch off and unplug the machine at the point stated in the manufacturer’s procedure.
- Remove the hopper or upper burr only if it is designed for user removal.
- Use the supplied brush or another suitable soft brush to loosen grounds from accessible burr surfaces, the chamber, and chute.
- Brush debris toward the grounds catcher, filter basket, or other collection area specified for the model.
- Wipe accessible surfaces using only the dry or damp method permitted by the manufacturer.
- Reinstall the burr and hopper using their alignment and locking marks.
The 2020 Breville Grind Control manual gives an every-two-to-three-week example for cleaning its burrs and grind chute depending on use. Current Philips guidance similarly advises cleaning the bean chute about every two weeks on the cited Grind & Brew model, while other machines use cycle-count alerts instead. These are model examples rather than a universal schedule.
Pro Tip: Before removing a user-removable upper burr, photograph its alignment marks and grind-setting position. The photo gives you a quick reference when reinstalling the burr and reduces the chance of changing the setting accidentally.
Keep grinder care and brewer descaling separate. Moisture in a normally dry grind chute can make fine coffee particles clump and create a blockage.
Descale the Brewing System
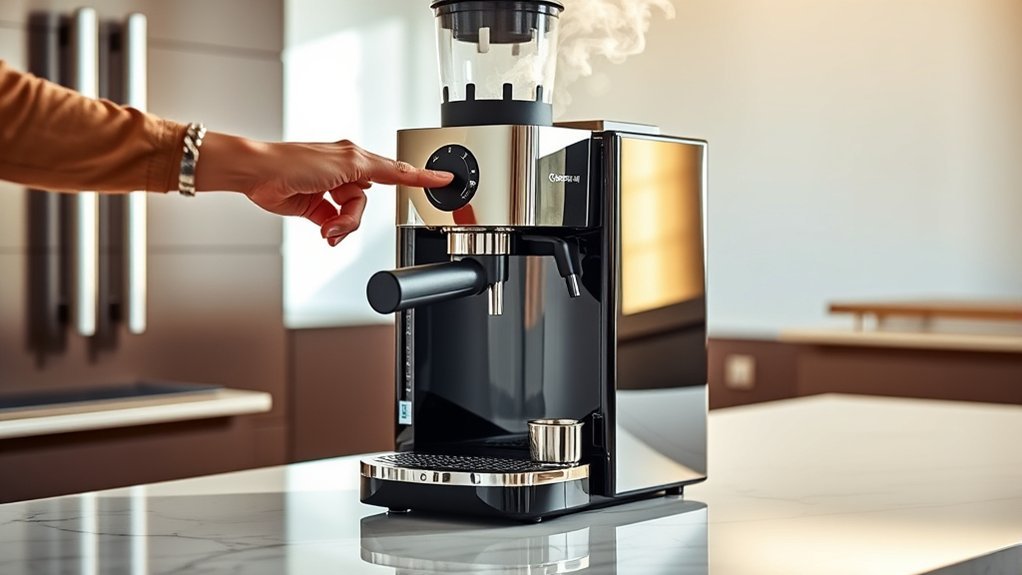
Minerals in water can collect inside the reservoir, heater, valves, and tubing. Depending on the machine, signs of scale may include slower brewing, extra steam, changes in water flow or brew temperature, a descale alert, or another model-specific warning.
There is no reliable universal vinegar ratio or universal descaling chemical for every grind-and-brew coffee maker. Even instructions for the same product family can change over time. The 2020 Breville Grind Control instruction book specifies approximately 20 fl oz of white vinegar—shown as four coffee-maker cups on that machine—followed by cold water to the 12-cup level. Breville’s current U.S. Grind Control descale tutorial, however, calls for one packet of descaler with 34 oz of warm water. That difference is a strong reason to check the current instructions for your exact model instead of copying an old or generic formula.
Other manufacturers differ as well. Cuisinart’s current cleaning guidance describes vinegar-based cleaning for many of its coffee makers, while Hamilton Beach guidance includes model procedures that use measured amounts of plain white vinegar. Philips also specifies particular vinegar strengths or liquid descalers for certain Grind & Brew models and warns against some powder or tablet descalers. The product form, quantity, soak time, and rinse sequence are therefore model-specific.
Prepare the Machine
- Remove all beans, coffee grounds, and paper filters as required by the procedure.
- Remove the charcoal or water filter only if the instructions tell you to do so.
- Install the empty brew basket, carafe, drip tray, and other parts the clean cycle requires.
- Select the grind-off, pre-ground, clean, or descale setting specified by the manufacturer.
- Make sure the carafe or receiving container is large enough for the entire cleaning cycle.
Do not automatically remove the filter holder or brew basket. Some machines use interlocks or sensors and will not run when those parts are missing or incorrectly seated.
Run the Approved Cleaning or Descale Cycle
- Add the exact amount and type of approved descaler, vinegar solution, liquid cleaner, or water specified for the model.
- Place the empty carafe or receiving container securely under the outlet.
- Start the clean, descale, or brew program with the grinder disabled when required.
- Pause the cycle only when the manufacturer’s procedure calls for a soaking period.
- Allow an automatic descale program to finish unless its instructions specifically permit cancellation.
- Discard the used solution after the cycle finishes.
Cycle length varies substantially. Breville’s current Grind Control tutorial describes a procedure of about 30 minutes, while GE Profile’s Grind & Brew cleaning guidance describes a one-hour descale countdown before the fresh-water flush. Use your machine’s displayed instructions and do not assume another brand’s timing applies.
Rinse the Water System
Rinse the reservoir and carafe as directed, then fill the machine with fresh water. Run the number of water-only cycles required by the manual or on-screen program. Some models require one complete rinse cycle, while others specify two, three, or more.
Continue rinsing if you can still detect vinegar or cleaning-solution odor. Do not brew coffee until the water runs clear and the cleaning smell is gone.
Note: Do not mix vinegar, commercial descaler, bleach, baking soda, or other cleaning chemicals in the water system. Use one cleaning method at a time and only when it is approved for your exact machine.
Clean the Exterior and Heater Plate
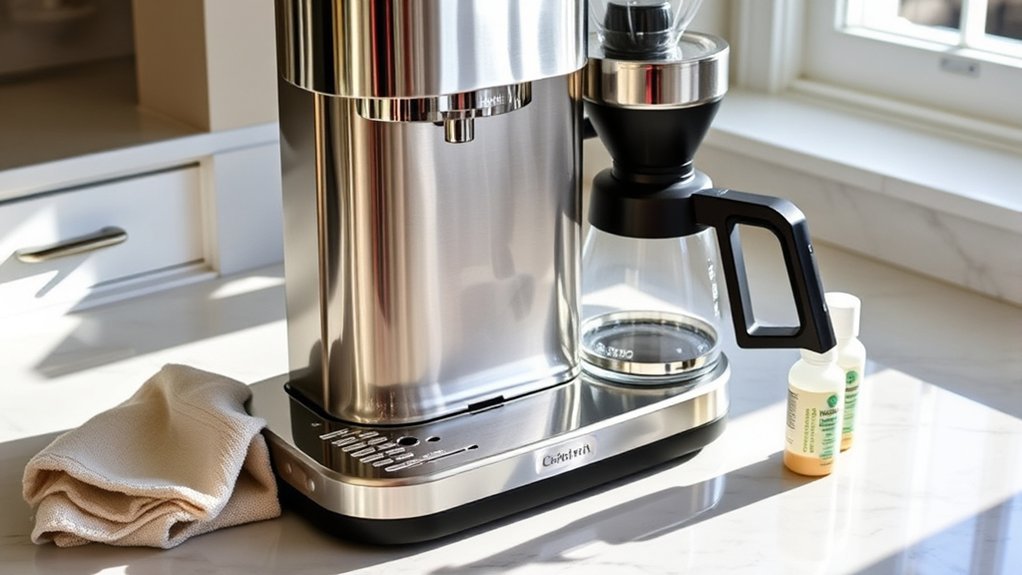
Use Mild Soapy Water
Unplug the machine and let the heater plate cool. Dampen a soft cloth with water or a small amount of mild soapy water, then wring it out well. Wipe the housing, control panel, lid, and surrounding counter area.
Apply cleaner to the cloth rather than spraying it directly onto the appliance. This lowers the chance of liquid entering buttons, vents, the grinder motor, display edges, or seams in the housing.
Avoid Abrasive Materials
Do not use steel wool, abrasive sponges, harsh powders, knives, or rough cleaning tools. These materials can scratch stainless steel, plastic, glass, coated heater plates, and display panels.
| Area | Recommended Tool | Avoid |
|---|---|---|
| Outer housing | Soft, lightly damp cloth | Spraying cleaner directly onto the machine |
| Display and controls | Soft microfiber cloth | Excess water and abrasive cleaning tools |
| Cool heater plate | Damp nonabrasive cloth | Steel wool, knives, and harsh scrubbing pads |
Check the Machine Before Brewing Again
Before adding beans or making coffee, perform a quick readiness check:
- Make sure the hopper, grinder basket, upper burr, chute area, and brew basket are fully dry.
- Confirm that every removable burr, hopper, lid, basket, drip tray, and carafe is seated and locked correctly.
- Check that no brush bristles, cloth fibers, grounds, or other debris remain in the grinder or basket.
- Make sure the water reservoir contains only fresh water after the final rinse.
- Confirm that there is no vinegar or cleaner odor.
- Run any required rinse or reset procedure before adding coffee.
If the machine displays an error immediately after reassembly, switch it off and check the position of the removable components before attempting another brew.
Ongoing Coffee Maker Maintenance Schedule
The correct schedule depends on frequency of use, bean residue, water hardness, grinder design, and the machine’s cleaning indicators. Use this table only as a starting point and follow the manual or on-screen alert when it specifies a different interval.
| Frequency | Maintenance |
|---|---|
| After each brew | Discard grounds and the paper filter; rinse the carafe, brew basket, and reusable filter as appropriate. |
| Every few uses | Wash approved removable parts, empty the drip tray or grounds catcher, and wipe the exterior. |
| Every two to four weeks or when indicated | Inspect the hopper, burr chamber, grind chute, grounds catcher, and other coffee-contact areas; clean them using the model-specific method. |
| When prompted or at the manual’s interval | Descale according to water hardness, frequency of use, the machine’s alert, and the manufacturer’s current instructions. |
| At the stated replacement interval | Replace the charcoal or water filter if the machine uses one. |
Troubleshoot Problems After Cleaning
The Grinder Runs but Little Coffee Reaches the Basket
Unplug the machine and inspect the accessible burr chamber and grind chute for compacted grounds. Clean them using the model’s procedure and make sure every washed grinder component is completely dry. Moisture can make fine coffee particles stick together and obstruct a chute.
The Coffee Maker Brews Slowly
Check for a descale alert and perform the model’s approved descaling cycle if required. Also inspect the brew basket, permanent filter, drip valve, showerhead or spreader, and outlet openings for coffee residue when those parts are user-accessible.
The Coffee Tastes or Smells Like Vinegar
Run additional full cycles with fresh water. Rinse the reservoir, carafe, lid, and brew basket as appropriate. Do not add coffee until the cleaning odor has disappeared.
The Machine Overflows
Make sure the brew basket and filter are correctly seated. Clear residue from the reusable filter and grind chute, use the recommended filter type, choose a suitable grind size, and avoid exceeding the machine’s maximum bean, ground-coffee, or water level.
The Clean Message Remains On
Some machines reset a cleaning alert only after a dedicated button sequence or complete automatic program. Repeat the procedure exactly as described in the current instructions. If the alert remains after the required cleaning and rinse cycle, consult the manufacturer’s support information.
The Machine Leaks After Reassembly
Check that the reservoir, carafe lid, drip-stop valve, seals, hopper, brew basket, drip tray, and other removable parts are seated correctly. Stop using the machine if liquid reaches the appliance base, cord, plug, motor housing, or other electrical areas, or if a cracked component is leaking.
The Grinder Is Unusually Loud
Switch off and unplug the appliance. Check only the user-accessible areas for a foreign object, compacted coffee, incorrectly installed burr, or moisture. Do not reach into the grinder with a knife, screwdriver, or your fingers. If the source of the noise is not safely accessible, stop and contact the manufacturer.
When to Stop and Get Service
Stop troubleshooting and seek manufacturer support or qualified service if the grinder remains jammed after the approved cleaning procedure, an inaccessible foreign object is trapped inside, the motor repeatedly stalls, the power cord or plug is damaged, liquid has entered the electrical housing, the appliance leaks from its base, or an electrical or burning smell appears.
Frequently Asked Questions
How often should I clean a coffee maker with a grinder?
Discard grounds and rinse appropriate brewing parts after each use. Inspect and clean the grinder at the interval recommended for your model or whenever a grinder-clean alert appears. Descale according to the manual, water hardness, usage, and the machine’s descale indicator rather than relying on one universal monthly schedule.
Can I use baking soda instead of vinegar?
Baking soda can be useful for cleaning some washable carafes or removable surfaces, but do not run it through the internal water system unless the manufacturer specifically approves that method. It is not a universal replacement for vinegar or an approved descaler.
Is it safe to wash the grinder in the dishwasher?
Only when the exact removable component is labeled dishwasher-safe or the owner manual approves it. Breville prohibits dishwasher cleaning for Grind Control parts and accessories, while other manufacturers allow selected baskets or filters in the dishwasher. Never assume the fixed grinder assembly is dishwasher-safe.
What should I do if my coffee maker smells bad?
Discard old beans and grounds, wash approved removable parts, clean the drip tray and grounds catcher, and remove coffee residue from the grinder using the model’s procedure. If the odor appears during brewing, descale when appropriate and run fresh-water rinse cycles until the machine smells clean.
Can I use a commercial descaling solution instead of vinegar?
Yes, but only when that type of descaler is compatible with your exact machine. Some manufacturers prefer or require a branded liquid or packet, some permit white vinegar, and certain models warn against powder or tablet descalers. Follow both the coffee maker instructions and the cleaner’s dosage directions.
Can I rinse coffee grinder burrs with water?
Do not rinse fixed burrs, a motorized grinding chamber, or a built-in grind chute unless the manufacturer expressly says those components can be washed. Removable upper burrs and grinder baskets can have different instructions, so treat each component according to the manual.
Why must grinder parts be completely dry?
Moisture can make fine coffee grounds cling together and collect inside a normally dry grinder or chute. Dry the hopper, grinder basket, removable burrs, surrounding chamber, and chute surfaces as required before adding beans.
Can I clean the machine without vinegar?
Yes. Many machines use a manufacturer-approved liquid, packet, or other descaling product instead of vinegar. Use only a product and format approved for your model and follow the stated quantity, program, and rinse procedure.
Can I put grinder-cleaning pellets or rice in a built-in grinder?
Do not put rice, pellets, tablets, or another grinder-cleaning material into an integrated grinder unless the coffee maker manufacturer specifically approves that method. Products intended for standalone grinders may not be suitable for a grind-and-brew machine’s burrs, chute, sensors, or brewing system.
What if the grinder is still blocked after I brush the chute?
Recheck that the removable burr and hopper are correctly installed and that every normally dry grinder part is fully dry. If the blockage or loud noise remains, do not force tools deeper into the grinder or disassemble non-user-serviceable parts. Contact the manufacturer for model-specific support.
Conclusion
Safe cleaning starts by treating the grinder and brewer as separate systems. Wash only the components approved for washing, clean the grinder by the model-specific method, and descale the water path with the product, quantity, and program currently specified for your machine. Regular maintenance helps reduce stale residue, blocked grind chutes, slow water flow, and preventable operating problems.
Before reassembling the machine, confirm that every normally dry grinder component is dry, the burr, hopper, brew basket, reservoir, drip tray, and carafe are correctly installed, and no cleaning odor remains. Those model-specific checks matter more than following a generic vinegar recipe or fixed calendar schedule.
Sources
- Breville Grind Control Instruction Book — grinder and chute cleaning, dishwasher restriction, legacy vinegar descaling procedure, maintenance, and troubleshooting
- Breville Grind Control General Cleaning Guide — current grinder, brewer, exterior, and general cleaning guidance
- Breville Grind Control Descale Guide — current descaler quantity and approximate descale time
- Philips Grind & Brew Cleaning Guide — current bean-chute cleaning procedure and model-specific dishwasher guidance
- GE Profile Grind & Brew Cleaning and Descaling Guide — grinder, chute, showerhead, alert, and one-hour descale procedure
- Hamilton Beach Coffee Maker FAQs — model-dependent vinegar procedures, dishwasher guidance, rinsing, and cleaning intervals