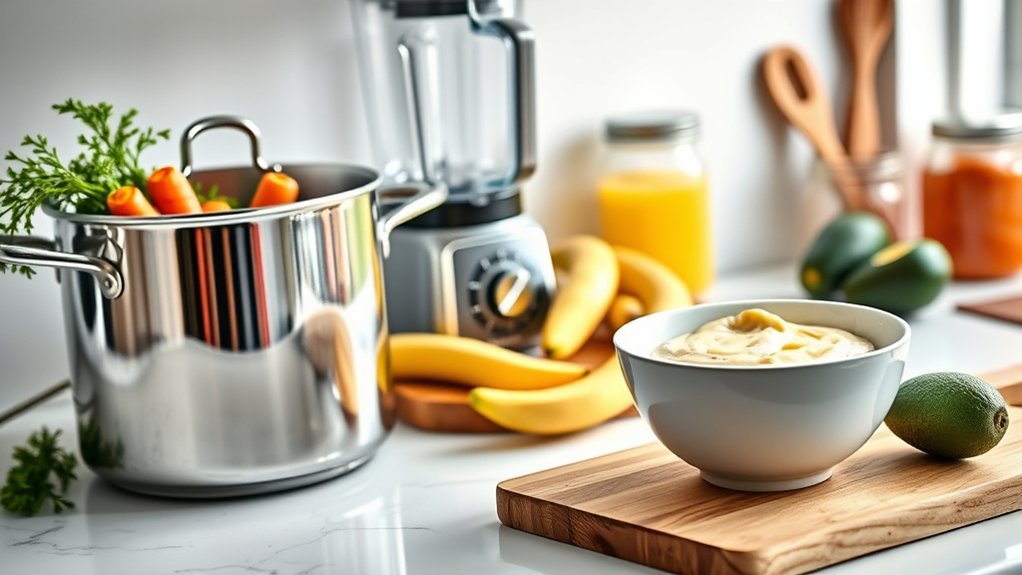
Making Stage 1 baby food at home can be simple once your baby is developmentally ready for solids. In this guide, “Stage 1” means a smooth, thin puree that is easy to swallow. You will learn how to choose nutritious ingredients, prepare them safely, adjust the texture, introduce allergens, and store each batch correctly.
Quick Answer
To make Stage 1 baby food, cook a single ingredient until very soft, blend it into a smooth puree, and thin it with water, breast milk, or prepared formula. Serve a small amount with a clean spoon. Refrigerate homemade puree for one to two days or freeze it for one to two months.
Key Takeaways
- Start solids at about six months when your baby shows developmental-readiness signs—not by age alone.
- Include iron-rich foods such as pureed meat, beans, lentils, eggs, or iron-fortified infant cereal.
- Cook firm foods until very soft, then blend them into a smooth puree with no hard pieces.
- Introduce one new ingredient at a time and wait three to five days before another new food.
- Store homemade baby food in the refrigerator for one to two days or in the freezer for one to two months.
- Never give honey before 12 months, and avoid whole nuts, thick spoonfuls of nut butter, raw hard produce, and other choking hazards.
At a Glance
| Time Required | About 15–35 minutes, depending on the ingredient and cooking method |
| Difficulty | Easy |
| Tools Needed | Knife, cutting board, saucepan or steamer, blender or food processor, clean spoon, and airtight containers |
| Cost | Low; most batches use one or two basic ingredients |
Before You Start: Is Your Baby Ready for Solids?
Most babies can begin eating foods other than breast milk or infant formula at about six months. The Centers for Disease Control and Prevention advises against introducing solids before four months.
Look for several readiness signs together. Your baby should be able to:
- Sit upright alone or with support.
- Control their head and neck.
- Open their mouth when food is offered.
- Swallow food instead of pushing it back out with the tongue.
- Bring objects toward their mouth.
- Show interest in food.
A baby’s readiness for solid food depends on development, not on reaching a birthday alone.
Warning: Ask your pediatrician before starting solids if your baby was born prematurely, has trouble swallowing, has poor growth, or has another medical condition. Babies with severe eczema or an existing egg allergy should also receive medical guidance before peanut introduction.
Breast milk or iron-fortified infant formula should continue while you introduce solid foods. Early purees complement milk feeding rather than immediately replacing it.

Power your essentials anywhere with a 999Wh pure sine wave power station delivering up to 1000W continuous with 2000W surge. It supports fast charging via USB-C PD 60W and USB-A QC 18W, plus simultaneous output for multiple devices through AC, USB, wireless, and car/DC ports. Recharge using AC, car, or solar with a built-in MPPT controller and dual cooling fans, while the upgraded battery management system protects against surges, short circuits, and overheating.

ON THE GO BABY FOOD: Gerber Stage 1 Baby Food Puree Tubs are designed for ease and convenience. These tubs are the perfect on the go baby food, made in a portable and easy-to-store format for busy parents

7G OF PROTEIN FOR BABY: Beech-Nut Meat Baby Food is a savory blend of real pureed chicken & chicken broth. Each jar contains 7 grams of protein to help keep baby full.
Essential Ingredients for Making Baby Food
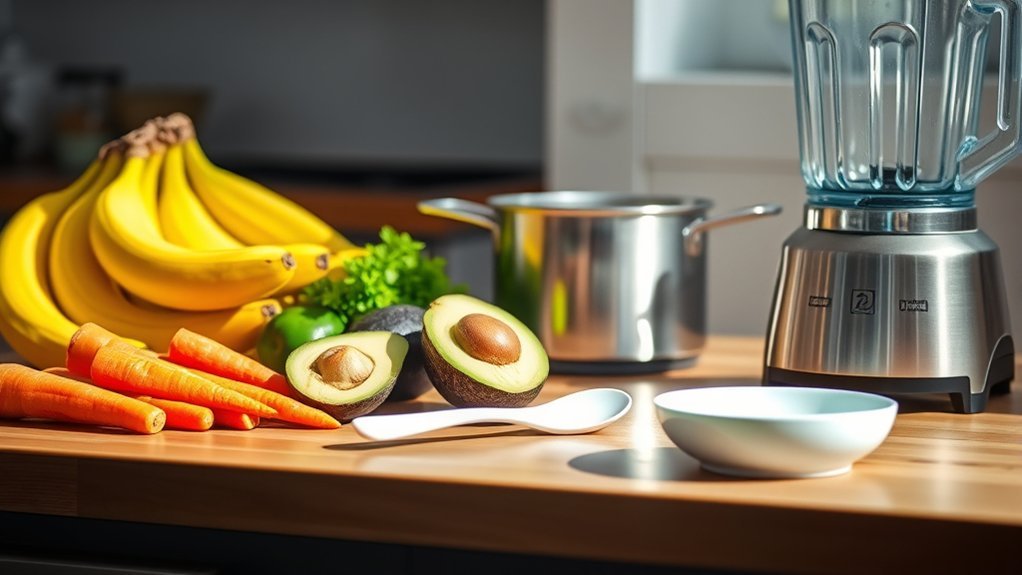
You do not need special or expensive ingredients to make nutritious Stage 1 baby food. Fresh, frozen, conventional, and organic foods can all work when they are stored and prepared safely.
Iron- and Zinc-Rich First Foods
Around six months, it becomes important to offer foods that contain iron. The CDC’s infant iron guidance recommends including iron-rich complementary foods once a baby begins eating solids.
Good smooth-puree options include:
- Fully cooked beef, chicken, turkey, or fish.
- Iron-fortified single-grain infant cereal.
- Well-cooked lentils, beans, or chickpeas.
- Fully cooked egg.
- Soft tofu.
Fruits and Vegetables
Sweet potatoes, carrots, squash, peas, pears, apples, bananas, peaches, avocados, and green beans can all be used. Choose foods without added salt, sugar, syrup, or sauce.
Sweet potatoes and carrots provide beta-carotene. Pears, apples, peaches, and bananas offer different flavors and textures. Avocado provides fat and can be mashed without cooking when it is ripe and soft.
Organic produce is optional. Regardless of how produce was grown, rinse it thoroughly under plain running water. The FDA advises against using soap, detergent, bleach, or commercial produce wash on fruits and vegetables.
Liquids for Thinning Puree
You can thin a puree with:
- Water.
- Breast milk.
- Prepared infant formula.
- A small amount of the cooking liquid from plain steamed produce.
Add liquid one teaspoon at a time. A Stage 1 puree should be smooth enough to fall slowly from a spoon without containing lumps, skins, seeds, or firm pieces.
Equipment and Food-Safety Setup
You can make baby food with basic kitchen equipment:
- A clean knife and cutting board.
- A saucepan, steamer basket, or oven-safe pan.
- A blender, food processor, immersion blender, or fork for very soft foods.
- A food thermometer when preparing meat, poultry, fish, or eggs.
- Clean spoons and a separate serving bowl.
- Small airtight refrigerator or freezer containers.
- An ice cube tray or silicone freezer mold with a clean cover.
Wash your hands with soap and water for at least 20 seconds before preparing food. Clean counters, utensils, the blender, and containers. Keep raw meat, poultry, seafood, and eggs away from ready-to-eat produce and use separate cutting surfaces when possible.
Note: Do not taste food with the same spoon you will use to feed your baby. Use a separate clean spoon so saliva does not contaminate the batch.
Step-by-Step Baby Food Puree Preparation
- Choose one ingredient. Beginning with a single food makes it easier to identify an allergy or intolerance.
- Wash your hands and equipment. Clean the work surface, blender, utensils, and storage containers.
- Prepare the ingredient. Rinse produce under running water. Remove pits, hard seeds, tough stems, bones, gristle, and peels that would prevent a smooth texture.
- Cook until very soft. Steam, simmer, roast, or bake firm produce until it is easily crushed with a fork. Cook meat, poultry, fish, and eggs fully. Follow the federal safe minimum temperature chart; poultry must reach 165°F and ground meats must reach 160°F.
- Blend thoroughly. Place the cooked ingredient in a blender or food processor. Blend until no firm pieces remain.
- Adjust the texture. Add water, breast milk, or prepared formula a teaspoon at a time until the puree is smooth and thin.
- Serve or cool promptly. Transfer the amount your baby will eat into a clean bowl. Cool the remaining batch quickly and refrigerate or freeze it within two hours.
Pro Tip: Blend a small batch first. A large blender may not process one tiny serving evenly, while an immersion blender or narrow container often handles small amounts more smoothly.
Tips for Steaming and Cooking Fruits and Vegetables
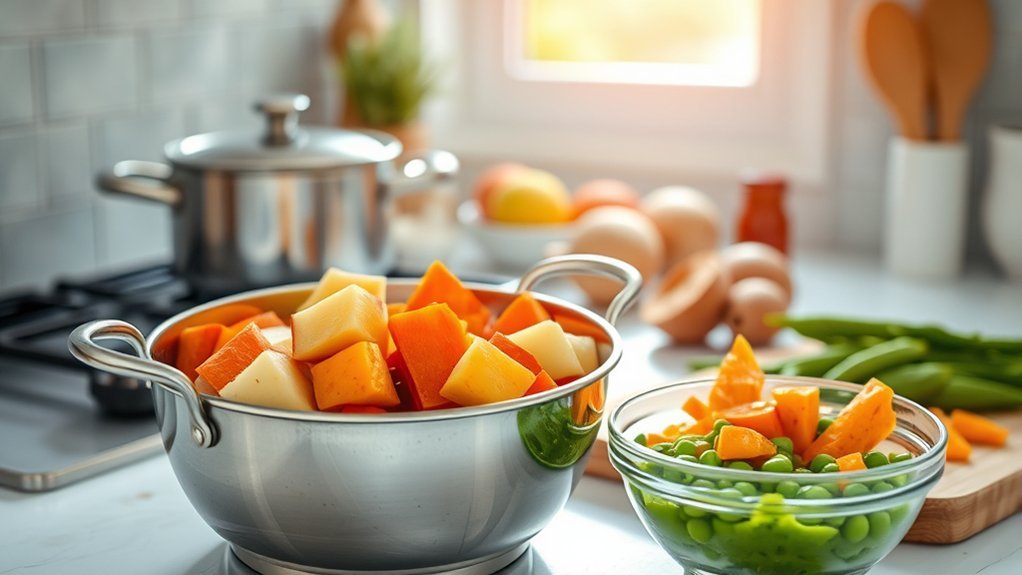
Steaming is a convenient way to soften fruits and vegetables without adding salt, sugar, or cooking fat. Place evenly sized pieces in a steamer basket over simmering water and cover the pan.
Cooking time varies with the food, ripeness, and size of the pieces. Instead of relying on one exact time, begin checking after a few minutes. The food is ready when a fork slides through easily and the pieces can be mashed without pressure.
- Firm vegetables: Sweet potato, carrot, squash, green beans, peas, and broccoli should be cooked until very soft.
- Firm fruits: Apples and pears can be steamed or simmered until tender.
- Soft fruits: Ripe banana, avocado, mango, peach, and pear may be mashed without cooking when clean, ripe, and soft.
- Frozen produce: Plain frozen fruits and vegetables can be cooked directly according to the package directions and then blended.
Do not add salt, sugar, honey, syrup, or seasoning blends that contain sodium. Mild single herbs or spices can be introduced later in small amounts after their ingredients are understood.
Stage 1 Texture and Serving Guide
A beginning puree should be completely smooth and moist. It should not contain raw hard pieces, whole seeds, thick skins, bone fragments, or sticky clumps.
Seat your baby upright and supervise every bite. Offer a small spoonful, pause, and watch the baby’s response. Signs that a baby wants more may include opening the mouth or reaching toward food. Turning away, closing the mouth, pushing the spoon away, or becoming distracted can signal fullness.
Do not force the baby to finish a portion. Early feeding is partly about learning how to move food through the mouth and becoming familiar with new tastes.
Warning: Never leave a baby alone while eating. Whole nuts, spoonfuls of nut butter, popcorn, raw carrot, raw apple pieces, whole grapes, meat chunks, hard cheese pieces, and other firm, round, sticky, or slippery foods are choking hazards.
Best Ways to Store and Serve Your Baby’s Food
Proper storage helps limit bacterial growth. The FoodSafety.gov guidance for children under five gives a conservative general limit of one to two days in the refrigerator and one to two months in the freezer for homemade baby food.
- Cool prepared puree promptly in a clean, shallow container.
- Refrigerate it at 40°F or below and use it within one to two days.
- Freeze portions you will not use within that period.
- Label each container with the ingredient and preparation date.
- Use frozen homemade puree within one to two months for the conservative general storage window.
How to Freeze Baby Food
Spoon cooled puree into a clean covered ice cube tray or silicone mold. Once solid, transfer the portions to a labeled freezer-safe container or bag. Keep the tray and freezer utensils clean to prevent contamination.
How to Thaw and Reheat Baby Food
Thaw frozen puree in the refrigerator, in a sealed container placed in warm water, or during reheating. Do not thaw baby food on the counter.
If you use a microwave, transfer the puree to a microwave-safe dish. Heat it briefly, stir thoroughly, let it stand, and test several areas for hot spots. The food should feel lukewarm rather than hot.
Place only the amount needed for one feeding into the baby’s serving bowl. Discard food left in that bowl after the feeding because the spoon may have carried saliva into it. Do not return touched leftovers to the main container.
Flavor Combinations for Baby Food: What to Introduce Next
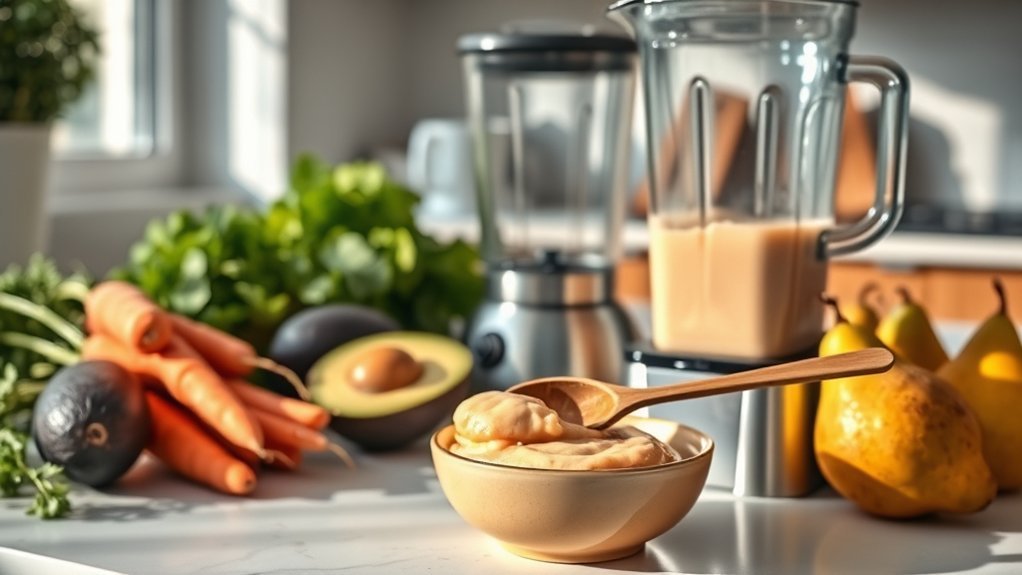
Start with single-ingredient foods. The CDC recommends waiting three to five days between new foods so you can watch for a reaction. Once your baby has tolerated each ingredient separately, you can combine them.
Easy combinations include:
- Sweet potato and apple.
- Carrot and pear.
- Avocado and banana.
- Peach and mango.
- Pear and well-cooked spinach.
- Chicken and sweet potato.
- Lentil and carrot.
- Iron-fortified oatmeal and pear.
Pairing beans, lentils, or leafy greens with a fruit or vegetable containing vitamin C can help the body absorb plant-based iron. Keep the texture smooth and thin until your baby is ready for thicker mashed foods.
How to Introduce Common Allergens Safely
Current guidance does not recommend delaying common allergenic foods once a baby is ready for solids. Introduce one allergenic food at a time in a small, developmentally safe amount. Offer it when you can observe your baby afterward.
Common allergenic foods include egg, peanut, dairy, wheat, soy, sesame, fish, and shellfish. Safe forms may include:
- Fully cooked egg blended or mashed smooth.
- Smooth peanut or tree-nut butter thinned with warm water, breast milk, formula, or puree.
- Plain pasteurized yogurt.
- Soft tofu.
- Fully cooked fish blended carefully after all bones are removed.
- Wheat cereal prepared to a smooth consistency.
Never offer whole nuts or a thick spoonful of nut butter. They are choking hazards. The American Academy of Pediatrics’ allergen guidance recommends discussing peanut introduction with a clinician when a baby has severe eczema or an egg allergy.
Stop feeding the food and seek medical advice if your baby develops hives, repeated vomiting, facial swelling, coughing, wheezing, or unusual sleepiness. Call emergency services for breathing trouble, severe swelling, collapse, or another rapidly worsening reaction.
Foods and Ingredients to Avoid
The CDC lists several foods and drinks that should be avoided or limited during infancy.
- Honey: Do not give honey in any form before 12 months because of the risk of infant botulism.
- Cow’s milk as a drink: Wait until 12 months. Small amounts of pasteurized dairy in foods, such as plain yogurt, can be introduced earlier when appropriate.
- Unpasteurized foods and drinks: Avoid unpasteurized milk, cheese, and juice.
- Raw or undercooked animal foods: Fully cook meat, poultry, seafood, and eggs.
- Added sugar and excess sodium: Do not sweeten purees or add salt.
- Choking hazards: Avoid whole nuts, thick nut-butter clumps, popcorn, whole grapes, raw hard produce, hot-dog rounds, and firm chunks of meat or cheese.
- Rice-only diets: Rotate grains and ingredients instead of relying heavily on one food.
Common Baby Food Preparation Problems and Solutions
Most puree problems can be corrected by adjusting the cooking time, liquid, blending method, or storage routine.
Consistency Issues During Pureeing
- The puree is too thick: Add water, breast milk, or prepared formula one teaspoon at a time.
- The puree is grainy: Cook the ingredient longer, blend again, or press it through a fine-mesh sieve.
- The blender will not catch the food: Use a narrower container, make a slightly larger batch, or use an immersion blender.
- The puree is too thin: Blend in more of the cooked ingredient or allow it to thicken briefly over low heat.
- The puree separates: Stir it thoroughly before serving. Natural separation does not always mean the food has spoiled.
- Skins or fibers remain: Peel the ingredient when necessary or pass the puree through a fine sieve.
Spoilage and Storage Challenges
Store puree in clean airtight containers and label each portion. Use refrigerated homemade baby food within one to two days and frozen portions within one to two months.
Discard food if you see mold, bubbling, a swollen container, unusual discoloration, a sour or rotten odor, or another clear sign of spoilage. Do not taste questionable food to decide whether it is safe.
Also discard any portion that was left at room temperature for more than two hours, or more than one hour in temperatures above 90°F.
Baby Refuses the Puree
A baby may need repeated, pressure-free exposure before accepting a new taste. Offer a small amount again on another day. Do not force the spoon into the baby’s mouth or disguise every new food with a sweet favorite.
Why Homemade Stage 1 Baby Food Can Be a Good Choice
Homemade baby food can give you control over ingredients, texture, and portion size. It can also make it easier to share plain ingredients already being prepared for the rest of the family.
Possible benefits include:
- Choosing ingredients without added salt or sugar.
- Adjusting the texture for your baby’s current skills.
- Offering a wide range of flavors.
- Preparing small portions to reduce waste.
- Using suitable ingredients from family meals before seasoning is added.
However, homemade food is not automatically safer or more nutritious than commercial baby food. Ingredients used at home can also contain naturally occurring or environmental contaminants. The FDA recommends offering babies a varied diet rather than eliminating nutritious food groups to avoid a single contaminant.
Commercial and homemade foods can both fit into a healthy feeding plan. Safe preparation, dietary variety, proper storage, and developmentally appropriate textures matter more than choosing only one type.
Frequently Asked Questions
Can I use frozen fruits and vegetables for baby food?
Yes. Choose plain frozen produce without added salt, sugar, syrup, butter, or sauce. Cook firm frozen foods until very soft, then blend them to a smooth texture. Follow the package instructions and keep the food frozen until you are ready to cook it.
When can I introduce mixed flavors to my baby’s diet?
Introduce single ingredients first and wait three to five days between new foods. Once your baby has tolerated each ingredient separately, you can combine familiar foods such as sweet potato and apple or chicken and carrot.
How do I know if my baby is ready for solids?
Most babies are ready at about six months when they can sit upright with support, control their head and neck, open for food, bring objects to their mouth, and swallow food instead of pushing it back out. Do not start solids before four months.
Should I avoid common allergens in Stage 1 baby food?
No. Once your baby is ready for solids, common allergens can generally be introduced one at a time in developmentally safe forms. Never offer whole nuts or thick spoonfuls of nut butter. Ask your pediatrician before peanut introduction if your baby has severe eczema or an egg allergy.
What equipment do I need for making baby food at home?
You need a clean knife, cutting board, pan or steamer, blender or food processor, clean spoons, and airtight containers. A food thermometer is also important when preparing meat, poultry, seafood, or eggs.
How long does homemade Stage 1 baby food last?
For a simple conservative rule, use refrigerated homemade baby food within one to two days and frozen homemade baby food within one to two months. Label each container and discard food that has been touched by the baby’s spoon.
Can I add herbs or spices to Stage 1 baby food?
You can introduce a small amount of a mild single herb or spice after your baby has begun tolerating basic foods. Avoid seasoning blends with salt, added sugar, or multiple unfamiliar ingredients. Never sweeten infant food with honey before 12 months.
What should I do if my baby refuses a puree?
Stop when your baby turns away or closes their mouth. Try the food again on another day without pressure. It can take repeated exposure for a baby to accept a new flavor or texture.
Conclusion
Homemade Stage 1 baby food can be an easy way to offer smooth, simple foods while controlling the ingredients and texture. Begin when your baby is developmentally ready, include iron-rich choices, introduce new foods one at a time, and follow careful cooking and storage practices. Whether you use homemade food, commercial baby food, or both, variety and safe feeding matter most.
Sources
- CDC: When, What, and How to Introduce Solid Foods — readiness signs, timing, and introducing new foods.
- CDC: Iron and Infant Nutrition — the importance of iron-rich complementary foods.
- CDC: Choking Hazards — unsafe food shapes, textures, and serving methods.
- CDC: Foods and Drinks to Avoid or Limit — honey, added sugar, milk, juice, sodium, and unpasteurized foods.
- FoodSafety.gov: Children Under Five — baby-food storage, reheating, and temperature safety.
- FDA: Healthy Food Choices for Babies 6–12 Months — dietary variety and reducing contaminant exposure.