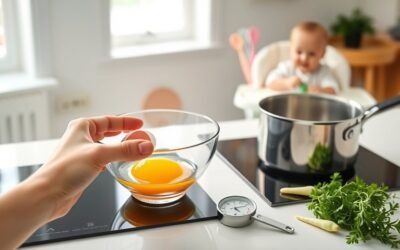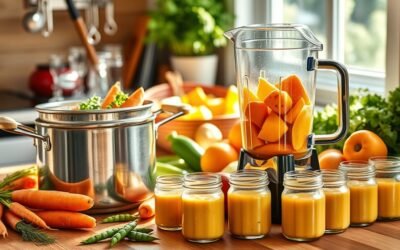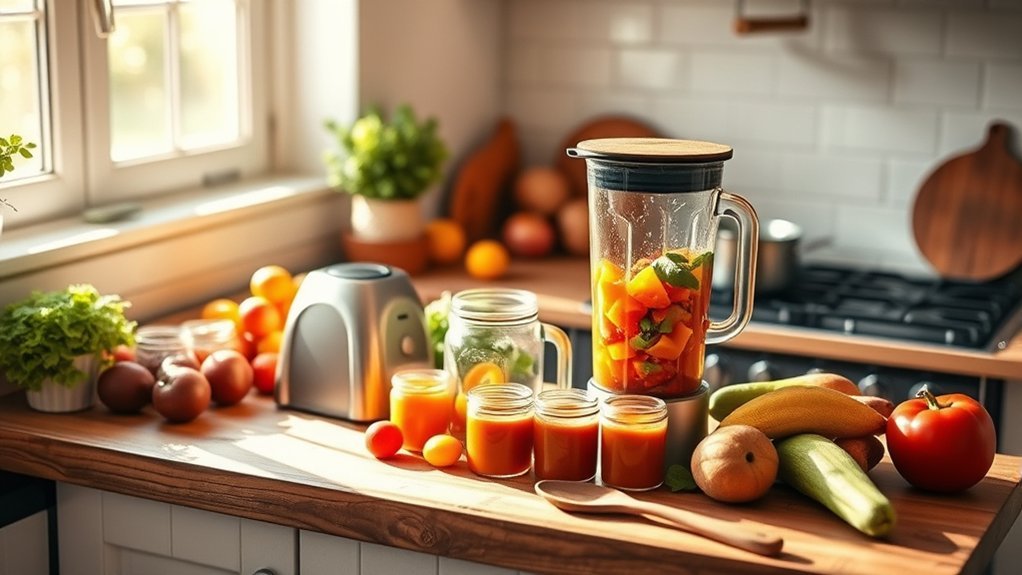
Making homemade baby food can be as simple as mashing a ripe banana or blending a small portion of safely cooked vegetables, grains, beans, meat, or fish. The key is to begin when your baby is developmentally ready, choose nutrient-rich foods, use an age-appropriate texture, and follow careful preparation and storage practices.
Quick Answer
To make homemade baby food, wash and safely cook a nutrient-rich ingredient until soft, then mash or blend it to a texture your baby can manage. Serve a small portion in a separate bowl. Refrigerate unused homemade food for one to two days or freeze it for one to two months.
Key Takeaways
- Most babies are ready for solid foods at about 6 months, once they have steady head control, can sit with support, and swallow food instead of pushing it out.
- Start with soft, nutrient-rich foods and include iron sources such as meat, beans, lentils, tofu, eggs, or iron-fortified infant cereal.
- Introduce one new single-ingredient food at a time at first, while offering allergenic foods in safe forms without unnecessary delay.
- Keep homemade baby food refrigerated for one to two days or frozen for one to two months.
- Put each serving in a separate bowl and discard anything left after the spoon has touched your baby’s mouth.
At a Glance
| Time Required | About 20–45 minutes per batch, plus cooling time |
| Difficulty | Easy |
| Tools Needed | Knife, cutting board, pot or steamer, fork or blender, clean containers, and a food thermometer when cooking meat, fish, poultry, or egg dishes |
| Cost | Varies by ingredient; often low when using small portions of suitable family foods prepared without added sugar or excess salt |
Note: This guide provides general food-preparation information. Ask your baby’s pediatrician about starting solids if your baby was born prematurely, has feeding or swallowing difficulties, is not gaining weight as expected, or has another medical condition. Homemade foods complement breast milk or iron-fortified infant formula; they do not replace infant formula, and formula should never be made from a homemade recipe.
When Is Your Baby Ready for Homemade Baby Food?
The CDC recommends introducing foods other than breast milk or infant formula at about 6 months. Introducing solid food before 4 months is not recommended.
Your baby may be ready when they can:
- Sit upright alone or with support.
- Control their head and neck.
- Open their mouth when food is offered.
- Swallow food instead of pushing it out with their tongue.
- Bring objects toward their mouth.
- Reach for and grasp objects or food.
Interest in your food is helpful, but it should not be the only readiness sign. Starting solids is gradual, and breast milk or iron-fortified infant formula remains an important part of the diet throughout the first year.
Warning: Always seat your baby upright and supervise every bite. Food that is hard, round, sticky, or served in large chunks can block the airway. Never give whole nuts, popcorn, whole grapes, hard raw vegetables, chunks of meat or cheese, or thick spoonfuls of nut butter.

Power your essentials anywhere with a 999Wh pure sine wave power station delivering up to 1000W continuous with 2000W surge. It supports fast charging via USB-C PD 60W and USB-A QC 18W, plus simultaneous output for multiple devices through AC, USB, wireless, and car/DC ports. Recharge using AC, car, or solar with a built-in MPPT controller and dual cooling fans, while the upgraded battery management system protects against surges, short circuits, and overheating.
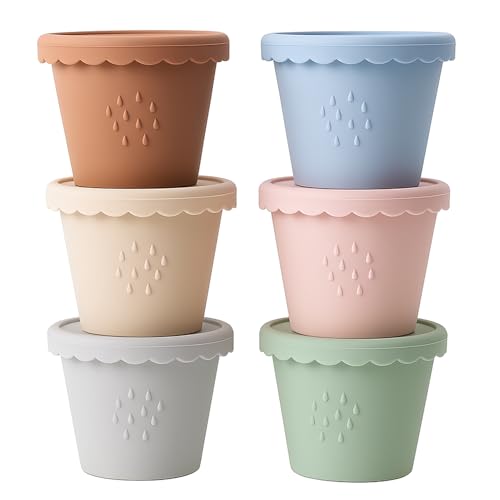
Safe & Durable Material: Made of 100% food-grade silicone, free of BPA, PVC and phthalates. These baby food containers are safer than plastic and fully microwave and freezer safe, resistant to heat and cold without releasing harmful substances. Unlike glass, they’re lightweight, unbreakable, and comfortable for both adults and kids.
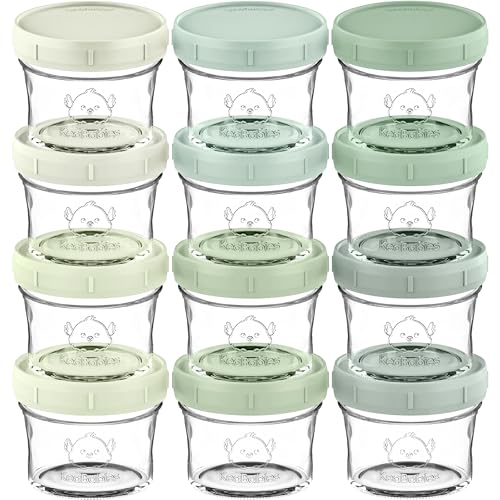
12-Pack, Durable 4oz Glass Jars with Lids – KeaBabies Baby Food Jars Glass check all the right boxes for a reliable baby snack containers. Ideal for busy parents as baby food containers for prepping and storing homemade meals smoothly.
Your Step-By-Step Guide to Making Homemade Baby Food
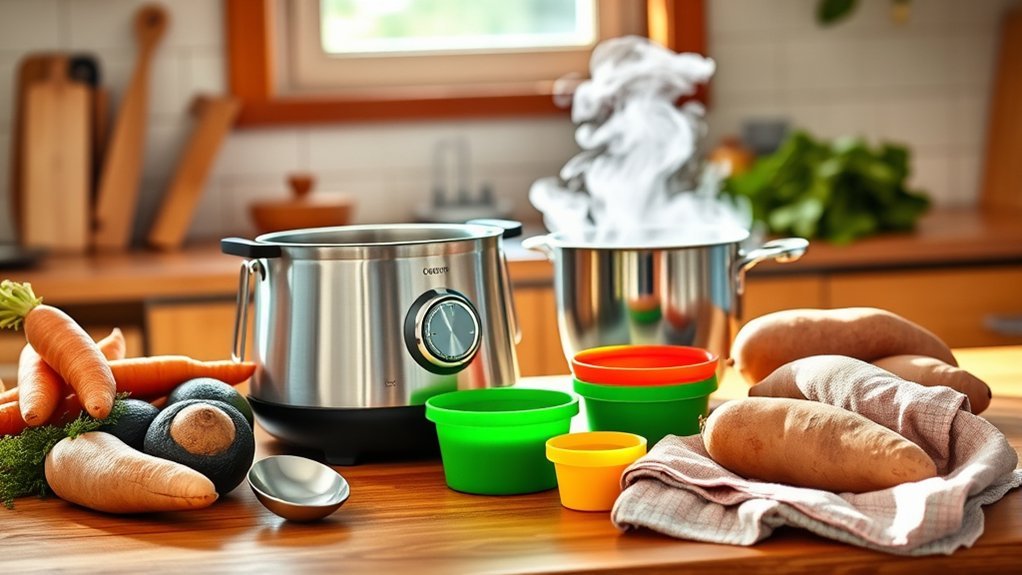
Making homemade baby food lets you choose the ingredients and adjust the texture as your baby’s eating skills develop. It does not require a special baby-food machine, and many soft foods can be prepared with a fork.
1. Clean Your Hands, Tools, and Work Area
Wash your hands with soap and water before handling food. Clean the counter, cutting board, knife, cooking utensils, blender parts, containers, and ice cube trays.
Keep raw meat, poultry, seafood, and eggs away from fruits, vegetables, cooked foods, and feeding utensils. Use a separate cutting board when possible, and wash every surface that touched raw animal products before preparing another ingredient.
2. Choose a Nutrient-Rich Ingredient
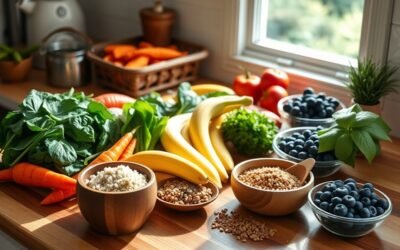
You can begin with a single food such as avocado, banana, sweet potato, pear, peas, lentils, beans, egg, meat, or iron-fortified infant oatmeal. There is no required order for first foods.
At first, introduce one single-ingredient food at a time and wait three to five days before introducing another new food. This makes it easier to identify a possible reaction.
Include iron-rich foods regularly. Suitable options include:
- Finely pureed beef, lamb, chicken, turkey, or fish.
- Well-cooked egg.
- Mashed beans, lentils, or tofu.
- Iron-fortified infant oatmeal, barley cereal, or multigrain cereal.
If you use infant cereal, vary the grains instead of serving only rice cereal. Oat, barley, and multigrain infant cereals can help reduce repeated exposure to arsenic from rice.
3. Wash, Peel, Trim, and Cook
Rinse fruits and vegetables under clean running water. Remove pits, seeds, tough stems, bones, skin, and excess fat where appropriate. Peel produce when the peel would create a tough or difficult texture.
Cook hard fruits, vegetables, grains, beans, meat, poultry, fish, and eggs until safely done and soft enough to mash. Steaming, simmering, roasting, or microwaving can all work. Plain frozen fruits and vegetables are also suitable when they contain no added sugar, heavy sauce, or excess salt and are prepared safely.
When preparing animal foods, use a food thermometer. The federal safe minimum temperature chart recommends:
- 165°F or 74°C: Poultry and reheated leftovers.
- 160°F or 71°C: Ground meat and egg dishes.
- 145°F or 63°C: Fish and whole cuts of beef, pork, lamb, or veal; whole cuts also need the recommended rest time.
4. Mash or Blend to the Right Texture
For an early eater, mash or blend the food until it is smooth enough to swallow comfortably. Add a small amount of water, expressed breast milk, or correctly prepared infant formula if the puree is too thick.
Do not dilute prepared formula with extra water. When formula or expressed milk is mixed into a batch, follow the shorter handling and storage limit that applies to the milk or formula.
As your baby becomes more skilled, gradually move from smooth puree to thicker puree, mashed food, soft lumps, and developmentally appropriate finger foods. Staying only with completely smooth textures for too long can limit opportunities to practice chewing and moving food around the mouth.
The safest texture is not always the smoothest texture; it is the texture that matches your baby’s current ability to sit, grasp, chew, and swallow.
5. Serve a Small Portion
Begin with one or two teaspoons and allow your baby to guide the amount. Some babies eat very little during early meals because tasting, touching, and learning are part of the process.
Put the serving in a separate clean bowl. Keep the main batch in the refrigerator or freezer so the feeding spoon never returns to it.
Watch for fullness cues such as turning away, closing the mouth, pushing the spoon away, slowing down, or losing interest. Do not pressure your baby to finish a portion.
6. Cool and Store the Unused Batch
Divide the food into small, shallow portions so it cools quickly. Refrigerate or freeze it promptly in clean, food-safe containers. Label each container with the food and preparation date.
Pro Tip: Freeze small portions rather than a large container. You can thaw only what your baby is likely to eat, which reduces waste and prevents repeated warming and cooling.
How to Keep Your Baby Food Safe and Fresh
Safe storage is especially important because infants and young children have developing immune systems. Follow the federal FoodSafety.gov guidance for children under five, keep your refrigerator at 40°F or below, and keep your freezer at 0°F or below.
Proper Storage Techniques
| Homemade Food | Refrigerator | Freezer |
|---|---|---|
| Fruit, vegetable, grain, bean, or mixed puree | 1–2 days | 1–2 months |
| Meat or egg puree | 1 day | 1–2 months |
| Food placed in the serving bowl | Discard after feeding | Do not freeze |
Use clean, airtight containers, silicone freezer trays, or freezer-safe bags. Once tray portions are frozen solid, transfer them to a labeled airtight container to limit air exposure and freezer burn.
Do not store baby food at room temperature. Refrigerate perishable food within two hours, or within one hour when the surrounding temperature is above 90°F.
Warning: The FDA advises discarding food left in the baby’s serving dish. Saliva on the spoon can contaminate the food, and refrigeration does not make that serving safe to save.
Safe Thawing Methods
Thaw only the amount you expect to serve. The refrigerator is the safest choice when planning ahead.
| Thawing Method | Key Points |
|---|---|
| Refrigerator | Thaw overnight in a covered container. Keep refrigerated and use promptly. |
| Microwave | Transfer food to a microwave-safe dish. Heat, stir thoroughly, allow it to stand, and check for hot spots before serving. |
| Stovetop | Warm a small portion gently, stirring often. Cool it to a lukewarm temperature before feeding. |
| Room Temperature | Avoid counter thawing because the outside can warm into the temperature range where bacteria grow quickly. |
| Standing Water | Avoid leaving containers in standing water, which can warm unevenly or contaminate a poorly sealed container. |
Food does not have to be served warm. Cold or room-temperature food is acceptable when it has been handled safely and your baby accepts it. If you reheat previously cooked meat, poultry, fish, egg, or mixed leftovers, heat it thoroughly and then let it cool to a safe, lukewarm serving temperature.
Do not repeatedly warm and cool the same portion. For the simplest routine, thaw one small serving, heat it once if desired, and discard anything left in the bowl.
Essential Tools for Making Baby Food
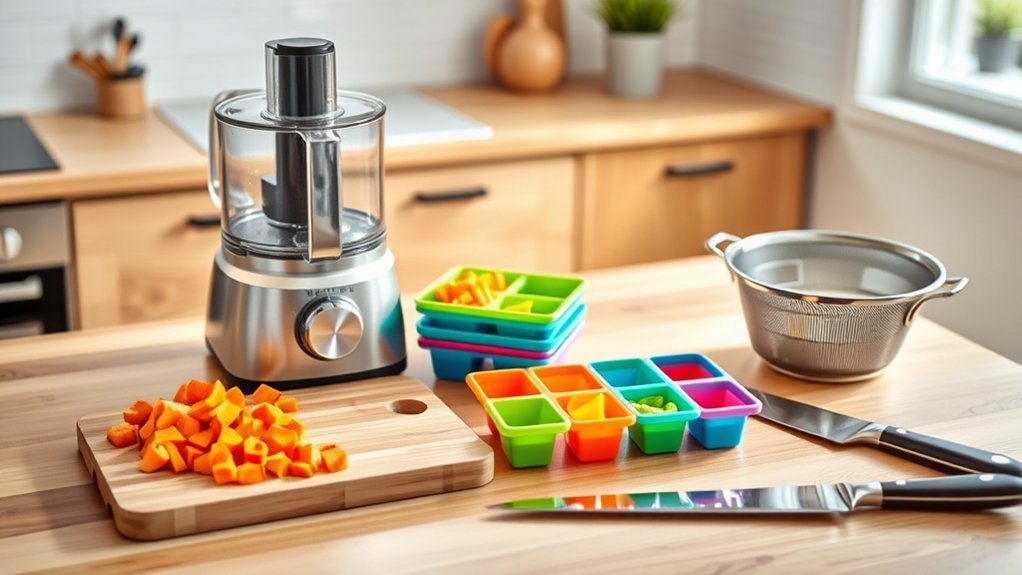
You do not need a specialized appliance to make baby food. The most useful tools are easy to clean, suited to the food you are preparing, and capable of producing a safe texture.
Must-Have Kitchen Appliances
A blender, food processor, or immersion blender is useful for large batches and very smooth purees. A fork or potato masher may be enough for banana, avocado, soft-cooked sweet potato, beans, or other tender foods.
A steamer basket, saucepan, oven, or microwave-safe dish can cook produce until tender. Choose the method that lets you cook the food thoroughly without scorching it.
A food thermometer is important when preparing meat, poultry, fish, or egg dishes. Color and texture alone do not confirm that animal foods have reached a safe internal temperature.
Essential Storage Containers
Useful storage options include:
- Clean silicone freezer trays for small portions.
- Airtight refrigerator and freezer containers.
- Freezer-safe glass jars that allow room for expansion.
- BPA-free freezer bags designed for food storage.
- Waterproof labels or freezer tape for the food name and preparation date.
Do not overfill glass containers before freezing. Food expands as it freezes, so leave suitable headspace and confirm that the container is rated for freezer use.
Recommended Cooking Utensils
A knife and cutting board help remove peels, pits, stems, skin, fat, and bones. Use separate equipment or thoroughly wash and sanitize equipment after it contacts raw meat, poultry, seafood, or eggs.
A fine-mesh sieve can smooth a puree when fibrous skins or seed fragments remain, but it is not required for every food. A soft silicone spoon and a shallow bowl can make feeding easier while keeping the main batch free from saliva contamination.
Key Nutrients Your Baby Needs in Homemade Food
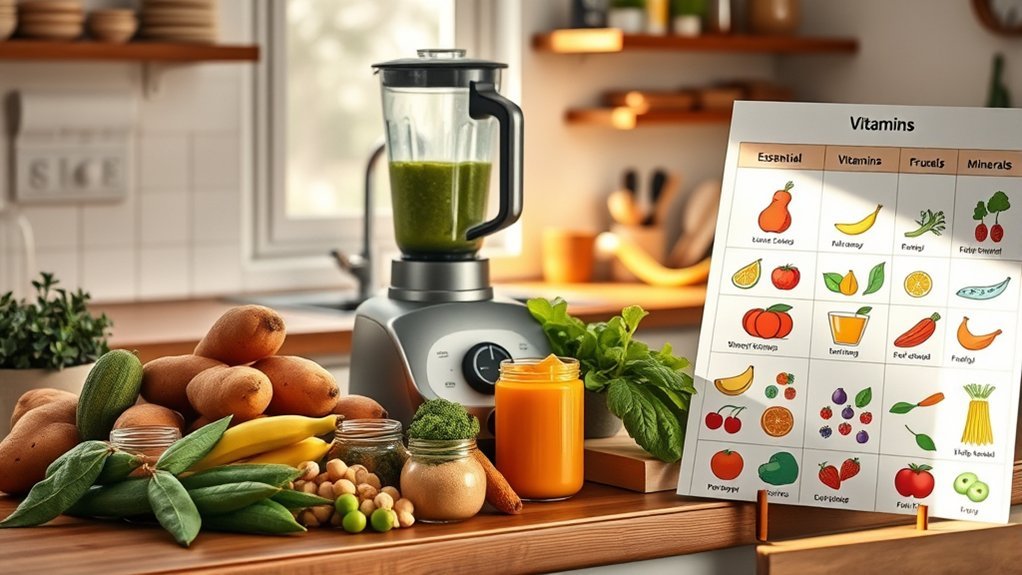
Homemade baby food should include more than fruit and vegetable purees. As solids become a larger part of the diet, offer foods from several food groups and pay particular attention to iron.
- Iron: The CDC identifies iron as important for brain development and immune function. Offer meat, poultry, fish, eggs, tofu, beans, lentils, and iron-fortified infant cereals.
- Protein: Meat, poultry, fish, eggs, beans, lentils, tofu, and pasteurized unsweetened yogurt support growth.
- Healthy fats: Avocado, pasteurized full-fat plain yogurt, fish, and safely thinned smooth nut or seed butter can add energy and support a varied diet.
- Vitamin C: Soft fruits and vegetables such as berries, broccoli, tomato, papaya, and sweet potato can help the body absorb iron from plant foods.
- Fiber: Pears, peas, beans, lentils, oats, and sweet potatoes support digestive health as part of a varied diet.
A single puree does not need to provide every nutrient. Aim for variety across meals and days. Babies who are breastfed, formula-fed, born prematurely, or following a vegetarian or vegan diet may have different iron or vitamin needs, so discuss supplements with the pediatrician.
How to Introduce Allergenic Foods Safely
Potentially allergenic foods include peanut, egg, cow’s-milk products, soy, wheat, fish, shellfish, sesame, and tree nuts. Once your baby is ready for solids, these foods can generally be introduced in safe forms along with other foods rather than being delayed.
Introduce one allergenic food at a time during the day, when you can watch your baby. Start with a small amount and serve the food again regularly if it is tolerated.
- Mix smooth peanut butter or nut butter with warm water, infant cereal, or familiar puree until it is thin enough to swallow easily.
- Cook egg thoroughly and mash it to an appropriate texture.
- Use pasteurized, unsweetened yogurt or soft pasteurized cheese.
- Cook fish thoroughly, remove every bone, and mash or flake it finely.
- Use well-cooked wheat products in a soft, manageable form.
Never give whole nuts or a thick spoonful of peanut or nut butter because both are choking hazards. If your baby has severe eczema, an existing egg allergy, or a previous food reaction, ask the pediatrician how and when to introduce peanut and other allergens.
Warning: Stop feeding the food and seek medical advice if your baby develops hives, facial swelling, repeated vomiting, coughing, or wheezing. Call emergency services immediately for trouble breathing, swelling of the tongue or throat, collapse, unusual limpness, or another severe reaction.
Foods and Drinks to Avoid or Limit
The CDC lists several foods and drinks that are unsafe or unsuitable for infants.
- Honey before 12 months: Honey can cause infant botulism. Do not add it to food, formula, water, or a pacifier.
- Unpasteurized foods and drinks: Avoid raw milk and unpasteurized juice, yogurt, or cheese.
- Added sugars: Infants and children younger than 24 months should not be given foods or drinks with added sugar.
- High-sodium foods: Avoid adding salt to baby food and limit processed meats, salty snacks, and heavily salted canned or packaged foods.
- Cow’s milk as a drink: Do not replace breast milk or infant formula with cow’s milk before 12 months. Pasteurized yogurt and cheese can be introduced earlier in suitable forms.
- Juice: Babies younger than 12 months do not need fruit or vegetable juice.
- High-mercury fish: Avoid shark, swordfish, king mackerel, marlin, orange roughy, bigeye tuna, and Gulf of Mexico tilefish.
- Raw or undercooked animal foods: Do not serve undercooked eggs, meat, poultry, fish, or shellfish.
Flavor and Texture Variations for Baby Purees
Once individual ingredients have been introduced and tolerated, you can combine them to create a wider range of flavors and nutrients.
Balanced combinations include:
- Avocado and banana.
- Apple and spinach.
- Pear and iron-fortified infant oatmeal.
- Sweet potato and lentils.
- Carrot and chicken.
- Pumpkin and beans.
- Plain pasteurized yogurt and soft fruit.
- Fish and mashed potato or peas.
Tart foods such as berries or kiwi can be paired with naturally sweet foods such as banana, pear, or sweet potato. You can also add a small amount of unsalted herb or spice, such as cinnamon, cumin, dill, or garlic, once your baby has tolerated the main ingredients.
To change the texture, blend for less time, mash with a fork, stir in prepared infant oatmeal, or leave soft, manageable lumps. Finely ground seeds may be mixed into moist food when they are suitable for your baby, but whole seeds, nuts, and dry clumps can be choking hazards.
Gagging Versus Choking
Gagging can be noisy and may include coughing, sputtering, or pushing food forward. It is a protective response that can occur while a baby learns new textures.
Choking may be quiet because the airway is blocked. A choking baby may be unable to cry, cough effectively, or breathe. Follow the CDC’s choking-prevention guidance, supervise every meal, and ask a qualified professional to teach you infant choking first aid and CPR.
Common Problems With Baby Food and How to Fix Them
| Problem | What to Do |
|---|---|
| Puree is too thick | Add a small amount of water, expressed breast milk, or correctly prepared infant formula and mix thoroughly. |
| Puree is too thin | Mix in more mashed food or a small amount of prepared iron-fortified infant oatmeal. |
| Texture is grainy | Cook the ingredient until softer, blend with a little liquid, or press it through a fine-mesh sieve. |
| Food tastes bland | Combine it with a familiar fruit, vegetable, healthy fat, or unsalted herb after the ingredients have been tolerated separately. |
| Avocado, banana, or apple browns | Browning is usually an oxidation-related color change rather than immediate spoilage. Limit air exposure and prepare small amounts. A few drops of lemon juice can slow browning but are optional and may change the taste. |
| Baby refuses the food | End the meal without pressure and offer the food again on another day. Acceptance often takes repeated, calm exposure. |
| Possible allergic reaction | Stop the food, note the ingredients and symptoms, and contact the pediatrician. Seek emergency care for breathing difficulty, major swelling, collapse, or another severe reaction. |
FAQs on Making Homemade Baby Food
Homemade baby food can be nutritious, but its safety depends on ingredient choice, cooking, texture, storage, and feeding practices. Begin with foods that match your baby’s developmental ability and expand the diet gradually.
Single-ingredient foods are useful at first because they make reactions easier to identify. After ingredients are tolerated, combining foods such as avocado and banana, lentils and sweet potato, or meat and vegetables can add variety.
Use a fork, blender, food mill, or immersion blender to reach the right consistency. Water, expressed breast milk, or correctly prepared formula can thin a puree, but only add as much as needed.
For long-term storage, freeze clean portions and label them. Use homemade frozen baby food within one to two months, and thaw only the amount you need.
Most importantly, serve food from a separate bowl. Anything left in that bowl after feeding must be discarded rather than refrigerated.
Tips for Safe Food Storage of Homemade Baby Food
- Refrigerate homemade baby food for no more than one to two days.
- Use meat or egg puree refrigerated for no more than one day.
- Freeze homemade baby food in small portions for one to two months.
- Label each container with its contents and preparation date.
- Keep the refrigerator at 40°F or below and the freezer at 0°F or below.
- Thaw food in the refrigerator or heat a frozen portion immediately before serving.
- Stir heated food thoroughly and check for hot spots.
- Do not repeatedly reheat the same portion.
- Discard food that has been in the serving bowl or touched by the feeding spoon.
- Discard food with mold, an unusual odor, a leaking container, or another sign of spoilage.
Frequently Asked Questions
Can I use frozen fruits and vegetables for baby food?
Yes. Choose plain frozen produce without added sugar, heavy sauce, or excess salt. Cook it as needed until soft, then mash or blend it to a texture your baby can safely manage. Do not use a frozen product that contains an ingredient your baby has not yet tolerated without checking the label.
How do I know if my baby is ready for solids?
Most babies are ready at about 6 months. Look for steady head and neck control, the ability to sit alone or with support, interest in reaching for food, opening the mouth when food is offered, and swallowing rather than pushing food back out.
What are the best first foods for my baby?
There is no required first food. Good options include avocado, banana, sweet potato, beans, lentils, egg, meat, tofu, plain pasteurized yogurt, and iron-fortified infant oatmeal. Include iron-rich foods regularly instead of offering only fruit and vegetable purees.
Can I mix different foods in one puree?
Yes. Introduce foods separately at first so a reaction is easier to identify. Once the ingredients have been tolerated, you can combine them in an age-appropriate texture. Examples include sweet potato and lentils, pear and oatmeal, or chicken and vegetables.
How long can I store homemade baby food?
Store most homemade baby food in the refrigerator for one to two days and in the freezer for one to two months. Refrigerated meat or egg puree should be used within one day. Discard any food left in the serving bowl after feeding.
When should I introduce peanut, egg, and other allergens?
Potential allergens can generally be introduced in safe forms once your baby is ready for solid food. Introduce one at a time and watch for a reaction. Ask the pediatrician before peanut introduction if your baby has severe eczema, an egg allergy, or a previous food reaction.
Do I need a blender to make baby food?
No. A fork or potato masher works for many naturally soft or well-cooked foods. A blender, immersion blender, or food processor is helpful for larger batches, fibrous foods, meat purees, or very smooth early textures.
Can I add breast milk or formula to homemade baby food?
Yes. A small amount of expressed breast milk or correctly prepared infant formula can thin a puree. Never add extra water to dilute prepared formula. Once milk or formula is mixed into food, follow the shortest applicable handling and storage limit.
Conclusion
Making your own baby food can be a practical way to offer fresh flavors and adjust textures as your baby develops. Begin at about 6 months when readiness signs are present, include iron-rich foods, introduce ingredients gradually, and supervise every meal.
Safe preparation matters as much as nutrition. Cook food thoroughly, prevent cross-contamination, refrigerate homemade food for no more than one to two days, freeze it for no more than one to two months, and discard anything left in the serving bowl. With these habits, homemade food can fit safely into a varied feeding plan alongside breast milk or iron-fortified infant formula.
Sources
- Centers for Disease Control and Prevention: When, What, and How to Introduce Solid Foods — readiness, first foods, allergens, textures, and grain variety
- FoodSafety.gov: People at Risk—Children Under Five — preparation, refrigerator limits, freezer limits, and microwave safety
- U.S. Food and Drug Administration: Once Baby Arrives — saliva contamination, leftovers, honey, and unpasteurized foods
- Centers for Disease Control and Prevention: Choking Hazards — supervision, safe positioning, food shapes, and choking-risk foods
- Centers for Disease Control and Prevention: Foods and Drinks to Avoid or Limit — honey, added sugars, sodium, juice, pasteurization, and mercury
- Centers for Disease Control and Prevention: Iron — infant iron needs and iron-rich complementary foods