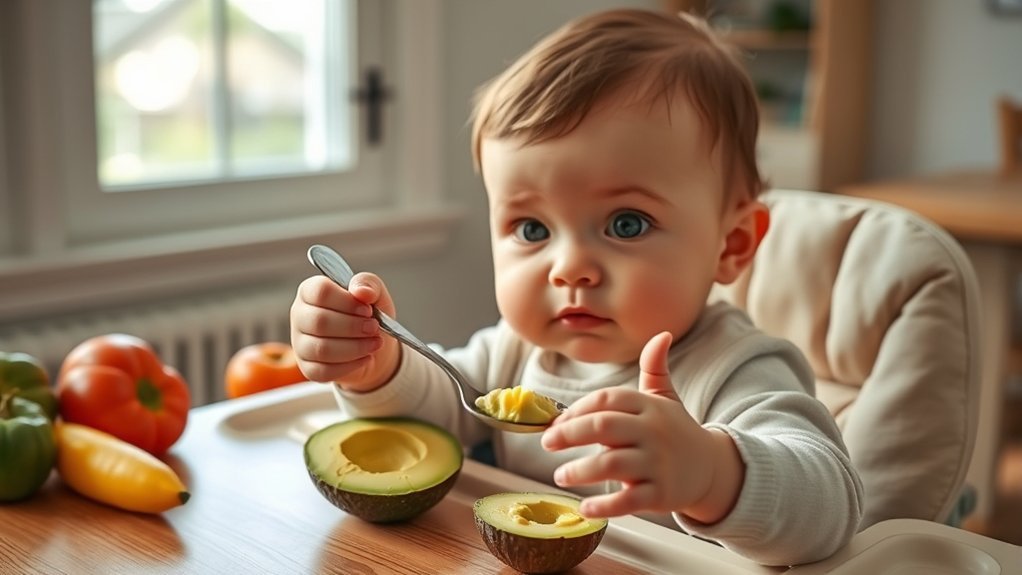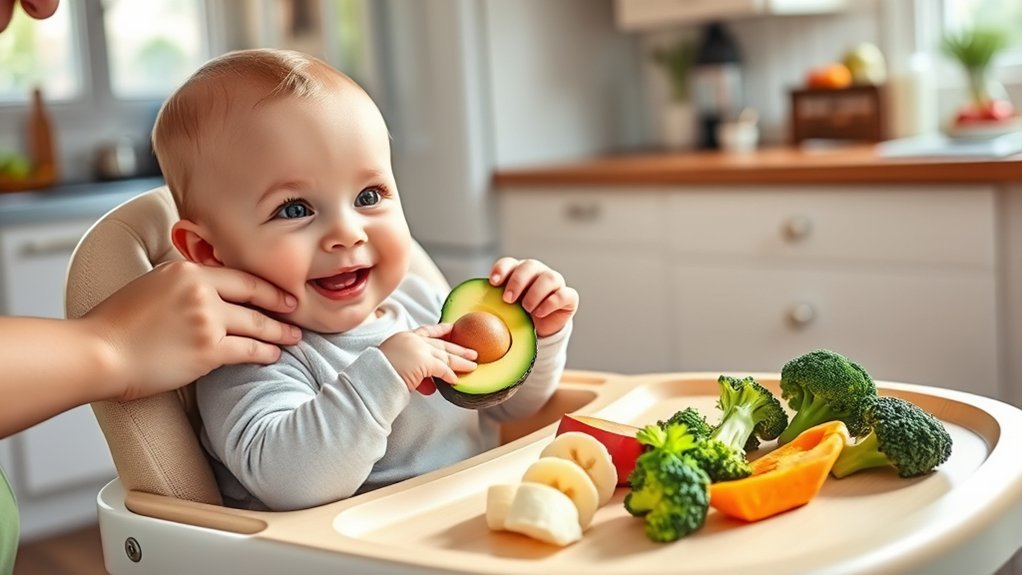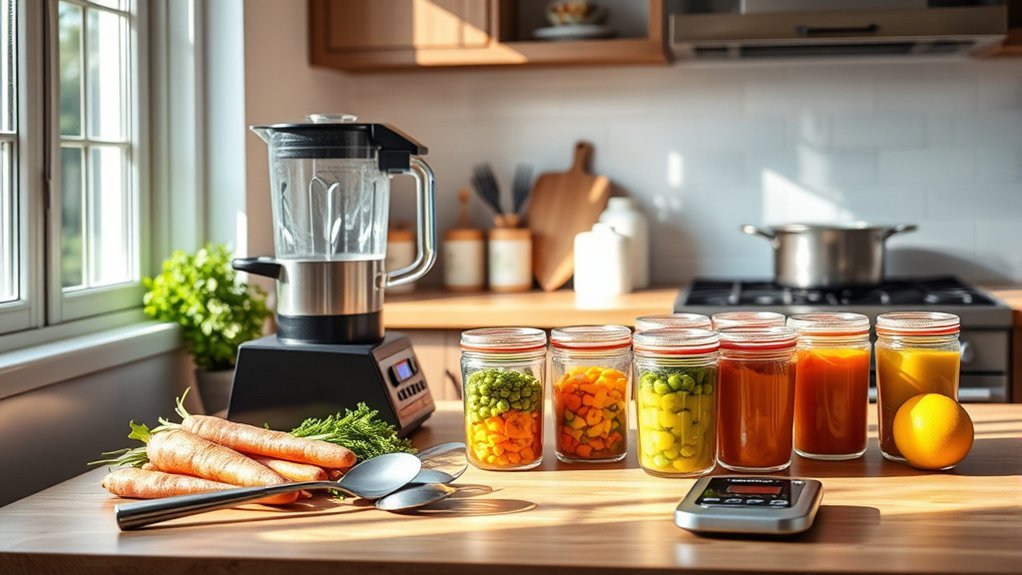
Meal prepping homemade baby food can save time while protecting flavor, texture, and nutritional value. The key is to use varied nutrient-dense ingredients, cook them only until safely tender, cool and portion them promptly, and follow conservative storage limits. Safe preparation matters just as much as nutrient retention because babies are especially vulnerable to choking, allergic reactions, and foodborne illness.
Quick Answer
To meal prep baby food without unnecessary nutrient loss, steam, microwave, roast, or simmer ingredients only until tender. Use little water, blend with safe cooking liquid when needed, cool portions promptly, and refrigerate or freeze them in labeled airtight containers. Always follow age-appropriate texture, allergen, choking, and food-safety guidance.
Key Takeaways
- Use fresh or frozen fruits and vegetables in good condition, along with iron-rich proteins, varied grains, and healthy fats.
- Short cooking times and limited water generally help preserve water-soluble nutrients better than prolonged boiling.
- Cook food until it is soft enough to mash easily, then adjust the texture to your baby’s developmental skills.
- Cool food promptly and portion it into clean, labeled, airtight containers before refrigerating or freezing.
- Use refrigerated homemade baby food within one to two days, or within one day when it contains strained meat or egg.
- Discard food that has touched your baby’s mouth, and never return a used serving to the storage container.
At a Glance
| Time Required | About 45 to 90 minutes for a small batch, plus cooling and freezing time |
| Difficulty | Easy, with careful hygiene and temperature control |
| Tools Needed | Knife, cutting board, steamer or pan, blender or masher, food thermometer, portion containers, labels, and marker |
| Cost | Varies by ingredients; reusable trays and containers reduce ongoing packaging costs |
Note: Most babies begin complementary foods at about 6 months when they can control their head and neck, sit with support, bring objects to their mouth, and swallow food rather than push it out. Starting before 4 months is not recommended. Ask your baby’s pediatrician for individual guidance, especially if your baby was born prematurely or has growth, swallowing, eczema, or allergy concerns. See the CDC’s solid-food readiness guidance.
Why Meal Prep Baby Food Helps With Nutrient Retention
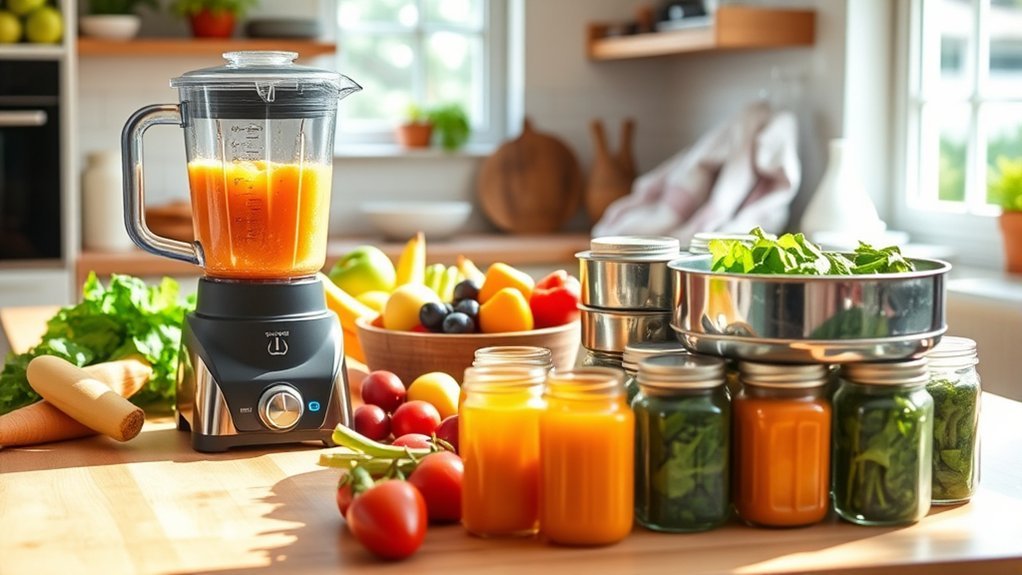
Meal prep gives you control over ingredients, texture, serving size, and storage. It can also reduce the number of times you cook during a busy week. However, meal prep does not automatically preserve more nutrients than preparing food fresh or using an appropriate commercial baby food.
Nutrients can change during washing, peeling, cooking, cooling, freezing, thawing, and reheating. Water-soluble nutrients such as vitamin C and some B vitamins are especially sensitive to prolonged heat and large amounts of cooking water. Research on home cooking generally supports using shorter cooking times and less water, although the best method varies by food and nutrient. See the peer-reviewed review indexed by the National Library of Medicine.
The practical goal is not to prevent every nutrient change. It is to avoid unnecessary heat, water, oxygen exposure, and storage time while keeping the food safe and developmentally appropriate.

Power your essentials anywhere with a 999Wh pure sine wave power station delivering up to 1000W continuous with 2000W surge. It supports fast charging via USB-C PD 60W and USB-A QC 18W, plus simultaneous output for multiple devices through AC, USB, wireless, and car/DC ports. Recharge using AC, car, or solar with a built-in MPPT controller and dual cooling fans, while the upgraded battery management system protects against surges, short circuits, and overheating.

Effortless Meal Preparation: Streamline your baby's nutrition with our 3 Pack Silicone Freezer Tray. Batch prepare baby food, purees, breastmilk, and more for efficient and convenient meal planning.

SILICONE BABY FREEZER TRAYS - Each baby food freezer tray has 10 perfectly sized holes. With this Kingkam Baby Food freezer tray you can get multiple perfect sized frozen portions for most food feeder, and you can put breastmilk, purees, juices or some baby food to freeze, then put the frozen pieces into feeder, easy to get a frozen milk popsicle for babies with sore gums
A Simple Baby Food Meal Prep Workflow
- Choose two to four ingredients. Include an iron-rich food when appropriate, plus produce or a vitamin C-rich ingredient.
- Wash your hands and equipment. Clean the blender, utensils, cutting boards, trays, and work surfaces with hot soapy water.
- Prepare ingredients safely. Wash produce under running water. Keep raw meat, poultry, seafood, and eggs separate from ready-to-eat food.
- Cook only until safely tender. Produce should mash easily with a fork. Cook animal foods to a safe internal temperature.
- Mash or blend. Add a small amount of water, safe cooking liquid, breast milk, or prepared infant formula when a thinner texture is needed.
- Cool and portion promptly. Divide the food into shallow, single-serving containers rather than leaving a large batch at room temperature.
- Label and store. Write the food name and preparation date on every container, then refrigerate or freeze it promptly.
Pro Tip: Freeze food in small portions, then transfer the frozen portions to a labeled airtight container. Small servings thaw faster and prevent you from reheating more food than your baby is likely to eat.
Selecting Nutrient-Dense Ingredients for Baby Food
Choose a variety of foods rather than relying on one fruit, vegetable, grain, or protein. Fresh produce can work well, but unsalted frozen fruits and vegetables are also convenient and nutritious. Avoid packages with added sugar, heavy sauces, or excess sodium.
A balanced rotation may include vegetables, fruits, meat or other proteins, unsweetened yogurt, eggs, beans, lentils, tofu, fish, avocado, and fortified infant cereals. The CDC recommends offering foods from varied food groups as babies develop their eating skills.
Seasonal Produce Selection
Seasonal produce may offer good flavor and value, but it is not the only nutritious choice. Use produce that is fresh, frozen, ripe, undamaged, and appropriate for the recipe. Discard moldy or spoiled areas rather than blending them into a batch.
Rotate colors and food groups across the week. Carrots, sweet potatoes, peas, broccoli, spinach, berries, pears, apples, avocado, and beets provide different flavors, textures, and nutrient profiles. Variety is more useful than trying to identify a single “best” fruit or vegetable.
Iron-Rich Food Options
At about 6 months, babies need a reliable source of iron outside breast milk alone. Iron-rich options include beef, pork, lamb, poultry, eggs, fish, iron-fortified infant cereals, tofu, beans, lentils, and dark green vegetables. Animal foods contain heme iron, which is generally absorbed more easily than plant-based non-heme iron.
Pairing beans, lentils, tofu, fortified cereal, or leafy vegetables with vitamin C-rich foods can improve non-heme iron absorption. Examples include broccoli, berries, tomatoes, citrus fruit, papaya, cabbage, and sweet potato. The CDC provides current infant iron guidance.
Do not try to diagnose iron deficiency from fatigue, fussiness, appetite, or weight changes alone. These signs can have many causes. Discuss growth, feeding, supplementation, and anemia screening with your baby’s healthcare professional.
Introducing Allergenic Foods Safely
Potential allergens include milk, egg, fish, crustacean shellfish, tree nuts, peanuts, wheat, soy, and sesame. Introduce them in an age-appropriate form when your baby is ready for complementary foods rather than delaying them without a medical reason.
Offer a small amount of one new food at a time when you can observe your baby. Whole nuts and thick spoonfuls of nut butter are choking hazards; thin smooth nut butter with water, puree, or infant cereal to create a safer consistency.
If your baby has severe eczema, an existing egg allergy, or a previous food reaction, ask a clinician how and when to introduce peanut or other allergens. Current allergen information is available from the U.S. Food and Drug Administration.
Warning: Stop feeding the food and seek emergency help if your baby develops trouble breathing, swelling of the lips or tongue, widespread hives with other symptoms, becomes limp or unresponsive, or shows another sign of a severe allergic reaction. Call 911 in the United States for a life-threatening reaction.
Step-by-Step Cooking Methods for Preserving Nutrients
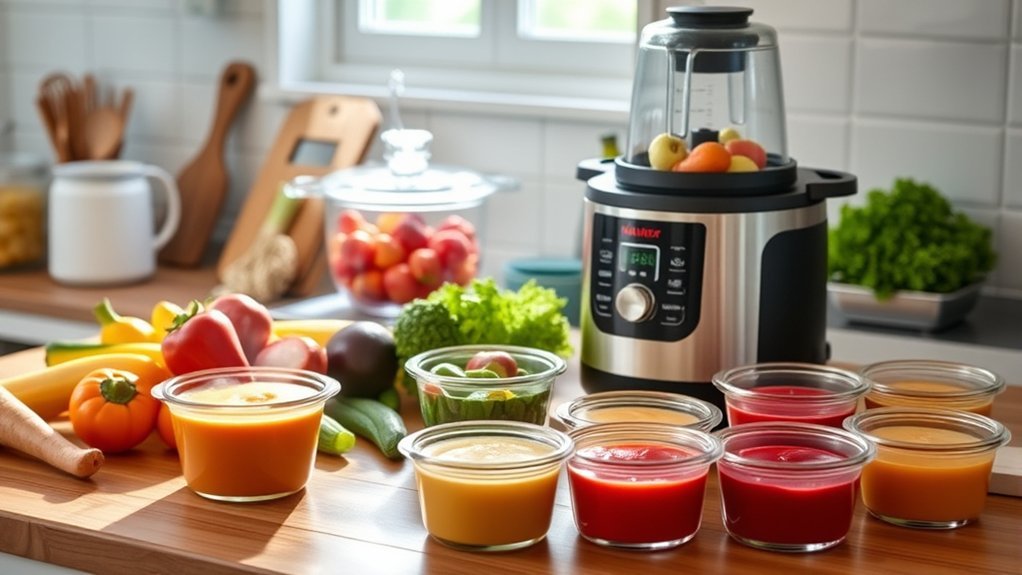
Choose a cooking method that softens the food safely without exposing it to more heat or water than necessary. Exact times vary with the ingredient, piece size, quantity, appliance, and starting temperature, so use tenderness and safe internal temperature instead of relying only on a timer.
Optimal Cooking Techniques
| Cooking Method | How to Use It | Nutrient and Safety Notes |
|---|---|---|
| Steaming | Steam produce until it mashes easily with a fork. | Uses little water and often retains water-soluble nutrients better than prolonged boiling. |
| Microwaving | Cook in a microwave-safe dish with a small amount of water and a vented cover. | Short cooking can limit nutrient loss, but food must be stirred and checked carefully for hot spots. |
| Roasting | Roast vegetables until soft, avoiding heavy browning or burning. | Uses no boiling water and can improve flavor, although heat-sensitive nutrients may still decline. |
| Simmering | Use only enough liquid to cook the food, then reserve suitable cooking liquid for blending. | Some nutrients move into the liquid, so using part of it can reduce waste. |
| Pressure cooking | Use the appliance instructions and the shortest setting that safely softens the food. | Fast cooking may be useful, but results vary by ingredient and batch size. |
When preparing meat, poultry, seafood, or eggs, use a food thermometer rather than judging safety by color or texture. Follow the USDA safe minimum internal temperature chart. Poultry should reach 165°F, ground meat 160°F, and fish 145°F.
Nutrient Retention Strategies
- Wash produce before cutting so less cut surface is exposed to water.
- Peel only when needed; some edible portions near the skin contain useful nutrients.
- Cut food into evenly sized pieces so it cooks at a similar rate.
- Use the smallest practical amount of cooking water.
- Stop cooking when the food is safely done and soft enough to mash.
- Use suitable cooking liquid during blending instead of discarding all of it.
- Cool and store food promptly rather than leaving it warm for an extended period.
- Freeze portions you will not use within the refrigerator storage window.
- Reheat only the amount your baby is likely to eat.
Freezing slows microbial growth and quality changes, but it does not preserve every vitamin perfectly. Flavor, color, texture, and some nutrients may gradually change during storage. Use the oldest dated portions first.
Mastering the Art of Mashing or Pureeing Baby Food
Cook firm fruits and vegetables until they are very soft. Then use a fork, potato masher, food mill, immersion blender, or countertop blender to create the texture your baby can manage.
Early foods may be smooth, mashed, pureed, or strained. As your baby’s oral skills develop, gradually move toward thicker, lumpier, and finely chopped textures instead of keeping every meal completely smooth. The CDC recommends adjusting texture as eating skills develop.
| Ingredient | Doneness Test | Possible Texture |
|---|---|---|
| Carrots | A fork passes through without resistance | Smooth puree or soft mash |
| Sweet potatoes | The center crushes easily with a fork | Creamy puree, thick mash, or soft lumps |
| Apples | Pieces collapse under light pressure | Smooth sauce or soft mash |
| Beans or lentils | Skins and centers mash completely | Thin puree or thicker mash |
| Meat or poultry | Safe temperature reached and all bones, skin, gristle, and excess fat removed | Finely minced or blended with liquid |
Warning: Always seat your baby upright and supervise every bite. Avoid whole nuts, thick spoonfuls of nut butter, uncut grapes or cherry tomatoes, hard raw fruit or vegetables, popcorn, bones, large meat pieces, and other foods that can block the airway. Review the CDC choking-hazard guidance.
Storing Your Homemade Baby Food Safely
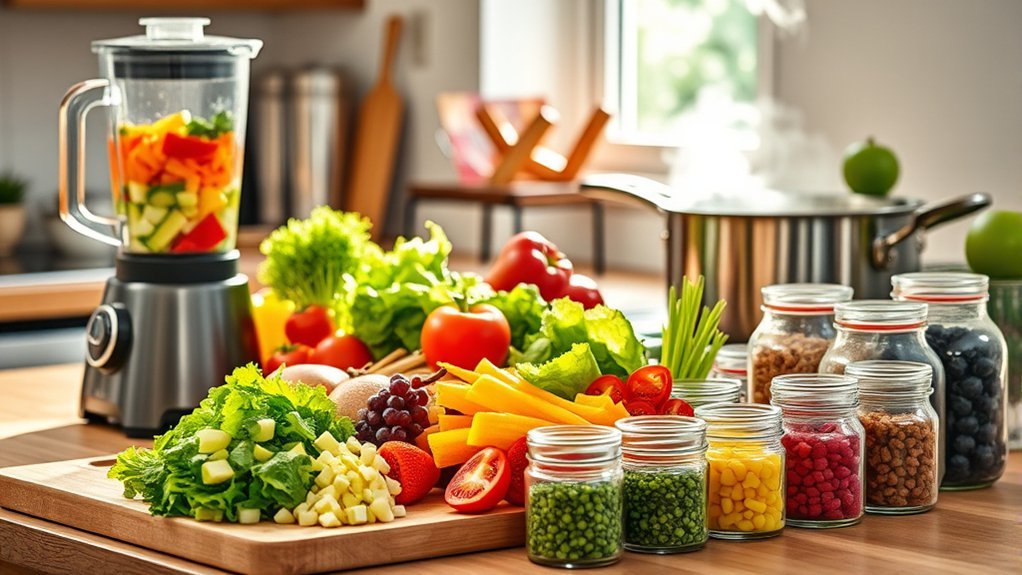
Use clean, food-safe glass, silicone, or plastic containers with tight-fitting lids. Label every portion with the ingredients and preparation date. Keep your refrigerator at 40°F or below and your freezer at 0°F or below.
Storage limits protect both safety and quality. When a recipe combines ingredients from different categories, follow the shortest applicable storage time.
| Prepared Food | Refrigerator | Freezer |
|---|---|---|
| Homemade fruit, vegetable, grain, or bean puree | Use within 1 to 2 days | Use within about 3 months for best quality |
| Strained meat or egg food | Use within 1 day | Use within 1 to 2 months for best quality |
| Meat and vegetable combination | Use within 1 day as a conservative limit | Use within 1 to 2 months for best quality |
| Food thawed in the refrigerator | Use within 24 hours as a conservative household practice | Do not routinely refreeze |
FDA guidance lists homemade baby food for one to two days in the refrigerator and three to four months in the freezer, with shorter limits for meat and egg mixtures. Using three months as a household maximum is a simple, conservative rule. See the FDA’s baby food handling and storage guidance.
Warning: Do not leave prepared baby food at room temperature for more than two hours. Discard any food left in the baby’s bowl after feeding or touched by a spoon that has been in the baby’s mouth. Saliva can introduce bacteria that continue growing during storage.
Do not attempt to make ordinary meat, vegetable, or mixed purees shelf-stable by sealing them in jars. Refrigerate or freeze them unless you are following a tested home-canning recipe from an authoritative preservation program for that exact food.
Thawing and Reheating Baby Food Safely
The refrigerator is the simplest thawing method. Move the next day’s portions from the freezer to the refrigerator the night before. Keep them covered while they thaw.
For faster thawing, place a tightly sealed container under cold running water or use the microwave’s defrost setting when you will serve the food immediately. Do not thaw baby food on the counter or in warm standing water.
Baby food does not have to be served hot. It may be served cold, at room temperature after brief safe handling, or gently warmed according to your baby’s preference.
When microwaving solid baby food:
- Transfer the portion to a microwave-safe dish rather than heating it in a storage jar.
- Cover it loosely to reduce splattering.
- Heat in short intervals.
- Stir thoroughly from the center to the edges.
- Let the food stand briefly so the temperature can equalize.
- Test several areas before feeding because microwaves can create hot spots.
Reheat only once and discard leftovers from the serving bowl. Repeated warming and cooling increase handling risk and reduce quality.
How to Monitor Your Baby’s Reaction to New Foods
Begin with a small amount of one new single-ingredient food. Current CDC guidance recommends waiting three to five days between new foods at first so you can identify a possible reaction more easily.
Keep a simple food record that includes:
- the food and ingredients offered;
- the date and approximate amount;
- how the food was prepared;
- any skin, breathing, digestive, or behavioral changes;
- and whether the food was tolerated again on another day.
Mild redness only where food touched the skin may be irritation rather than an allergy, but hives, swelling, breathing trouble, repeated or severe symptoms, or a reaction involving more than one body system needs prompt medical attention. Contact your baby’s clinician whenever you are uncertain.
How to Introduce Variety in Your Baby’s Diet
After your baby tolerates individual foods, combine familiar ingredients and gradually introduce new tastes and textures. Examples include lentils with sweet potato, chicken with peas, tofu with broccoli, oatmeal with pear, or beans with tomato.
Include iron-rich foods regularly and rotate fruits, vegetables, proteins, grains, and unsweetened dairy foods when developmentally appropriate. Offer fortified oat, barley, and multigrain infant cereals rather than relying only on rice cereal. The CDC notes that repeatedly serving only infant rice cereal can increase arsenic exposure.
Avoid adding sugar or sweeteners. Small amounts of herbs or mild spices can introduce flavor, but added salt is generally unnecessary. Check packaged frozen or canned ingredients for sodium, sugar, and sauces.
Note: Honey is unsafe before 12 months because of infant botulism risk. Do not give unpasteurized milk or juice. Cow’s milk may be used as an ingredient in food, but it should not replace breast milk or iron-fortified infant formula as a drink before 12 months.
Foods and Practices to Avoid
- Honey before 12 months: This includes honey cooked into homemade food.
- Whole nuts and thick nut butter: These are choking hazards; use a thinned, smooth preparation instead.
- Unpasteurized milk or juice: These products may contain harmful bacteria.
- Undercooked meat, poultry, seafood, or eggs: Verify safe temperatures with a food thermometer.
- Food with bones, pits, hard seeds, or tough skins: Remove them completely before serving.
- Added sugar and excessive sodium: Babies have little room in their diets for ingredients that displace nutrient-dense foods.
- Food left out for more than two hours: Discard it rather than chilling it for later.
- Saliva-contaminated leftovers: Never return food from the baby’s bowl to the main container.
- Unsupervised eating: Keep your baby seated upright and watch continuously.
Frequently Asked Questions
Can I use frozen fruits and vegetables for baby food prep?
Yes. Plain frozen fruits and vegetables are convenient and can be nutritious choices. Select products without added sugar, salt, butter, or sauce. Cook firm produce until it is soft enough to mash, and follow the same hygiene, cooling, and storage rules used for fresh ingredients.
How long can I store homemade baby food in the freezer?
A practical conservative limit is about three months for fruit, vegetable, grain, or bean purees. Meat- and egg-containing foods are best used within one to two months. Label every portion and use the oldest food first. Freezing slows quality loss but does not preserve nutrients, flavor, and texture perfectly.
What kitchen tools are essential for making baby food?
Useful tools include a knife, separate cutting boards, a steamer or saucepan, a fork or masher, a blender or food processor, a food thermometer, shallow cooling containers, freezer-safe portion trays, airtight storage containers, and labels. You do not need a dedicated baby food machine.
Can I mix different foods in one batch?
Yes, after your baby has tolerated the individual ingredients. Mixing familiar foods can increase variety and make it easier to pair iron-rich foods with vitamin C. When storing a mixed recipe, follow the shortest storage limit that applies to any ingredient in the batch.
Are there any foods I should avoid for baby food?
Avoid honey before 12 months, unpasteurized milk or juice, undercooked animal foods, and choking hazards such as whole nuts, thick spoonfuls of nut butter, hard raw produce, whole grapes, bones, and popcorn. Fish does not need to be avoided solely because it is an allergen; use a suitable low-mercury, fully cooked, boneless option and introduce it in a safe texture.
Can I microwave homemade baby food?
Yes, but transfer the portion to a microwave-safe dish, heat it in short intervals, stir thoroughly, let it stand briefly, and check several spots before serving. Do not assume the temperature is even because the outside of the dish feels cool.
Can I refreeze thawed baby food?
Routine refreezing is not recommended. Repeated thawing and freezing makes temperature control harder and reduces texture and quality. Thaw only the portions you expect to use and keep thawed food refrigerated until serving.
How can I limit nutrient loss during meal prep?
Use fresh or frozen ingredients in good condition, cut them shortly before cooking, use little water, avoid unnecessary overcooking, reserve suitable cooking liquid, cool portions promptly, and minimize storage time. Reheat only the portion your baby will eat instead of repeatedly warming the full batch.
Conclusion
You can meal prep baby food without causing unnecessary nutrient loss by keeping the process simple: choose varied ingredients, cook only until safely tender, use little water, cool promptly, and store food in small labeled portions. Nutrient preservation should never take priority over safe cooking, clean handling, age-appropriate texture, allergen awareness, and choking prevention.
Follow conservative storage limits, discard saliva-contaminated leftovers, and ask your baby’s healthcare professional about individual feeding, growth, allergy, iron, or swallowing concerns. A safe and varied routine matters more than achieving a “perfect” puree.
Sources
- CDC: When, What, and How to Introduce Solid Foods — readiness, allergen introduction, texture, and food preparation.
- CDC: Iron for Infants and Toddlers — iron-rich foods and vitamin C pairings.
- CDC: Choking Hazards — supervision, seating, food shape, and high-risk foods.
- FDA: Once Baby Arrives — preparation hygiene, storage, freezing, contamination, and microwave safety.
- USDA FSIS: Safe Minimum Internal Temperature Chart — safe cooking temperatures for animal foods.
- National Library of Medicine: Cooking at Home to Retain Nutritional Quality — evidence on cooking methods and nutrient retention.