Before using a new Keurig coffee maker, run the manufacturer’s first-use water cycle—usually called a cleansing brew. This flushes the reservoir and internal water path before you make coffee. The exact buttons vary by model, so check the model number and use-and-care guide before you begin.
Quick Answer
To prime a new Keurig, rinse and fill the reservoir with fresh water, place a large heat-safe mug on the drip tray, leave the pod holder empty, and run the model’s required cleansing brew. Many K-Express models use the 8-ounce button, while some Smart models use an illuminated K button.
Key Takeaways
- Confirm your exact model before following any button sequence.
- Rinse and fill the water reservoir, seat it firmly, and use fresh water approved by the manufacturer.
- Run the first cleansing brew without a K-Cup pod or reusable filter installed.
- A normal cycle should dispense hot water; little or no output calls for troubleshooting.
- A cleansing brew is not the same as descaling and will not remove established mineral deposits.
At a Glance
| Time Required | About 5–10 minutes |
| Difficulty | Easy |
| Tools Needed | Fresh water, a sink, and a heat-safe mug large enough for the selected brew size |
| Cost | No additional cost |
Before Priming Your Coffee Maker
People often use the word prime for a new coffee maker’s first water cycle. Keurig manuals generally call this a cleansing brew. It is a water-only cycle that prepares the brewer for its first beverage.
Start by finding the model name on the brewer’s label, box, receipt, or product-registration information. Then compare the controls with the official use-and-care guide. A K-Express, K-Express Essentials, K-Supreme SMART, K-Café SMART, and K-Brew+Chill may not use the same setup buttons.
Note: On a standard K-Express, the three cup-size lights blink and you press the 8-ounce button to start the cleansing brew. Some Smart brewers ask you to select a size and then press an illuminated K button. Follow the controls shown in your exact manual.
Before adding water:
- Remove packing tape, film, cardboard, and other shipping material.
- Check the power cord, reservoir, lid, drip tray, and pod holder for visible damage.
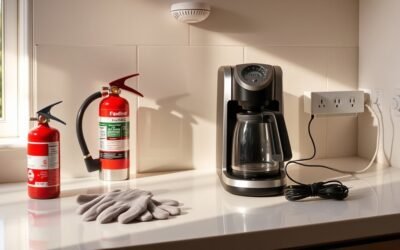
- Place the brewer on a stable, dry, level surface near a grounded outlet.
- Keep the brewer away from the sink edge and any surface where water could reach the electrical connection.
- Place a heat-safe mug on the drip tray. The K-Express guide calls for a mug that holds at least 10 ounces.

Power your essentials anywhere with a 999Wh pure sine wave power station delivering up to 1000W continuous with 2000W surge. It supports fast charging via USB-C PD 60W and USB-A QC 18W, plus simultaneous output for multiple devices through AC, USB, wireless, and car/DC ports. Recharge using AC, car, or solar with a built-in MPPT controller and dual cooling fans, while the upgraded battery management system protects against surges, short circuits, and overheating.
★WATER&FOOD USE: NSF Certified CCK 1/4 ro tubing , Food grade Plastic 1/4 Quick connect fittings and Valve , which are widely used in water purification,food/beverage system.
Step-by-Step Guide to Priming Your Coffee Maker
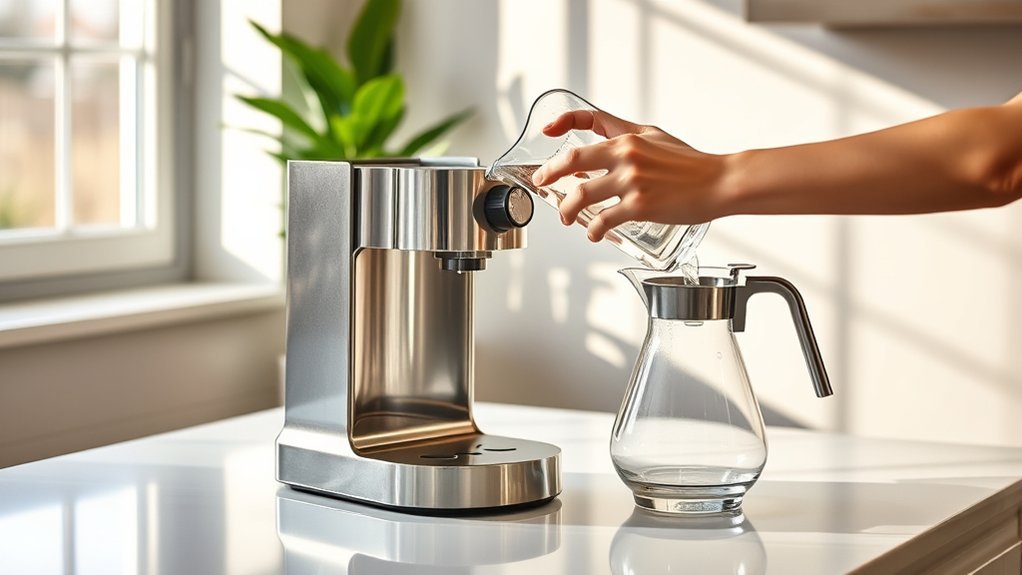
1. Rinse the Water Reservoir
Remove the reservoir and lid if your model allows it. Rinse them with fresh water. If washing is needed, use warm, mild soapy water and rinse thoroughly so no soap remains.
Do not put removable parts in a dishwasher unless your model’s manual specifically labels them dishwasher-safe. Current K-Express instructions call for hand-washing the reservoir, lid, and drip tray.
2. Fill and Seat the Reservoir
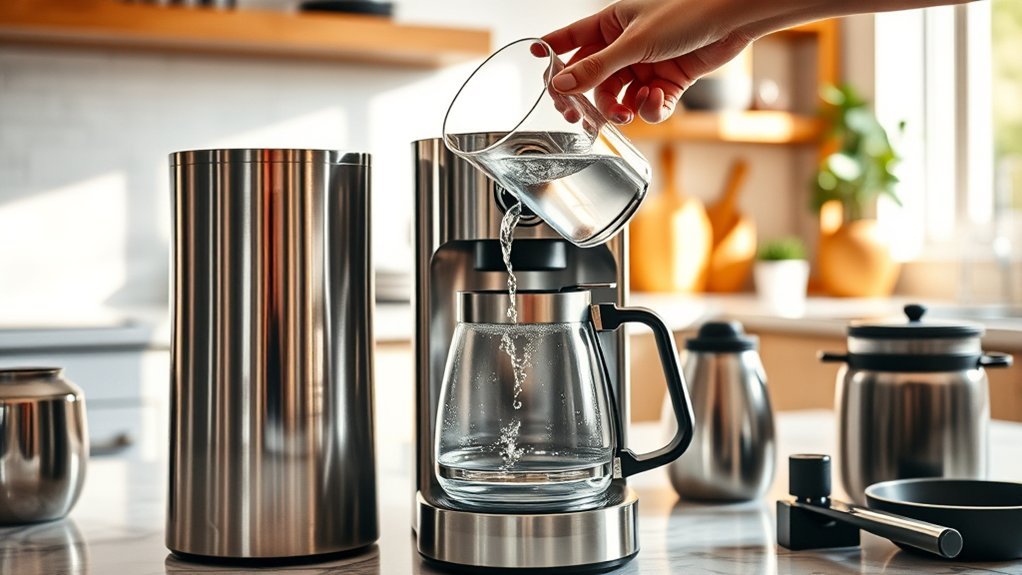
Fill the reservoir with fresh water up to the marked fill line. Do not exceed the MAX FILL line. Reinstall the reservoir so it sits fully and evenly on its base, then replace the lid.
The Keurig K-Express Use & Care Guide says not to use distilled water. If your water has a noticeable chlorine or mineral taste, Keurig suggests bottled or filtered water for that model.
3. Place an Empty Mug on the Drip Tray
Use a ceramic or other heat-safe mug that holds more than the amount you plan to dispense. Do not use a paper cup. Center the mug beneath the outlet to reduce splashing.
Pro Tip: Use a mug larger than the cleansing-brew size. For an 8-ounce cycle, a 10- to 12-ounce mug leaves room for splashing and makes the hot water easier to carry to the sink.
4. Confirm the Pod Holder Is Empty
Lift the handle and make sure no K-Cup pod, reusable pod, coffee grounds, tea, cocoa, or cleaning capsule is installed. Lower the handle completely.
A first-use cleansing brew must contain water only. Do not use a flavored pod to “season” or prime the brewer.
5. Start the Correct Cleansing Cycle
Plug in the brewer and use the procedure listed for your model:
- K-Express and many K-Express Essentials models: Lift and lower the empty handle. When the cup-size lights blink, press the 8-ounce button.
- Smart models with a K button: Follow the display or setup prompts. You may need to choose a brew type or size and then press the illuminated K button.
- Other single-serve brewers: Select the cleansing, rinse, hot-water, or smallest recommended first-use cycle listed in the manual.
Warning: The water and pod-holder area become very hot. Do not lift the handle, remove the reservoir, move the mug, or place your fingers near the pod holder while the cycle is running. The entrance and exit needles inside the pod area are sharp.
6. Discard the Hot Water
Wait until dispensing stops and the brewer signals that the cycle is complete. Carefully pour the hot water into the sink.
For a standard K-Express, Keurig states that the one 8-ounce cleansing brew completes the initial setup. Run another water-only cycle only if your manual requests it or an unwanted factory taste or odor remains.
Why the First Cleansing Brew Matters
It Rinses the Water Path
The first water-only cycle rinses the reservoir and the internal path used to deliver water to the pod holder. This helps prevent storage dust, packaging residue, or a stale odor from affecting the first drink.
It Confirms the Brewer Can Dispense
A successful cleansing brew shows that the brewer has power, the reservoir is seated, the water level is adequate, the handle is closed, and hot water can reach the mug.
The brewer should dispense a meaningful amount of water. A few drips, a partial cup, or no water should be treated as a troubleshooting issue rather than a normal part of priming.
It Does Not Replace Descaling
A fresh-water cleansing brew and descaling have different jobs:
| Task | When to Do It | What It Does |
|---|---|---|
| First-use cleansing brew | Before the first beverage | Rinses the water path and confirms basic operation |
| Cleansing rinse | After storage, several unused days, needle cleaning, or strong flavor carryover | Flushes loose residue and remaining beverage flavor |
| Routine cleaning | At the interval listed in the manual or whenever parts are dirty | Removes spills, oils, grounds, and surface buildup |
| Descaling | When the descale alert appears or at the model’s recommended interval | Removes calcium and mineral deposits from the internal system |
Avoid These Common Priming Mistakes
Using the Wrong Button Sequence
Do not assume every Keurig starts the same way. The 8-ounce button alone starts the cleansing brew on many K-Express brewers, while models with screens or Smart controls may use an illuminated K button.
If the controls in an online tutorial do not match the buttons on your machine, stop and locate the manual for your exact model.
Skipping the Reservoir Rinse
Running water through a dusty or unwashed reservoir defeats part of the setup process. Rinse the reservoir first, then fill it with clean water.
Installing a Pod During the Cleansing Brew
A coffee, tea, cocoa, or flavored pod should not be present. Priming with a pod coats the newly rinsed water path with beverage residue and prevents you from checking the taste and odor of the plain water.
Confusing the Water Filter With the Pod Holder
A supported brewer may accept an optional water-filter cartridge inside the reservoir. That filter is separate from the K-Cup pod holder, funnel, entrance needle, and exit needle.
You do not need to remove or clean the needles during normal first-use setup. Handle those parts only when your manual directs you to clear a clog.
Assuming Low Output Is Normal
The brewer may pause briefly while heating, but the completed cycle should dispense hot water. Use the following checks if it produces only a few drops or a partial cup:
| Issue | Likely Check | Next Step |
|---|---|---|
| No water dispenses | Water level, reservoir position, power, and selected control | Refill, reseat, restart, and follow the exact model guide |
| Only a partial cup dispenses | Low water, a blocked needle, trapped air, or scale | Use the model-specific partial-cup troubleshooting procedure |
| Water leaks around the reservoir | Reservoir alignment, overfilling, cracks, or a damaged valve | Unplug the brewer and correct the leak before continuing |
| Water has an unwanted odor | Reservoir cleanliness or water quality | Wash and rinse the reservoir, refill it, and run another water-only cycle |
Is Your Coffee Maker Primed?

Your coffee maker is ready for its first beverage when all of the following are true:
- The reservoir is filled and seated without leaking.
- The handle closes fully.
- The cleansing cycle starts using the controls listed in the manual.
- Hot water dispenses into the mug rather than only dripping.
- The cycle ends normally without an unresolved error light or message.
- The dispensed water has no visible grounds or strong unwanted odor.
A small amount of steam near the outlet can be normal because the brewer is dispensing hot water. Coffee grounds are not normal during the first water-only cycle and may indicate that the pod holder was not clean or the brewer was previously used.
Troubleshooting Priming Issues
The Brewer Does Not Turn On
Make sure the plug is fully inserted and test the outlet with another appliance. Keurig recommends operating the brewer on an appropriate outlet without overloading the circuit with other high-draw appliances.
If the power cord, plug, or brewer is damaged or wet, do not use it. Disconnect it and contact the manufacturer.
The Brewer Says “Add Water”
Fill the reservoir above its minimum line but not beyond MAX FILL. Remove and reinstall the reservoir so its valve connects correctly with the brewer base.
The Buttons Do Not Start the Cycle
Lift and lower the empty handle again, then wait for the available cup sizes or K button to illuminate. Confirm that no pod is installed and that the handle is closed completely.
If your brewer has a screen, complete any language, clock, Wi-Fi, or initial setup prompts before attempting the cleansing brew.
Little or No Water Comes Out
Stop the cycle and check the reservoir level and position first. If the reservoir was empty or loose, refill and reseat it before trying again.
For an older or previously used machine, partial output can also be caused by coffee grounds in the entrance or exit needle or by mineral scale. Use only the needle-cleaning and descaling procedure written for your model.
Warning: Unplug the brewer and let it cool before removing the pod-holder assembly. Never place your fingers inside the pod holder. Use only the cleaning method and tools approved in the model’s manual.
The Brewer Leaks
Unplug the brewer before wiping up water. Check that the reservoir is not overfilled, cracked, or sitting at an angle. Confirm that the drip tray and mug are correctly positioned.
Do not continue operating a brewer that leaks from its base, power connection, or internal housing.
The Problem Continues
Do not repeatedly run a dry or nearly dry machine. Use the official Keurig Support Center to locate the guide for your model or contact customer service when the brewer still will not dispense correctly.
How to Keep Your Coffee Maker Clean After Priming
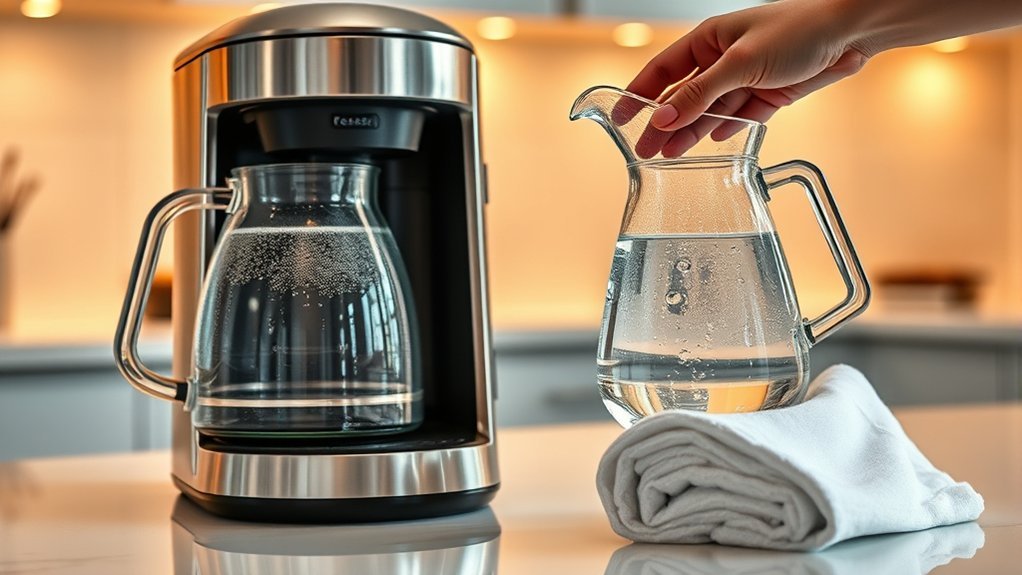
Once the first cleansing brew is complete, use the maintenance schedule in your model’s manual. For a current K-Express, Keurig recommends periodic hand-washing of the reservoir, lid, and drip tray and descaling about every three months or when the descale notification turns on.
- Unplug the brewer and let it cool before cleaning.
- Wipe the exterior with a damp, non-abrasive, lint-free cloth.
- Hand-wash the reservoir, lid, and drip tray when needed, then rinse thoroughly.
- Do not immerse the brewer body, cord, or plug in water.
- Empty used pods promptly so grounds and oils do not remain in the pod holder.
- Run a water-only cleansing brew after the brewer has been unused for several days or after cleaning the needles.
- Follow the model’s complete descale procedure when the alert appears or the recommended interval arrives.
Do not treat a quick water rinse as a substitute for descaling. Scale forms from minerals left behind as water is heated, and it requires the manufacturer-approved descaling process.
Fresh Water Rinses: Why They Matter
A fresh-water rinse can clear loose residue and reduce flavor carryover without adding coffee or cleaning chemicals. It is especially useful:
- Before the first beverage
- After the brewer has been stored or unused for several days
- After the pod holder or needles have been cleaned
- When switching from a strongly flavored coffee, cocoa, or tea to a milder drink
- After a descaling procedure, for the number of rinse cycles specified in the manual
You do not need to run several full water cycles after every ordinary cup. Excessive rinsing wastes water and does not replace washing dirty parts.
Frequently Asked Questions
Can I use vinegar to prime my coffee maker?
No. Use fresh water for the first cleansing brew. Vinegar is a descaling ingredient in some older or brand-specific procedures, but it should not be used for initial priming unless the exact manufacturer guide directs it. Current K-Express instructions specify a separate guided descale process.
How often should I prime my coffee maker?
The first-use cleansing brew is normally performed once. Run another water-only cleansing brew after several unused days, storage, needle cleaning, or noticeable flavor carryover. Descaling follows a separate schedule based on your model and water conditions.
Is it safe to run a dry cycle?
No. Fill the reservoir to the required level before starting. Repeated dry operation can overheat components or cause the brewer to stop and display a water-related error.
What if my coffee maker does not heat or dispense water?
Confirm that the outlet works, the brewer is powered on, the reservoir contains enough water, the reservoir is seated correctly, and the handle is closed. If it still produces little or no water, follow the exact troubleshooting guide for your model or contact the manufacturer.
Can I prime with a flavored coffee pod?
No. Leave the pod holder empty during the first cleansing brew. A flavored pod adds oils, grounds, and flavoring to the water path instead of rinsing it.
Should I use distilled water?
Check the manual for your model. Current K-Express and K-Express Essentials guides say not to use distilled water. Fresh tap, bottled, or filtered water may be used according to the manufacturer’s water-quality guidance.
Do I need to run more than one cleansing brew?
Not always. The K-Express guide says its one-time setup is complete after one 8-ounce cleansing brew. Run another water-only cycle only when your model requires it or an unwanted taste or odor remains.
What should I do before using a brewer that was stored?
Rinse and refill the reservoir, inspect the brewer, and run a water-only cleansing brew. If it was stored below freezing, allow it to reach room temperature for the period listed in the manual before powering it on. Some Keurig guides also recommend descaling after storage.
Conclusion
To prime a new Keurig correctly, rinse and fill the reservoir, leave the pod holder empty, place a large heat-safe mug on the drip tray, and run the cleansing cycle specified for your exact model. Do not combine instructions from different brewers, assume weak water flow is normal, or use vinegar or a flavored pod for first-use setup.
Once the brewer dispenses a normal water-only cycle without leaks or errors, it is ready for your first cup. Continue with routine cleaning and model-approved descaling rather than repeating the priming process as general maintenance.
Sources
- Keurig K-Express Use & Care Guide — first-use cleansing-brew steps, safety, cleaning, maintenance, and troubleshooting.
- Keurig K-Express Essentials Use & Care Guide — reservoir preparation, 8-ounce cleansing brew, water guidance, and setup safety.
- Keurig Descaling Guidance — explains the separate mineral-removal and fresh-water rinse process.
- Keurig Support Center — model guides, troubleshooting resources, and manufacturer support.