You can puree baby food without a blender by cooking firm foods until tender and then mashing them with a fork, potato masher, food mill, ricer, or fine-mesh sieve. Naturally soft foods such as ripe banana and avocado can often be mashed without cooking. The right method depends on the ingredient and the texture your baby can safely manage.
Quick Answer
Cook firm fruits, vegetables, grains, or proteins until very soft, then mash them with a fork or potato masher. For a smoother puree, press the food through a fine-mesh sieve or food mill. Add a small amount of water, breast milk, or prepared infant formula until the texture suits your baby.
Key Takeaways
- Most babies begin solid foods at about 6 months when they show developmental signs of readiness.
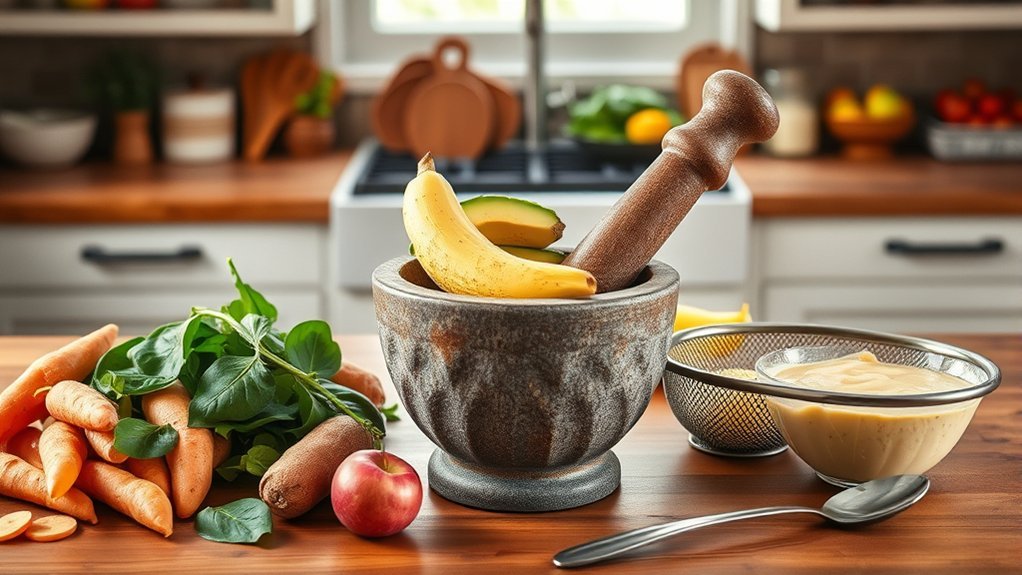
- A fork, potato masher, food mill, ricer, mortar and pestle, or fine-mesh sieve can replace a blender.
- Cook firm ingredients until they are fork-tender, but mash naturally soft ripe foods without cooking when appropriate.
- Adjust texture gradually with small amounts of water, breast milk, or correctly prepared infant formula.
- Introduce single ingredients first before serving combinations, especially when allergens are involved.
- Use food-specific storage limits; conservative guidance for homemade baby food is 1–2 days refrigerated or 1–2 months frozen.
At a Glance
| Time Required | About 5–30 minutes, depending on the ingredient and cooking method |
| Difficulty | Easy |
| Tools Needed | Fork or potato masher, bowl, knife, cutting board, and saucepan or steamer; optional sieve, ricer, or food mill |
| Cost | Usually no special equipment cost beyond the ingredients and basic kitchen tools |
Getting Started With Pureeing Baby Food
Before offering puree, make sure your baby is developmentally ready for solid food. The Centers for Disease Control and Prevention says most children can begin foods other than breast milk or infant formula at about 6 months. Starting before 4 months is not recommended.
Common readiness signs include:
- Sitting upright alone or with support.
- Controlling the head and neck.
- Opening the mouth when food is offered.
- Swallowing food instead of pushing it back out with the tongue.
- Bringing objects to the mouth and trying to grasp food or toys.
Breast milk or infant formula remains an important source of nutrition during the first year. Purees are complementary foods that help your baby learn new tastes and eating skills; they do not need to replace milk feeds all at once.
Warning: Always place your baby upright and supervise every bite. Pureeing or mashing food can reduce some choking hazards, but no food texture removes the risk completely. Avoid hard, round, sticky, or difficult-to-swallow foods.
Talk with your child’s pediatrician or feeding specialist before starting solids if your baby was born prematurely, has trouble sitting or swallowing, coughs repeatedly during meals, has poor weight gain, or has another medical or developmental concern.

Power your essentials anywhere with a 999Wh pure sine wave power station delivering up to 1000W continuous with 2000W surge. It supports fast charging via USB-C PD 60W and USB-A QC 18W, plus simultaneous output for multiple devices through AC, USB, wireless, and car/DC ports. Recharge using AC, car, or solar with a built-in MPPT controller and dual cooling fans, while the upgraded battery management system protects against surges, short circuits, and overheating.

Easily turn grown-up food into purees for baby

EASY HOMEMADE PUREES: Make fresh, wholesome baby food by hand without cords or noise, perfect for quick meals at home or while traveling. Simple manual operation lets you control texture for growing appetites, supporting smoother transitions from soft to slightly thicker foods.
Essential Tools You Need for Pureeing Without a Blender
You do not need a dedicated appliance to make homemade baby food. Choose a tool based on the ingredient and the texture you need:
- Fork: Best for ripe banana, avocado, cooked squash, soft pear, and small portions.
- Potato masher: Useful for larger batches of potatoes, sweet potatoes, carrots, squash, beans, or soft fruit.
- Food mill: Produces a smoother texture and can help separate some skins or fibrous pieces.
- Fine-mesh sieve: Useful for peas, green beans, berries, or other foods that remain seedy or stringy after mashing.
- Potato ricer: Creates a light, even texture from cooked potatoes, carrots, parsnips, and similar vegetables.
- Mortar and pestle: Works well for very small batches of soft food.
A fork is usually enough for soft food, while a sieve or food mill is more effective when skins, seeds, or fibers prevent a smooth texture.
Pro Tip: Make a small batch the first time you serve an ingredient. You can learn how easily it mashes and whether your baby tolerates it before preparing a larger amount.
Step-By-Step Guide to Cooking and Mashing Baby Food

- Clean your hands and work area. Wash your hands with soap, clean the utensils and preparation surface, and rinse fresh produce under running water. Do not wash produce with soap.
- Prepare the ingredient. Remove pits, tough peels, stems, bones, seeds, and damaged sections. Cut firm food into small, even pieces so it cooks uniformly.
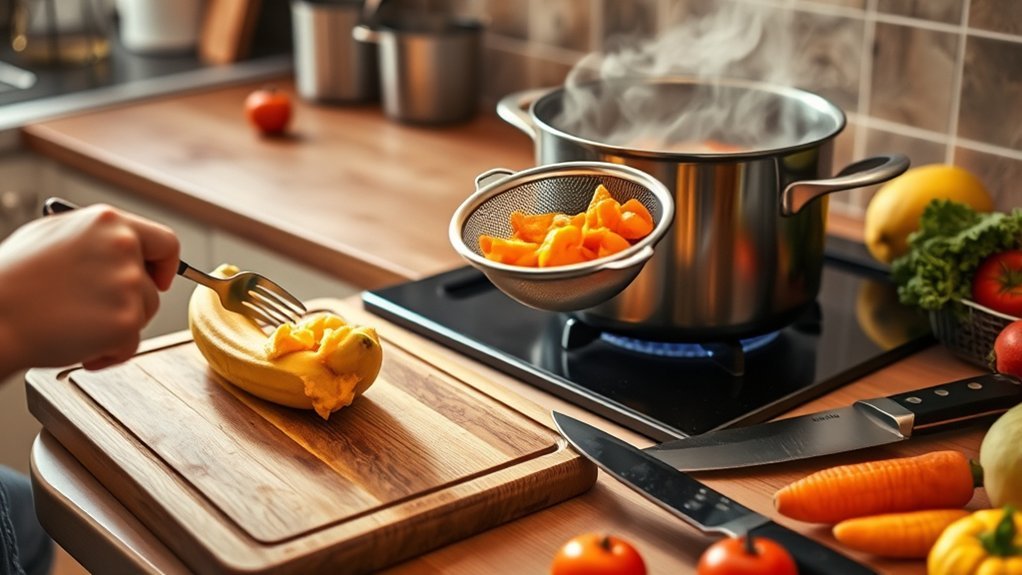
- Cook firm foods until tender. Steam, simmer, bake, or boil the ingredient until a fork passes through it easily. Steaming may retain more flavor because the food is not submerged in water, but either steaming or boiling can work.
- Cook animal foods safely. Use a food thermometer when preparing meat, poultry, fish, or eggs. According to FoodSafety.gov’s temperature chart, poultry should reach 165°F, ground meat 160°F, and fish 145°F. Cook eggs until the yolk and white are firm.
- Let the food stop steaming heavily. Transfer it to a clean bowl and allow it to cool enough to handle. Do not leave perishable food sitting out while waiting for it to become completely cool.
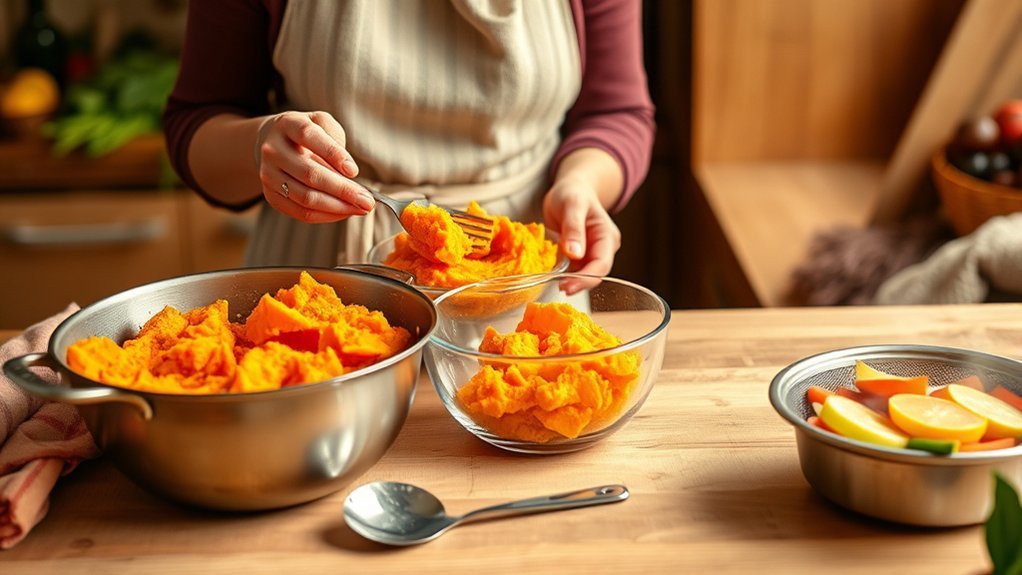
- Mash or press the food. Use a fork or masher for a thicker result. Press it through a food mill or fine-mesh sieve for a smoother result.
- Adjust the texture. Mix in liquid one teaspoon at a time. Suitable options include water, breast milk, or correctly prepared infant formula.
- Check before serving. Stir well and test the temperature. The food should feel lukewarm, not hot. Check for skin, seeds, bone fragments, hard pieces, or sticky lumps.
- Serve a small portion. Place only the amount needed for that feeding in the baby’s bowl. Keep the remaining batch separate so saliva from the feeding spoon does not contaminate it.
Best Methods for Different Foods
| Food Type | Preparation | Best Manual Tool |
|---|---|---|
| Ripe banana or avocado | Wash the peel, open, remove the peel or pit, and mash immediately | Fork |
| Apple, pear, carrot, squash, or sweet potato | Peel when needed, chop, and cook until fork-tender | Masher, ricer, or food mill |
| Peas, green beans, or fibrous vegetables | Cook thoroughly, mash, and press out skins or fibers if needed | Food mill or fine-mesh sieve |
| Beans or lentils | Cook without excess salt until very soft; drain and mash | Fork, masher, or sieve |
| Meat, poultry, or fish | Cook to a safe temperature, remove skin and bones, finely mince, then press with liquid | Food mill, sieve, or mortar and pestle |
| Fully cooked egg | Cook until firm, finely mash, and thin as needed | Fork or fine-mesh sieve |
How to Adjust Puree Consistency for Your Baby’s Needs
Babies who are just learning to eat may find a smooth, soft texture easier to manage. Add a small amount of liquid and stir thoroughly until the puree falls easily from a spoon without becoming watery.
As your baby develops better tongue control and chewing skills, offer mashed or lumpier food instead of keeping every meal completely smooth. The CDC advises introducing thicker and more varied textures as a child’s eating ability develops, rather than relying on a rigid age deadline.
Begin with a texture your baby can swallow comfortably, then gradually leave more soft texture as their eating skills improve.
Gagging, coughing, or spitting up can happen while a baby learns a new texture. However, repeated coughing during meals, breathing difficulty, color change, poor weight gain, or ongoing trouble swallowing requires prompt advice from a pediatrician or feeding specialist.
Puree Texture Troubleshooting
| Problem | How to Fix It |
|---|---|
| Too thick or sticky | Add liquid one teaspoon at a time and mix thoroughly. |
| Too watery | Mix in more mashed food or a small amount of prepared iron-fortified infant cereal that your baby has already tolerated. |
| Stringy | Cook longer if appropriate, then press the food through a fine-mesh sieve. |
| Seedy or covered with skins | Use a food mill or sieve to remove pieces that are difficult to swallow. |
| Grainy meat or egg | Finely mince while moist, press through a sieve, and mix with a tolerated vegetable puree or a small amount of liquid. |
Introducing New Foods and Allergens Safely
When your baby first starts solids, offer one single-ingredient food at a time. The CDC recommends waiting 3–5 days between new foods at first so you can notice possible reactions before combining ingredients.
Potentially allergenic foods do not need to be avoided simply because they are common allergens. Offer them in a developmentally appropriate form. Examples include fully cooked egg, smooth nut butter thinned with water or another tolerated food, plain yogurt without added sugar, wheat, fish, and sesame paste thinned to a safe consistency.
Warning: Never serve whole nuts or a thick spoonful of nut butter to a baby. If your baby has severe eczema, an egg allergy, or a previous food reaction, ask a healthcare professional how and when to introduce peanut-containing food. Seek emergency care for breathing trouble, facial or tongue swelling, widespread hives, repeated vomiting, unusual limpness, or another severe reaction.
Once your baby has tolerated each ingredient separately, you can begin combining familiar foods.
Creative Flavor Combinations for Pureeing Baby Food
Combining familiar ingredients can add variety without requiring extra equipment. Try these pairings after your baby has eaten each ingredient separately:
- Sweet potato and apple
- Pear and fennel
- Avocado and banana
- Peas and mint
- Carrot and lentil
- Plain yogurt and pear
- Iron-rich cooked meat with peach or mango
You can also add a small pinch of cinnamon to apple or nutmeg to sweet potato. Avoid adding honey, sugar, syrup, or excess salt.
Note: New combinations are easier to evaluate when every ingredient has already been tolerated. If a reaction occurs, you will have a clearer idea of which food may have caused it.
Foods to Avoid or Modify for Babies
The CDC’s infant and toddler nutrition guidance identifies several foods and drinks that should be avoided or limited:
- Honey before 12 months: Honey can cause infant botulism, including when it is mixed into food.
- Whole nuts and thick nut butter: These are choking hazards. Use finely ground or smoothly thinned forms instead.
- Whole grapes, hard raw vegetables, popcorn, hard candy, and large sticky pieces: Modify the shape and texture or wait until the child can manage them safely.
- Unpasteurized milk, juice, yogurt, or cheese: These can contain harmful bacteria.
- Foods with added sugar or excess sodium: Choose plain foods and no-salt-added products when possible.
- High-mercury fish: Avoid king mackerel, marlin, orange roughy, shark, swordfish, Gulf of Mexico tilefish, and bigeye tuna.
- Cow’s milk as a drink before 12 months: Continue breast milk or infant formula instead. Pasteurized dairy foods such as plain yogurt may be introduced as complementary foods.
Storing and Preserving Your Pureed Baby Food
Place freshly prepared puree in clean, shallow containers and refrigerate it promptly. You do not need to wait until it has cooled completely to room temperature. Divide large batches into small portions so they cool quickly and you only thaw what you need.
Proper Cooling Techniques
- Transfer hot puree from the cooking pan into shallow, clean containers.
- Keep the portion you plan to serve separate from the stored batch.
- Label each container with the ingredient and preparation date.
- Refrigerate or freeze promptly.
- Discard food left in the baby’s bowl after feeding because the spoon may have introduced saliva and bacteria.
Best Storage Containers
Airtight glass containers, food-safe plastic containers, and silicone freezer trays can all work. Smaller portions reduce waste and make thawing easier. The following sizes are practical serving options rather than strict safety requirements:
| Container Type | Best Material | Practical Size |
|---|---|---|
| Airtight Containers | Glass or food-safe plastic | 4–8 oz |
| Silicone Ice Cube Tray | Food-safe silicone | About 1 oz per cube |
| Jars | Freezer-safe glass when freezing | 4–16 oz |
Safe Storage Times
FoodSafety.gov provides different limits depending on the ingredients. When you are unsure which category applies, use the shorter homemade-baby-food limit.
| Puree Type | Refrigerator | Freezer |
|---|---|---|
| General homemade baby food | 1–2 days | 1–2 months |
| Strained fruits and vegetables | 2–3 days | 6–8 months |
| Strained meat or egg | 1 day | 1–2 months |
| Meat and vegetable combination | 1–2 days | 1–2 months |
Thawing and Reheating Methods
- Thaw frozen puree in the refrigerator overnight when possible.
- Reheat fruit, vegetable, grain, or bean puree in a small saucepan over low heat, stirring often.
- If microwaving an appropriate puree, transfer it to a microwave-safe dish instead of heating it in a jar.
- Microwave in short intervals, stir thoroughly, let the food stand for at least 30 seconds, and test the temperature.
- Use the stovetop rather than the microwave for baby-food meat and egg purees because they can heat unevenly and overheat.
- Serve the food lukewarm.
- Discard uneaten reheated food and any food that has touched the feeding spoon. Do not return it to the stored batch.
Frequently Asked Questions
Can I use frozen fruits or vegetables for pureeing?
Yes. Choose plain frozen produce without added salt, sugar, sauce, or seasoning. Follow the package directions and cook firm vegetables until tender. Frozen fruit labeled as ready to eat may be thawed, but inspect it carefully and mash or cook it as needed to create a developmentally appropriate texture.
How long can I store pureed baby food?
Use conservative homemade-baby-food limits of 1–2 days in the refrigerator or 1–2 months in the freezer unless a more specific FoodSafety.gov category applies. Strained fruit and vegetable puree may have a longer official storage range, while meat and egg puree has a shorter refrigerated limit.
What are the signs that a baby is ready for solid food?
Readiness signs include sitting upright with support, controlling the head and neck, opening the mouth when food is offered, swallowing instead of pushing food out, bringing objects to the mouth, and trying to grasp food or toys. Most babies show these skills at about 6 months.
Can I mix different fruits and vegetables together?
Yes, after your baby has tolerated each ingredient separately. Familiar combinations include banana and pear, sweet potato and apple, carrot and lentil, or peas and mint. Introducing ingredients separately first makes it easier to identify a food that causes a reaction.
Are there foods to avoid when pureeing for babies?
Do not give honey before 12 months. Avoid unpasteurized foods, added sugar, excess sodium, high-mercury fish, and food prepared in a choking-hazard shape or texture. Whole nuts and whole grapes are unsafe, but age-appropriate thinned nut butter and properly modified fruit may be offered when suitable.
Can I add breast milk or infant formula to homemade puree?
Yes. Add a small amount of breast milk or correctly prepared infant formula with a clean spoon until the puree reaches the desired texture. Store and handle the milk safely, and discard the serving after it has contacted the baby’s mouth or feeding spoon.
How can I make puree smoother without a blender?
Cook the ingredient until very soft, mash it thoroughly, and press it through a fine-mesh sieve with the back of a spoon or spatula. A food mill or potato ricer can also produce a smoother texture. Add liquid gradually rather than pouring in a large amount at once.
Can I puree meat, fish, or eggs without a blender?
Yes. Cook the food to a safe temperature, remove every bone, skin, shell, or tough piece, then mince it finely. Press it through a food mill or sieve and add a little liquid or a tolerated vegetable puree. Cook poultry to 165°F, ground meat to 160°F, fish to 145°F, and eggs until firm.
Conclusion
Pureeing baby food without a blender is straightforward once you match the tool to the ingredient. Use a fork for naturally soft foods, a masher or ricer for tender vegetables, and a sieve or food mill for fibrous ingredients and finer textures. Keep preparation surfaces clean, cook animal foods to safe temperatures, follow your baby’s developmental cues, and store each batch within the correct food-specific limit.
Introduce single ingredients before combinations, supervise every feeding, and ask your child’s healthcare professional for individual guidance when allergies, swallowing problems, prematurity, or other health concerns affect feeding.
Sources
- CDC: When, What, and How to Introduce Solid Foods — readiness signs, first foods, allergen introduction, and texture progression
- CDC: Choking Hazards — safe food preparation, supervision, and choking-risk reduction
- CDC: Foods and Drinks to Avoid or Limit — honey, sodium, sugar, unpasteurized foods, cow’s milk, juice, and mercury guidance
- FoodSafety.gov: Children Under Five — baby-food storage ranges and safe reheating practices
- FoodSafety.gov: Safe Minimum Internal Temperatures — cooking temperatures for poultry, meat, fish, eggs, and leftovers
- FDA: Introduction of Allergenic Foods to Infants — age-appropriate peanut introduction and guidance for higher-risk infants