Clean baby food jars and containers help reduce the chance that leftover food, dirty hands, or kitchen surfaces will contaminate your baby’s meals. The safest routine is to wash every part thoroughly after use, sanitize only with a method the container can tolerate, and let everything air-dry completely before storage.
Quick Answer
Wash every jar and lid after use, then sanitize when extra germ protection is needed—especially before first use and daily for babies younger than 2 months, born prematurely, or with weakened immune systems. Use a dishwasher with heated drying, boil heat-safe parts for 5 minutes, steam per instructions, or use properly diluted bleach.
Key Takeaways
- Cleaning comes first. Soap and scrubbing remove food residue that can block a sanitizer from reaching the surface.
- A dishwasher with hot water and a heated-dry or sanitize setting can clean and sanitize compatible items in one cycle.
- Boil only heat-safe jars and parts for 5 minutes, or use a steam system exactly as the manufacturer directs.
- For the CDC bleach method, use 2 teaspoons of unscented household bleach per gallon of water, soak for at least 2 minutes, and do not rinse afterward.
- Air-dry completely, inspect for cracks, chips, rust, or damaged seals, and store in a clean, protected cabinet.
At a Glance
| Time Required | 10–25 minutes, plus complete air-drying |
| Difficulty | Easy |
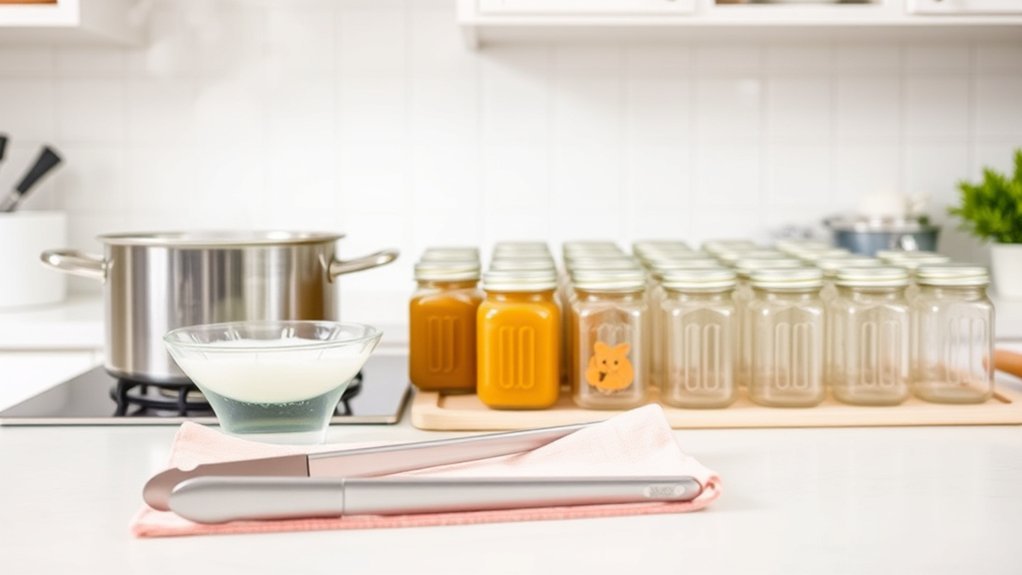
| Tools Needed | Clean basin, dedicated brush, dish soap, clean tongs, and one compatible sanitizing method |
| Cost | Usually less than $5 per batch with supplies already at home |
Cleaning vs. Sanitizing Baby Food Jars
Cleaning removes food, grease, and dirt with soap, water, and scrubbing. Sanitizing is an extra step that lowers the number of germs after the item is already clean. Sanitizing does not make a jar permanently sterile, so clean handling and storage still matter.
The CDC’s infant feeding-item guidance says a separate sanitizing step is not needed when compatible items are washed in a dishwasher with hot water and a heated drying cycle or sanitize setting. It also says daily sanitizing may not be necessary for older, healthy babies when items are carefully cleaned after every use.
Note: This guide applies to reusable jars and food containers. Always follow the container manufacturer’s limits for boiling, steam, dishwasher use, and chemical sanitizers.

Power your essentials anywhere with a 999Wh pure sine wave power station delivering up to 1000W continuous with 2000W surge. It supports fast charging via USB-C PD 60W and USB-A QC 18W, plus simultaneous output for multiple devices through AC, USB, wireless, and car/DC ports. Recharge using AC, car, or solar with a built-in MPPT controller and dual cooling fans, while the upgraded battery management system protects against surges, short circuits, and overheating.

Alcohol-free plant-derived formula that kills 99.9% of germs

【99.9% Germ-Free Steam Sterilization】Our baby bottle sterilizer uses powerful 212°F steam to eliminate 99.9% of bacteria and viruses, ensuring bottles, pacifiers, and pump parts are safe and hygienic. The automatic sterilize-and-dry cycle completes in just 50 minutes, perfect for busy parents prioritizing their baby’s health and safety
The Importance of Sanitizing Baby Food Jars
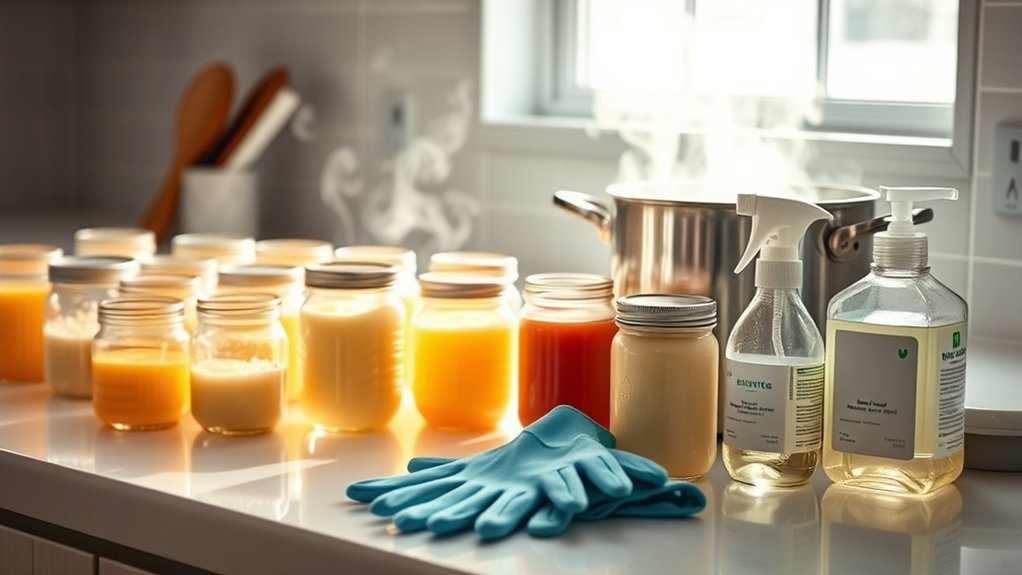
Infants can be more vulnerable to foodborne illness than healthy adults. Cleaning removes the food residue that supports germ growth, while sanitizing adds protection when your baby is very young or has a higher medical risk.
Sanitizing is especially important before first use and at least daily when your baby is younger than 2 months, was born prematurely, or has a weakened immune system. Ask your child’s healthcare professional whether you need a stricter routine for a specific health condition.
Clean first, sanitize second, and never assume a sanitized jar stays clean after it is touched or stored improperly.
When Should You Sanitize Baby Food Jars?
Wash jars, lids, seals, spoons, and other reusable food-contact parts after every use. Add a sanitizing step in these situations:
- Before using a new or newly acquired reusable container for the first time.
- At least daily for a baby younger than 2 months, born prematurely, or with a weakened immune system.
- After an item touches a dirty sink, floor, raw-food surface, trash area, or another likely source of contamination.
- After illness in the household when your pediatrician or public-health guidance recommends extra precautions.
- Whenever the manufacturer instructs you to sanitize the product before use.
For an older, healthy baby, careful washing after each use may be enough. Sanitizing every jar before every meal is not automatically required.
Gather Your Supplies for Sanitization
Set up a clean work area before you start. You may need:
- A clean basin used only for baby feeding items
- Hot water, mild dish soap, and a clean dedicated brush
- A clean, unused dish towel or paper towel for air-drying
- Clean tongs for removing hot items
- A pot, dishwasher, or manufacturer-approved steam sanitizer
- Unscented household bleach only when boiling, steam, or a suitable dishwasher is unavailable
Wash your hands with soap and water before handling clean parts. Clean hands are more important than gloves; gloves can also transfer germs if they touch dirty surfaces.
Step 1: Disassemble Lids and Components
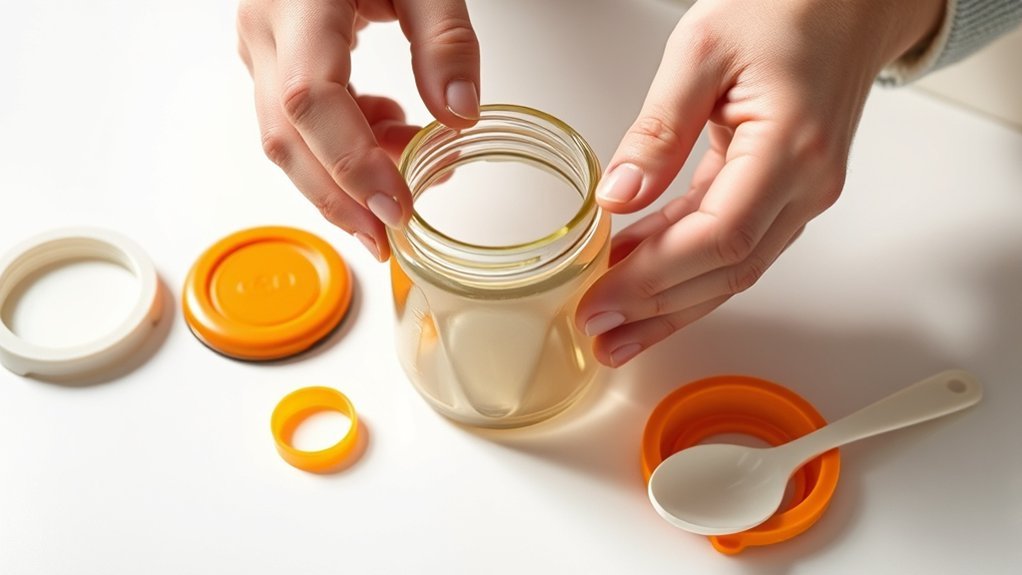
Take apart every removable piece before washing. Separate the jar, lid, gasket, valve, seal, and any removable insert so water and soap can reach hidden surfaces.
- Remove lids and seals carefully to avoid tearing or bending them.
- Check threads, corners, and gaskets for trapped food.
- Discard parts with cracks, chips, deep scratches, rust, warping, or damaged seals.
- Confirm that every part is dishwasher-safe, boil-safe, or steam-safe before choosing a heat method.
- Keep clean interiors off the sink and away from unwashed counters.
The FDA advises discarding commercial baby-food jars with chipped glass or rusty lids. Damaged containers are harder to clean and may create a physical or food-safety hazard.
Step 2: Wash With Hot, Soapy Water
Rinse loose food from each part under running water. Do not place the parts directly in the sink, which may contain germs from raw food, dirty dishes, or cleaning cloths.
Fill a clean basin with hot water and mild dish soap. Scrub the inside and outside of every jar, including the rim, threads, lid grooves, and gasket channels. Use a brush reserved for baby feeding items rather than a multipurpose kitchen sponge.
Cleaning must happen before sanitizing because dried food and grease can protect germs from heat or chemical contact. Replace a brush that smells, shows mold, or can no longer be cleaned well.
Step 3: Rinse Off Any Soap Residue
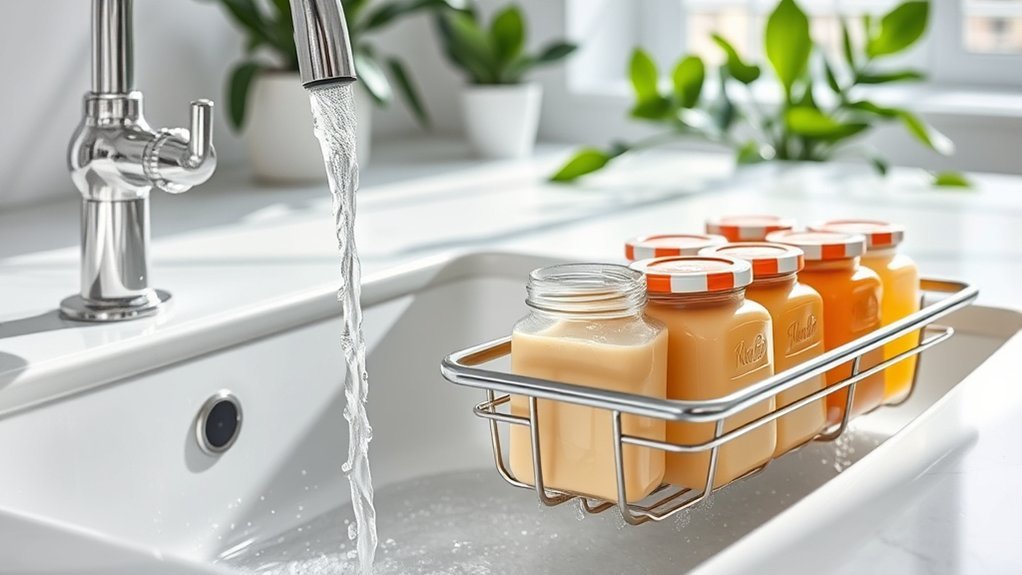
Hold each washed part under clean running water, or rinse it in a second clean basin filled with fresh water. Continue until visible suds and slippery soap film are gone.
Importance of Rinsing Thoroughly
Rinsing removes loosened food and detergent left by washing. There is no universal rule that every jar must be rinsed for exactly 30 seconds; the practical goal is to rinse every surface until it is visibly free of soap and debris.
Techniques for Effective Rinsing
- Turn jars and lids so water reaches rims, threads, corners, and seal channels.
- Use a clean brush on any residue that remains, then wash and rinse again.
- Inspect clear jars against the light for film or dried food.
- Keep rinsed parts off the sink and dirty countertop.
Avoiding Contamination Risks
After the washing rinse, handle parts with clean hands. Once you complete a heat, steam, dishwasher, or CDC bleach sanitizing method, do not rinse again. Rinsing a sanitized item can put germs back onto it.
Warning: Never mix bleach with ammonia, vinegar, acids, or other cleaners. Use only plain, unscented household bleach at the stated dilution, provide ventilation, and keep the solution away from children.
Step 4: Select a Sanitization Method
Choose one method that is safe for every component. Do not boil, steam, microwave, or dishwash a part unless its manufacturer allows that treatment.
Boiling Water Method
Boiling is a simple option for heat-safe glass, silicone, and other approved parts:
- Place the cleaned, disassembled parts in a pot and cover them completely with water.
- Bring the water to a rolling boil.
- Boil for 5 minutes.
- Remove the parts with clean tongs.
- Place them on a clean, unused dish towel or paper towel and let them air-dry. Do not rinse.
Avoid sudden temperature changes that could crack glass. Do not drop a cold jar into vigorously boiling water unless the manufacturer says the glass is designed for that use.
Dishwasher Sanitizing Process
Use this method only for dishwasher-safe jars and parts:
- Place small components in a closed-top basket or mesh bag so they cannot fall into the filter.
- Arrange jars securely so water can reach all surfaces.
- Run hot water with a heated drying cycle or the dishwasher’s sanitize setting.
- Wash your hands before unloading.
- If anything remains wet, move it to a clean air-drying surface rather than towel-drying it.
When you use hot water and heated drying or a sanitize setting, the CDC says a separate sanitizing step is not necessary.
Steam or Microwave Sanitizer Method
A microwave steam bag, microwave steam unit, or plug-in sterilizer can sanitize compatible parts. Add the amount of water specified by the manufacturer, arrange parts as directed, run the full cycle, and follow the cooling instructions before opening. Steam can cause severe burns, so keep your face and hands away when releasing the lid or bag.
Do not place an ordinary jar in a microwave by itself as a substitute for a steam-sanitizing system. Metal lids and parts must never go in a microwave.
Bleach Sanitizing Method
The CDC recommends bleach only when you cannot boil, steam, or use a dishwasher:
- Mix 2 teaspoons of unscented household bleach with 1 gallon (16 cups) of water in a clean basin.
- Submerge all cleaned parts completely and remove trapped air bubbles.
- Soak for at least 2 minutes.
- Remove with clean hands or clean tongs.
- Do not rinse. Place the parts on a clean surface and let them air-dry completely.
Do not substitute vinegar, hydrogen peroxide, scented bleach, or an unverified homemade mixture. For a commercial food-contact sanitizer, follow its label exactly, including dilution, contact time, rinsing directions, and compatible materials.
Pro Tip: Choose one routine that fits your equipment. A dishwasher with heated drying is often the simplest method for compatible jars, while boiling works well for a small batch of heat-safe parts.
How to Properly Air-Dry and Store Sanitized Containers
Place clean or sanitized items on a clean, unused dish towel or paper towel in an area protected from dust and splashes. Let every surface dry completely. Do not rub or pat items dry with a kitchen towel because the towel can transfer germs.
- Angle jars so water can drain and air can circulate.
- Dry removable seals and gaskets separately.
- If you use a drying rack, reserve it for baby feeding items and clean it often.
- Wash your hands before reassembling fully dry parts.
- Store clean jars in a closed, dry cabinet away from the sink, trash, pets, and cleaning chemicals.
Do not seal a jar while moisture remains inside. Trapped moisture can support mold or germ growth and may create odors.
Tips for Keeping Your Baby Food Jars Germ-Free
No household container stays completely germ-free, but these habits lower the chance of recontamination:
- Wash your hands before preparing food or handling clean jars.
- Use a clean spoon to portion food instead of feeding directly from the storage jar.
- Do not return food from the baby’s bowl to the storage jar.
- Label homemade baby food with the preparation date.
- Refrigerate or freeze food promptly in a clean, covered container.
- Inspect jars and lids before every use and discard damaged pieces.
- Keep sanitized items separate from dirty dishes and general-purpose cleaning tools.
The FDA advises serving baby food from a separate dish because saliva on a spoon can contaminate food left in the jar.
Common Mistakes to Avoid When Sanitizing Baby Food Jars
- Sanitizing without washing first: Heat or sanitizer cannot work reliably through dried food.
- Using the wrong bleach dilution: The CDC method is 2 teaspoons per gallon, not 1 tablespoon per gallon.
- Rinsing after sanitizing: This can reintroduce germs. The washing step is rinsed; the completed sanitizing step is not.
- Using vinegar or hydrogen peroxide as a substitute: Household mixtures are not automatically validated for this use.
- Towel-drying: A used dish towel can transfer germs back to clean parts.
- Ignoring material limits: Heat can warp plastic, damage seals, or crack unsuitable glass.
- Calling sanitized items sterile: Sanitizing reduces germs but does not create permanent sterility.
- Storing damp containers: Moisture can support mold and bacterial growth.
Safe Use of Clean Jars for Baby Food Storage
Sanitizing a jar does not make the food inside shelf-stable. Homemade baby food still needs prompt refrigeration or freezing, and the storage time depends on the ingredients and temperature.
Use intact, food-safe containers with lids that close securely. Leave room for expansion when freezing food in a freezer-safe glass jar, and never use cracked or chipped glass.
Warning: Do not use this sanitizing process as a home-canning method. The National Center for Home Food Preservation advises against home canning pureed vegetables, red meat, or poultry because safe processing times for those purees have not been established.
Frequently Asked Questions
How Often Should I Sanitize Baby Food Jars?
Wash reusable jars and parts after every use. Sanitize before first use and at least daily for babies younger than 2 months, born prematurely, or with weakened immune systems. For an older, healthy baby, careful cleaning after each use may be enough unless the item becomes contaminated or the manufacturer says otherwise.
Can I Use Bleach to Sanitize Baby Food Jars?
Yes. After washing, soak compatible parts for at least 2 minutes in a solution of 2 teaspoons of unscented household bleach per gallon of water. Remove them with clean hands or tongs, do not rinse, and let them air-dry completely. Never mix bleach with other cleaners.
Are There Any Specific Jar Types to Avoid?
Avoid containers that are not labeled food-safe and discard jars or lids with cracks, chips, rust, warping, deep scratches, or damaged seals. Do not boil, steam, microwave, or dishwash a container unless the manufacturer confirms that the material can tolerate that method.
What Should I Do if Jars Have Stubborn Stains?
Soak the jar in hot, soapy water, scrub it with a dedicated brush, and rinse well. Baking soda may help with odor or surface staining, but it is not a sanitizer. If residue remains in scratches, seams, or damaged plastic, replace the container.
Can I Reuse Baby Food Jars for Other Purposes?
An intact jar can be reused for crafts or dry-item organization after thorough cleaning. For food storage, use only food-safe containers with sound lids and follow refrigerator or freezer guidance. Do not treat a reused commercial baby-food jar as approved home-canning equipment.
Can Plastic or Silicone Baby Food Containers Be Boiled?
Only if the manufacturer labels the exact container and lid as boil-safe. Some silicone parts tolerate boiling, while some plastics can warp or release from their seals. When uncertain, use a compatible dishwasher or the manufacturer’s approved sanitizing method.
Can Sanitizing Make Homemade Baby Food Shelf-Stable?
No. A sanitized jar is not the same as a safely processed canning jar. Refrigerate or freeze homemade baby food promptly. Do not home-can pureed vegetables, meat, or poultry because tested home-processing times are not available for those purees.
Why Shouldn’t I Dry Jars With a Dish Towel?
A towel can transfer germs or lint back to cleaned surfaces. Let jars and parts air-dry on a clean, unused dish towel or paper towel in a protected area. Store them only after every part is completely dry.
Conclusion
Safe baby food jar care is straightforward: take every part apart, wash it well, rinse away soap, use one approved sanitizing method when needed, and air-dry completely. The most important corrections are to sanitize according to your baby’s risk level, use the CDC bleach dilution precisely, and never rinse after the sanitizing step. Replace damaged containers and keep clean jars protected until use.
Sources
- Centers for Disease Control and Prevention: Clean, Sanitize, and Store Infant Feeding Items — cleaning sequence, sanitizing frequency, boiling, steam, dishwasher, bleach dilution, air-drying, and storage.
- U.S. Food and Drug Administration: Once Baby Arrives — safe baby-food handling, damaged commercial jars, portioning, and cold storage.
- U.S. Environmental Protection Agency: Cleaning, Sanitizing, and Disinfecting — definitions and label-following for registered sanitizers.
- National Center for Home Food Preservation: Canning Fruit-Based Baby Foods — warning against home canning pureed vegetables, red meat, and poultry.