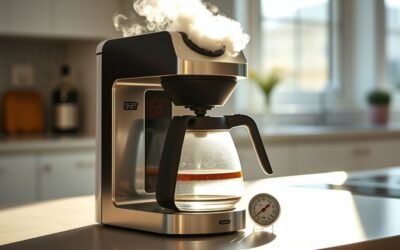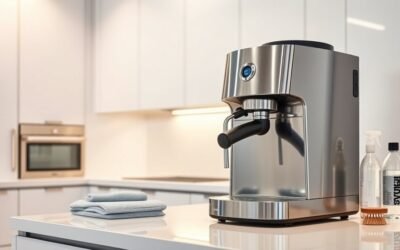
A coffee maker can survive a household move or parcel shipment without damage, but it must be completely cool, clean, dry, and unable to move inside the box. The safest method is to remove every loose part, follow the manufacturer’s instructions for emptying internal water, wrap fragile pieces separately, and double-box the appliance when it will pass through a carrier network.
Quick Answer
To ship a coffee maker safely, unplug and cool it, remove coffee and water, clean and dry every part, and use the model’s official system-emptying procedure. Wrap the carafe and accessories separately, cushion the machine on every side, double-box it, seal all seams, and document its condition before shipping.
Key Takeaways
- Remove all water, grounds, beans, capsules, filters, milk, and cleaning liquid before packing.
- Follow the manufacturer’s instructions for draining internal lines; do not use one generic boiler-draining method for every machine.
- Wrap the glass carafe, portafilter, water tank, drip tray, and other removable parts separately.
- For parcel shipping, double-box the machine with about three inches of cushioning around the inner box.
- Photograph the appliance and packing process, and review the carrier’s declared-value, insurance, and claim terms before shipping.
At a Glance
| Time Required | About 45–90 minutes, plus drying time |
| Difficulty | Easy for a drip or pod machine; moderate for a heavy espresso machine |
| Tools Needed | Two sturdy boxes, bubble cushioning or foam, accessory bags, dividers, packing paper, strong tape, labels, and a camera |
| Cost | About $15–$50 for packing materials, excluding postage and optional coverage |
Supplies and Records to Gather Before Packing
Gather everything before you unplug the machine so you do not have to leave cleaned parts exposed while searching for supplies. For a parcel shipment, you will usually need:
- A strong inner box and a larger corrugated outer box
- The original molded inserts, if they are clean, intact, and still fit the machine
- Bubble cushioning, dense foam, or other protective material
- Corrugated dividers or a small accessory box
- Clean plastic bags for dry removable parts
- Packing paper for filling small spaces
- Strong pressure-sensitive packing tape
- “FRAGILE” and “THIS SIDE UP” markings
- A duplicate destination address for the inside of the box
- A phone or camera for documenting the appliance and packing layers
Photograph the machine from every side before cleaning and packing it. Also record its model and serial number, photograph the power cord and accessories, and save the purchase receipt or another record of value. These records can help establish the machine’s pre-shipment condition if you later need to file a claim.
Pro Tip: Use the original box only when both the box and its shaped inserts remain strong and undamaged. For carrier shipping, placing that original box inside a cushioned outer box provides much better protection than mailing it by itself.

Power your essentials anywhere with a 999Wh pure sine wave power station delivering up to 1000W continuous with 2000W surge. It supports fast charging via USB-C PD 60W and USB-A QC 18W, plus simultaneous output for multiple devices through AC, USB, wireless, and car/DC ports. Recharge using AC, car, or solar with a built-in MPPT controller and dual cooling fans, while the upgraded battery management system protects against surges, short circuits, and overheating.

WHAT'S IN THE BOX: One water filter handle, and one filter to help ensure your beverages taste their absolute best.

BREWS MULTIPLE CUP SIZES: (6, 8, 10 oz.) the most popular K-Cup pod brew sizes. Use the 6oz brew size to achieve the strongest brew.
Prepare Your Coffee Maker for Safe Shipping
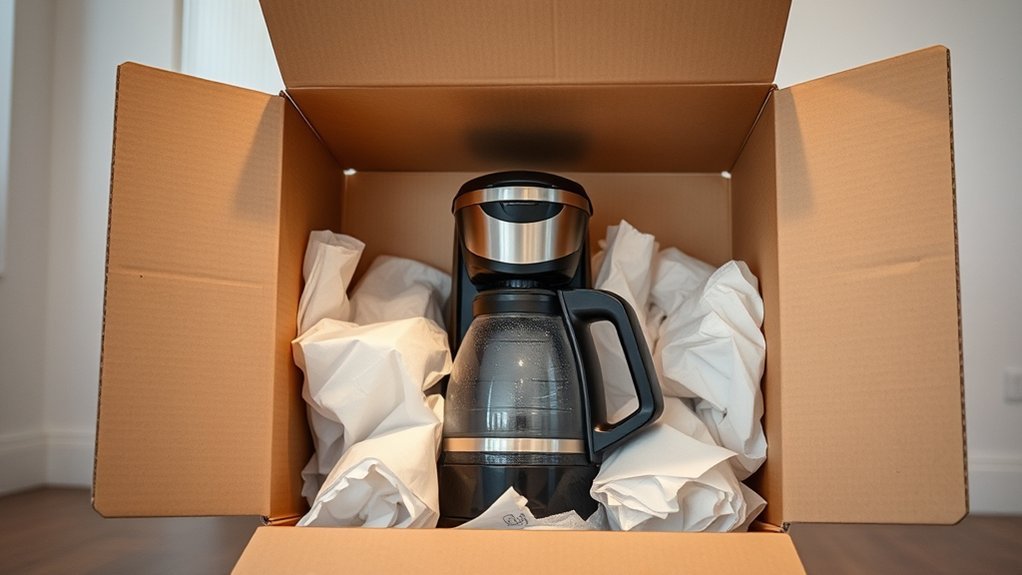
Careful preparation prevents leaks, odors, mold, loose-part damage, and internal freeze damage. Complete these steps before wrapping the machine:
- Unplug and cool the appliance. Do not clean, drain, or disassemble a hot coffee maker or pressurized espresso machine.
- Remove consumables. Empty coffee grounds, whole beans, pods, capsules, paper filters, reusable filters, milk, and any cleaning or descaling liquid.
- Empty visible water. Remove and empty the reservoir, carafe, drip tray, capsule bin, milk container, and waste container.
- Clean removable parts. Wash only the parts the manufacturer identifies as washable. Never immerse the powered body of the machine.
- Empty internal water correctly. Check the manual for a storage, transport, repair, frost-protection, or “empty system” procedure. Some capsule machines use a specific button sequence rather than ordinary brewing.
- Dry everything completely. Wipe the exterior and leave removable parts in a ventilated area until no moisture remains in seams, valves, hoses, or recesses.
- Secure the power cord. Coil it loosely and fasten it with a reusable tie. Do not bend it sharply or tape adhesive directly to the cord.
- Secure doors and lids. Use stretch film, a soft tie, or low-tack material that will not damage the finish. Do not force a latch into a position not intended by the manufacturer.
Warning: Do not open a boiler, remove pressurized fittings, or improvise a draining procedure. Internal water-removal steps differ by model. Trapped water can leak during transit or freeze in cold conditions, but an incorrect procedure can cause burns, electrical damage, or equipment damage.
Preparing a Drip Coffee Maker
Remove the carafe, brew basket, reusable filter, water filter, and reservoir if the design allows it. Clean and dry each part. Check the warming plate and the area beneath the brew basket for grounds or moisture. Wrap the glass carafe separately rather than leaving it installed in the machine.
Preparing a Pod or Capsule Machine
Remove all capsules and empty the used-capsule bin, drip tray, and water tank. Run only the official emptying procedure specified for the model. For example, some Nespresso machines provide a dedicated system-emptying mode for storage, frost protection, or repair. Review the manufacturer’s machine-assistance instructions instead of assuming that an ordinary rinse cycle empties every internal line.
How to Pack Your Espresso Machine Step-by-Step
Espresso machines are often heavier than drip brewers and may contain a grinder, pump, boiler, thermoblock, gauges, valves, and fragile controls. Use the following process after the machine has cooled and its approved emptying procedure is complete:
- Remove the portafilter and basket. Clean and dry them, then wrap them separately.
- Empty the grinder. Remove beans from the hopper and clear loose grounds according to the manufacturer’s instructions. Do not dismantle the burr assembly unless the manual directs you to do so.
- Remove loose components. Take out the water tank, drip tray, milk container, cleaning tools, tamper, dosing funnel, and removable hopper when permitted.
- Protect projecting parts. Add soft cushioning around knobs, the steam wand, hot-water outlet, gauges, and handles without applying force to them.
- Wrap the body. Use several layers of bubble cushioning or foam, with extra protection around corners and controls. Keep tape off painted, polished, or plastic surfaces.
- Pack accessories separately. Place dry accessories in labeled bags or a divided accessory box so they cannot strike the machine.
- Center the machine in the inner box. Place firm cushioning beneath it and on every side. The machine should not touch a box wall.
- Perform a movement test. Gently rock the inner box. If the machine shifts, add more blocking and cushioning before sealing it.
Descaling is not automatically required before every move. If the machine is due for maintenance, use only the cleaner, dilution, and cycle approved for that model. Manufacturer cleaning instructions vary, so review the manual before using vinegar or any commercial product. Breville likewise advises owners to consult the machine’s instructions when choosing a cleaning method.
Tips for Protecting Your Coffee Equipment
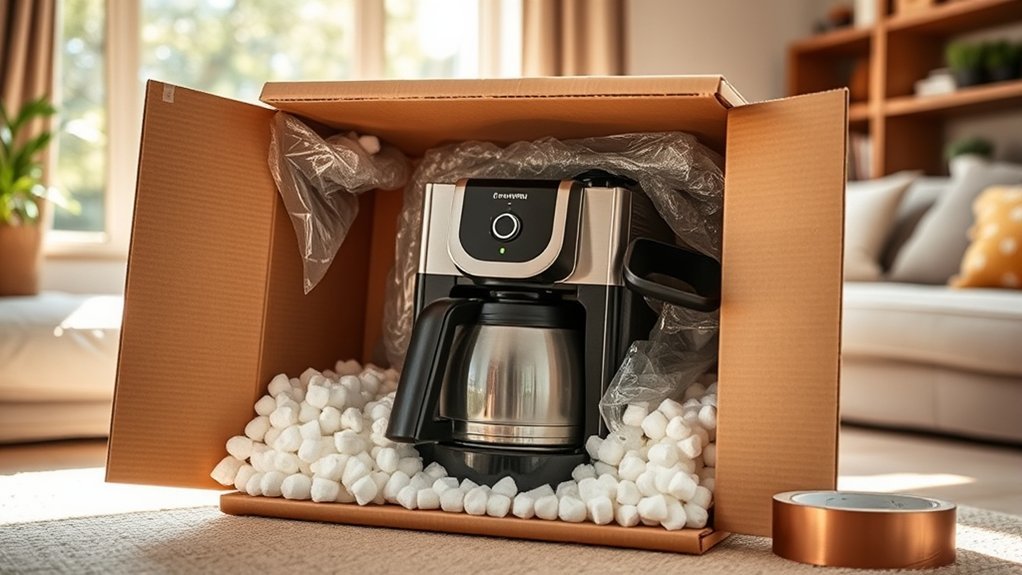
Wrap the Carafe and Removable Parts Separately
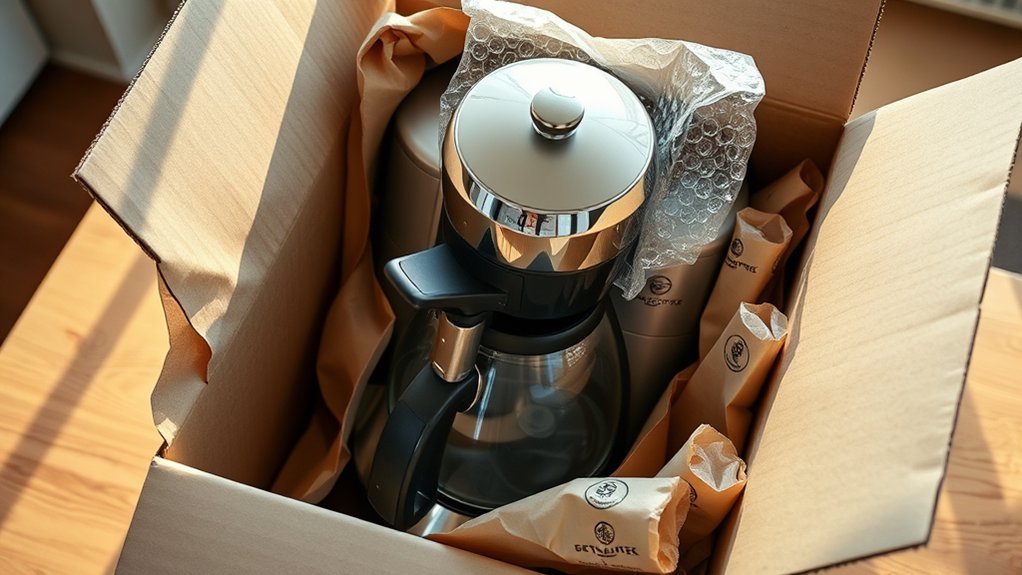
Wrap a glass carafe in several layers of bubble cushioning, paying special attention to the handle, rim, lid, and spout. Place it in a small inner box or divided section where it cannot touch the coffee maker. Fill the inside of a hollow carafe with clean packing paper for additional support, but do not pack it so tightly that pressure is placed on the glass.
Wrap reservoirs, filter baskets, drip trays, milk containers, portafilters, and other removable parts individually. Do not place metal accessories loose inside the water tank, carafe, bean hopper, or machine body.
Double-Box the Coffee Maker
For parcel shipping, double-boxing is safer than relying on a single box. FedEx’s guidance for breakable items recommends double-boxing fragile goods and using three inches of cushioning in and around the inner box. UPS also recommends a two-box method for fragile goods, with an outer box large enough to provide cushioning around the inner box.
- Place cushioning beneath the wrapped machine in the inner box.
- Center the appliance and fill every side so it cannot shift.
- Seal the inner box with strong packing tape.
- Choose an outer box that provides roughly three inches of space around the inner box.
- Add cushioning to the bottom of the outer box.
- Center the inner box and fill every remaining gap.
- Close the box and gently shake it. Nothing inside should move, rattle, or strike a box wall.
Seal the Box Correctly
Use the H-taping method: tape the center seam and both edge seams on the top and bottom of the box. Do not use masking tape, gift-wrapping tape, string, or a lightly adhesive household tape. Reinforce any hand holes or weak seams, but do not cover the carrier barcode with tape or labels.
A coffee maker should be packed to survive normal conveyor, vehicle, stacking, and sorting movement. A “FRAGILE” label is a reminder—not the protection system.
How to Label and Document Your Coffee Maker for Shipping
Attach the carrier label to the largest flat surface of the outer box, avoiding seams and corners. Place a duplicate destination address and your contact information inside the package in case the exterior label becomes damaged.
You may mark the outer box “FRAGILE” and “THIS SIDE UP” on more than one side. These markings communicate the intended handling and orientation, but they do not guarantee that the package will remain upright. USPS advises careful cushioning for fragile items, and its former paid Special Handling—Fragile option was discontinued in 2022. Pack the appliance so it remains protected even if the box is tilted. See the current USPS fragile-item preparation guidance.
For a household move rather than a carrier shipment, label the box “Kitchen — Coffee Maker and Accessories,” include “This Side Up,” and list the enclosed pieces on an inventory sheet. Keep the box upright in the vehicle and avoid stacking heavy boxes on it.
Document the Condition and Packing Process
Take clear photographs of:
- The working, undamaged machine before packing
- The model and serial-number label
- Every accessory included in the shipment
- The cleaned and dry reservoirs, trays, and carafe
- The wrapped machine inside the inner box
- The cushioning between the inner and outer boxes
- The sealed box and readable shipping label
Save the receipt, tracking number, shipping label, declared-value record, coverage documents, and carrier acceptance receipt. Keep digital copies until the machine has arrived and passed its inspection and test cycle.
Understand Declared Value and Shipping Insurance
Note: Declared value is not always insurance. It may only increase the carrier’s maximum potential liability, and reimbursement can depend on proving value, proper packaging, damage, and carrier responsibility. Read the exact terms for the service you select.
FedEx expressly states that declared value is not shipping insurance. USPS, by contrast, offers insurance and extra services for eligible mailpieces. UPS services and participating UPS Store programs may have different declared-value, guarantee, and insurance arrangements.
Before paying for additional protection, confirm:
- The service’s included liability or insurance amount
- Whether additional declared value or insurance is available
- The maximum payable amount and excluded items
- Packaging standards that must be met
- Whether proof of purchase, repair cost, or replacement value is required
- Claim deadlines and inspection requirements
- Whether you must retain the original packaging
Shipping a Coffee Maker Internationally
An international shipment may require a customs declaration, accurate contents description, fair value, country of manufacture, tariff classification, and other documents. Requirements depend on the origin, destination, carrier, service, and reason for shipment. USPS explains that the sender is responsible for declaring the contents and value correctly on the appropriate customs form.
Before shipping, confirm that the destination accepts the appliance and determine who will pay any duties, taxes, or clearance fees. At the destination, also verify that the machine’s voltage, frequency, plug, and grounding requirements are compatible. A simple plug adapter does not convert voltage.
Steps to Take After Your Coffee Maker Arrives Safely
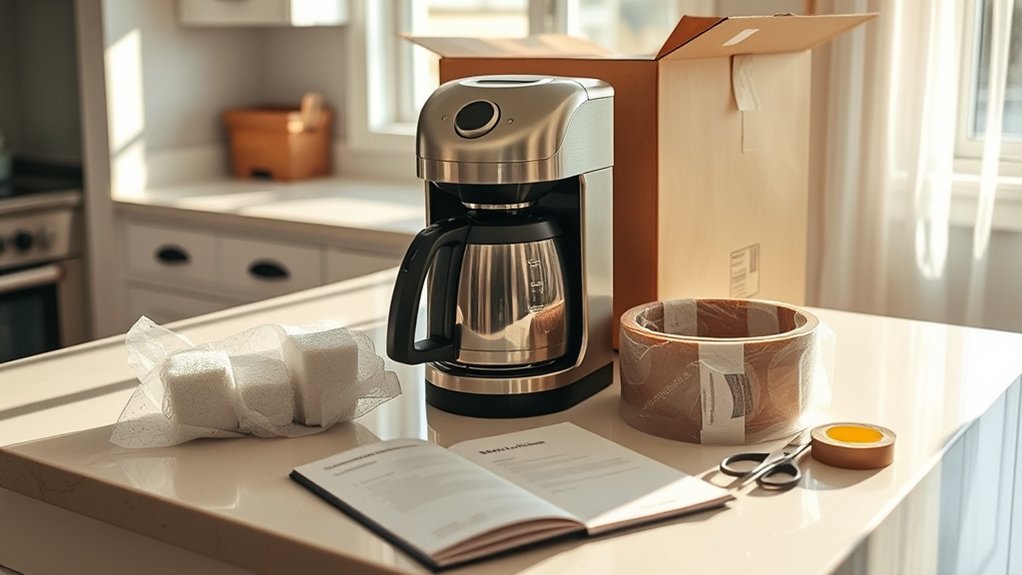
Open the box carefully and keep every layer of packaging until the machine has passed inspection. Compare the contents with your accessory inventory and look for crushed corners, cracks, bent controls, broken glass, loose components, water, or signs that the appliance shifted.
If the package arrived in very cold conditions, leave the machine unplugged until it reaches room temperature and any condensation has evaporated. Never energize a visibly wet, cracked, leaking, or severely dented appliance.
| Step | Action | Purpose |
|---|---|---|
| Inspect | Check the box, appliance, cord, carafe, controls, and accessories | Identify damage before discarding evidence |
| Reassemble | Follow the manufacturer’s instructions | Restore every part to its correct position |
| Rinse | Run the approved first-use or rinse procedure with fresh water | Flush dust and prepare internal water paths |
| Test | Operate the machine with water while watching for leaks, noise, or error messages | Confirm safe operation before brewing coffee |
Do not automatically run vinegar through the machine after shipping. Use plain potable water for the initial rinse unless the manufacturer’s first-use instructions call for an approved cleaning or descaling product. Once the machine operates normally and remains dry around its base and connections, you can enjoy the first brew in its new location.
What to Do if the Coffee Maker Is Damaged
If you find damage, stop unpacking long enough to photograph the condition exactly as received. Do not discard the box, inserts, cushioning, labels, or damaged parts.
- Photograph every damaged area and the corresponding damage to the box.
- Photograph the shipping label and tracking information.
- Keep the machine unplugged if it is cracked, wet, leaking, or electrically damaged.
- Review the carrier’s claim instructions and deadline immediately.
- Submit proof of value, pre-shipment photographs, packing photographs, and repair or replacement estimates when requested.
- Make the package and contents available for inspection if the carrier requires it.
- Contact the manufacturer or an authorized service provider before attempting an internal repair.
Carrier coverage is not automatic proof that a claim will be paid. The carrier may evaluate packaging, actual value, repair cost, exclusions, and the cause of damage.
Frequently Asked Questions
Can I ship my coffee maker internationally?
Yes, when the carrier and destination permit it. Complete all customs documents accurately, declare the contents and value, check destination restrictions, and determine who will pay duties or taxes. The recipient should also verify voltage, frequency, grounding, and plug compatibility before using the machine.
What should I do if my coffee maker breaks during shipping?
Photograph the damage, box, cushioning, and label before moving or discarding anything. Keep all packaging, stop using the appliance, and follow the carrier’s claim instructions promptly. Supply proof of value, pre-shipment photographs, and a repair or replacement estimate if requested.
Are there specific shipping services for fragile items?
Carriers and packing stores may offer professional packing, signature services, declared-value options, insurance, or guarantees. Terms differ, so compare packaging requirements, liability limits, exclusions, claim rules, and whether the service includes actual insurance.
How do I prevent water leaks during shipping?
Empty all removable reservoirs, trays, milk containers, and carafes. Then follow the exact model’s official system-emptying or storage procedure. Dry the machine fully and place dry removable parts in separate bags. Do not rely on tipping the machine or running a generic brew cycle to remove trapped water.
Is insurance available for shipping my coffee maker?
It may be, depending on the carrier and service. USPS sells insurance for eligible shipments, while FedEx distinguishes declared value from insurance. Review the exact terms, limits, exclusions, packaging rules, and proof requirements before purchasing additional protection.
Can I ship a coffee maker without its original box?
Yes. Wrap the appliance thoroughly, immobilize it in a strong inner box, and place that box inside a larger cushioned outer box. Protect the carafe and accessories separately. The finished package should have no movement or rattling when gently rocked.
Can I lay a coffee maker on its side during a move?
Keep it upright whenever possible, especially if the manufacturer specifies an orientation. Even after visible water is removed, internal lines may retain moisture. If the box may be tilted during parcel handling, correct draining and cushioning are more important than orientation labels alone.
Should I descale the coffee maker before shipping it?
Descale it only when maintenance is due or the manufacturer recommends doing so before storage. Use the approved solution and procedure for the exact model. Afterward, rinse and empty the machine completely, then allow all removable parts and accessible surfaces to dry before packing.
Conclusion
Shipping a coffee maker safely depends on preparation and movement control, not labels alone. Remove water and loose items, use the manufacturer’s emptying instructions, protect every fragile component, and double-box the machine when it will travel through a parcel network. Photograph each stage and understand the carrier’s coverage before handing over the package. After delivery, inspect, rinse, and test the machine before brewing your first cup.
Sources
- FedEx: How to Pack Breakables — double-boxing, cushioning, movement control, sealing, and label placement
- UPS: Packaging Tips — two-box packing method and cushioning between boxes
- FedEx: Declared Value — distinction between declared value, carrier liability, and insurance
- USPS: Insurance and Extra Services — current insurance options and general limits
- USPS: Customs Forms Basics — international contents and value declarations
- Breville: Espresso Machine Cleaning Guide — model-specific cleaning and descaling precautions