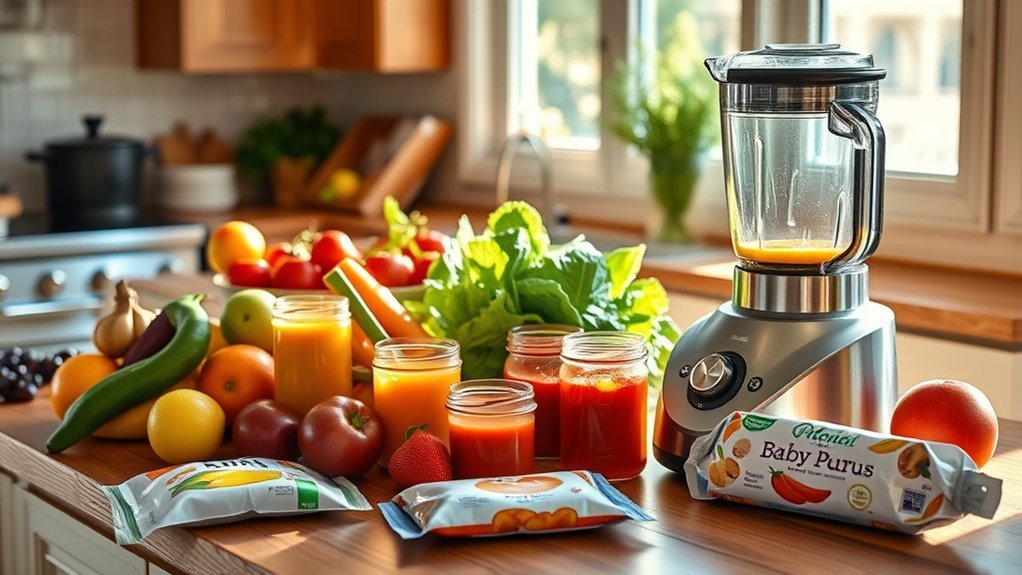
Homemade baby food gives you control over ingredients, texture, and portion size, but it is not automatically safer or more nutritious than store-bought food. The best choice is the one that gives your baby a varied, iron-rich diet while fitting your time, budget, and ability to prepare, store, and serve food safely.
Quick Answer
Homemade baby food can be a healthy, flexible choice when your baby is developmentally ready—usually around 6 months—and you follow safe cooking, storage, and serving practices. It is not automatically more nutritious than store-bought food, and many families use both options based on time, cost, convenience, and their baby’s needs.
Key Takeaways
- Homemade food offers ingredient and texture control, while commercial baby food offers convenience, consistent portions, and sometimes useful iron fortification.
- Babies generally begin solid food at about 6 months when they can control their head, sit with support, accept food, and swallow it.
- Safe preparation requires clean hands and tools, thorough cooking, prompt cooling, correct storage, and discarding food contaminated by a used spoon.
- Iron-rich foods, varied grains, vegetables, fruit, proteins, and progressively thicker textures are more important than choosing only homemade or only store-bought food.
- Honey, juice, unpasteurized foods, unsafe textures, excess added sugar, and high-sodium foods should be avoided or limited according to age.
At a Glance
| Time Required | About 20–45 minutes for a small batch, plus cooling and storage time |
| Difficulty | Easy to moderate, depending on the ingredients and texture |
| Tools Needed | Saucepan or steamer, fork or blender, clean utensils, food-safe containers, and labels |
| Cost | Varies; it may cost less when you use ingredients already included in family meals, but equipment, time, and food waste also matter |
Note: This article provides general educational information, not individualized medical advice. Speak with your child’s pediatrician before starting solids if your baby was born prematurely, has growth or swallowing concerns, has severe eczema or an egg allergy, or has another medical condition that affects feeding.
Why Choose Homemade Baby Food?
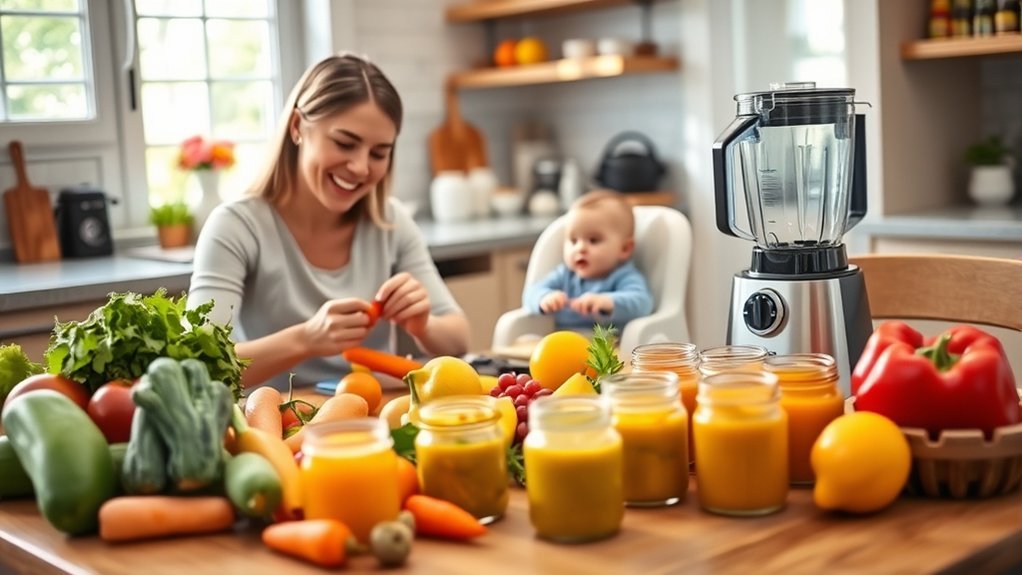
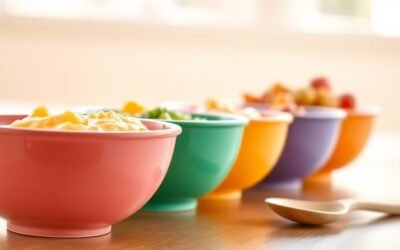
Making baby food at home can give you direct control over the ingredients, consistency, and portion size. You can prepare a smooth puree for a new eater, a thicker mash as feeding skills develop, or soft pieces when your baby is ready for more texture.
Homemade food can also make it easier to share suitable parts of a family meal. For example, you can set aside unsalted vegetables, meat, beans, or grains before adding ingredients that are too salty, spicy, or difficult for your baby to eat safely.

Power your essentials anywhere with a 999Wh pure sine wave power station delivering up to 1000W continuous with 2000W surge. It supports fast charging via USB-C PD 60W and USB-A QC 18W, plus simultaneous output for multiple devices through AC, USB, wireless, and car/DC ports. Recharge using AC, car, or solar with a built-in MPPT controller and dual cooling fans, while the upgraded battery management system protects against surges, short circuits, and overheating.
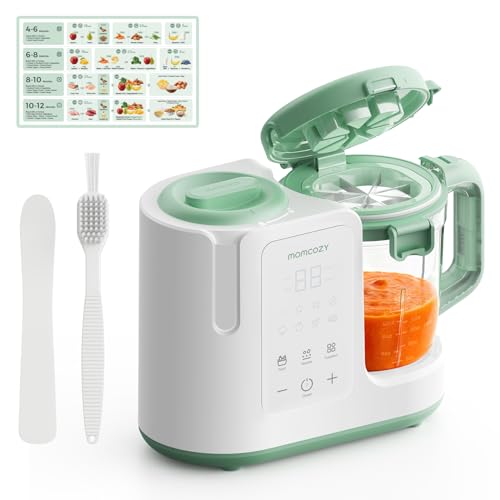
𝟑-𝐌𝐢𝐧𝐮𝐭𝐞 𝐏𝐫𝐞𝐩, 𝐈𝐭 𝐇𝐚𝐧𝐝𝐥𝐞𝐬 𝐭𝐡𝐞 𝐑𝐞𝐬𝐭 - Spend just 3 minutes prepping — the Momcozy Baby Food Maker automatically steams and blends in 18–25 minutes. No food transferring needed. For frozen ingredients, extend the duration in Auto Mode. Making fresh, healthy baby puree has never been easier.

𝗔𝗹𝗹-𝗶𝗻-𝗢𝗻𝗲 𝗕𝗮𝗯𝘆 𝗙𝗼𝗼𝗱 𝗠𝗮𝗸𝗲𝗿: Say goodbye to kitchen clutter! The Bear baby food maker does it all in one compact device—steam, blend, sterili-ze bottles and warm milk. Simplify your daily routine and create fresh, homemade meals for your little one without the need for extra appliances
Potential Benefits
- Ingredient control: You choose the produce, grains, proteins, liquids, and seasonings.
- Flexible texture: You can adjust the food from smooth to mashed, lumpy, minced, or soft finger-food textures.
- Flavor variety: Your baby can gradually experience the foods and seasonings commonly used by your family.
- Portion control: Small containers or freezer portions can reduce waste.
- Possible savings: Costs may be lower when you use seasonal ingredients or appropriate foods already being prepared for the household.
Important Tradeoffs
- Cooking, blending, cooling, labeling, and cleaning require time.
- Homemade food has a limited refrigerator life.
- Nutrition depends on the recipe, so poorly planned meals may be low in iron, energy, or healthy fat.
- Safe results depend on careful hygiene, cooking, cooling, and storage.
- A blender is convenient but not essential; many soft foods can be mashed with a fork.
Homemade and store-bought baby foods can both support healthy growth. The overall variety, nutrient balance, texture, safety, and fit for your family matter more than the package.
Homemade vs. Store-Bought Baby Food
There is no universal nutritional winner. A review comparing homemade and commercial infant foods found differences in energy, protein, fiber, fat, sodium, sugar, and food variety, but the results depended on the foods and recipes being compared. It did not show that every homemade meal is better than every commercial product. You can review the research through the National Library of Medicine.
| Factor | Homemade Food | Store-Bought Food |
|---|---|---|
| Ingredients | Chosen directly by the caregiver | Listed on the package; simple one-ingredient options are widely available |
| Nutrition | Varies with the recipe and portion | Varies by product; fortified cereal may provide useful iron |
| Texture | Easy to customize as skills develop | Consistent but may offer fewer texture choices within each stage |
| Convenience | Requires preparation, cleanup, and cold storage | Portable and quick to serve when unopened |
| Shelf life | Short after preparation | Longer before opening because it is commercially processed and sealed |
| Cost | May be lower, especially when using shared ingredients | Usually costs more per serving but saves preparation time |
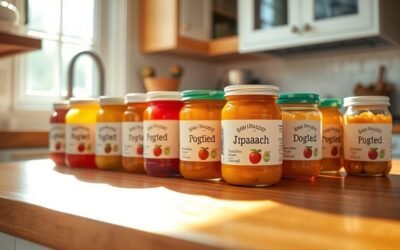
How to Read Commercial Baby Food Labels
Packaged baby food is not defined by “hidden additives.” FDA-regulated packaged foods generally list their ingredients in descending order by weight. When comparing products, check:
- The complete ingredient list.
- The added-sugars line and sodium amount.
- Milk, egg, peanut, wheat, soy, sesame, fish, shellfish, or tree-nut allergen information.
- The recommended age or developmental stage.
- The seal, lid, pouch, and expiration or use-by information.
Many families use homemade food at home and sealed commercial food for travel, child care, emergencies, or especially busy days.
When Is a Baby Ready for Solid Food?
The CDC recommends introducing foods other than breast milk or infant formula at about 6 months. Starting before 4 months is not recommended. Age alone is not enough; your baby should also show developmental readiness.
Common readiness signs include:
- Sitting upright alone or with support.
- Controlling the head and neck.
- Opening the mouth when food is offered.
- Swallowing food instead of immediately pushing it out with the tongue.
- Bringing objects to the mouth.
- Showing the ability to move food toward the back of the tongue and swallow.
Interest in another person’s meal can be encouraging, but it does not replace the physical skills needed to eat safely.
Common Challenges of Homemade Baby Food
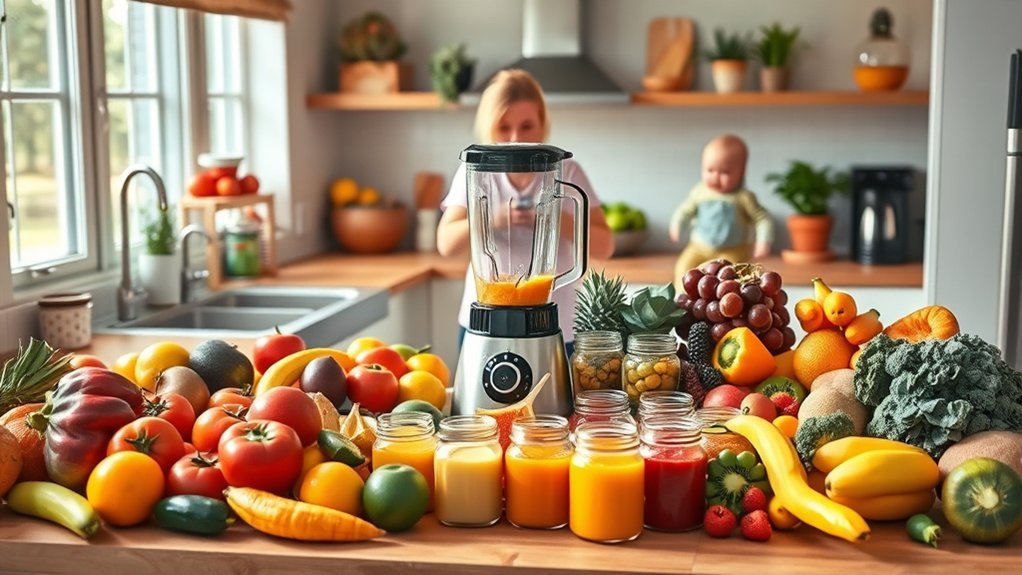
Homemade baby food can be rewarding, but it adds tasks to an already busy routine. Shopping, washing, cooking, blending, cooling, portioning, labeling, freezing, and cleaning can take longer than expected.
Equipment can also create a barrier, although a special baby-food maker is not required. A saucepan or steamer, fork, fine grater, potato masher, sieve, or regular blender can handle most foods.
Other practical challenges include:
- Finding refrigerator or freezer space.
- Remembering preparation and discard dates.
- Preparing small enough quantities to avoid waste.
- Maintaining safe temperatures while traveling.
- Providing enough iron and energy rather than relying mainly on fruit and vegetable puree.
- Advancing texture instead of keeping every meal completely smooth for too long.
How to Make Homemade Baby Food Safely
1. Clean Your Hands, Tools, and Surfaces
Wash your hands with soap and water before preparing food. Clean the cutting board, knife, utensils, blender parts, containers, and work surface. Wash produce under running water before peeling or cutting it.
2. Keep Raw Foods Separate
Keep raw meat, poultry, seafood, and eggs away from cooked or ready-to-eat ingredients. Use clean utensils and cutting boards after handling raw animal foods.
3. Cook Until Soft and Safe
Steam, bake, roast, simmer, or microwave vegetables and firm fruits until they can be mashed easily. Cook meat, poultry, fish, and eggs thoroughly according to safe minimum cooking temperatures. Remove skin, bones, pits, seeds, and hard pieces before blending or serving.
4. Adjust the Texture
For a new eater, mash or puree food until smooth enough to swallow comfortably. Use breast milk, prepared infant formula, or water to thin the food when needed. As skills improve, gradually move to thicker mashes, soft lumps, minced food, and safe finger-food textures.
5. Cool and Portion Promptly
Place cooked food into shallow, clean containers so it cools quickly. Refrigerate or freeze perishable food within two hours. Label each container with the food and preparation date.
6. Serve a Small Portion
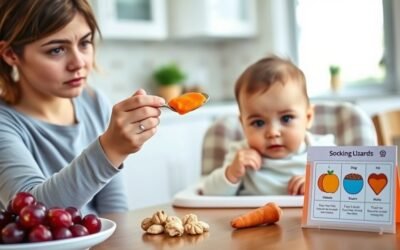
Transfer only the amount your baby is likely to eat into a separate dish. Use a clean spoon. Do not return food from the baby’s dish to the refrigerator because saliva can introduce bacteria. The FDA recommends discarding food left in the serving dish.
Warning: Always seat your baby upright and supervise every meal. Match the food’s size, shape, softness, and texture to your baby’s feeding skills. Whole nuts, whole grapes, hard raw vegetables, popcorn, spoonfuls of thick nut butter, and round pieces of sausage or hot dog can block a child’s airway.
Pro Tip: Freeze small portions of single-ingredient foods first. After your baby has tolerated the ingredients separately, you can thaw and combine portions to create varied meals without preparing a new recipe every day.
Safe Storage and Reheating
The latest FoodSafety.gov storage chart uses different limits for different types of baby food:
| Opened or Freshly Made Food | Refrigerator | Freezer |
|---|---|---|
| Strained fruits and vegetables | 2–3 days | 6–8 months |
| Strained meats and eggs | 1 day | 1–2 months |
| Meat and vegetable combinations | 1–2 days | 1–2 months |
| General homemade baby foods | 1–2 days | 1–2 months |
When a recipe combines several ingredients or does not clearly fit one category, use the shorter general homemade-food limit. Discard food sooner if it has an unusual odor, color, texture, damaged container, or questionable storage history.
Freezing and Thawing
- Freeze food in clean, food-safe containers or covered portion trays.
- After portions freeze solid, transfer them to a labeled freezer-safe container when practical.
- Thaw portions in the refrigerator rather than on the counter.
- Use the oldest dated portions first.
- Do not refreeze a fully thawed portion that has been warmed or served.
Reheating Baby Food
Baby food does not need to be served hot. If you warm it, transfer it to a dish, heat it evenly, stir well, let it stand, and test the temperature before feeding. It should feel lukewarm, not hot. Microwaves can produce hot spots, so never rely on the outside of the container as a temperature guide.
Tips for a Balanced Baby Food Diet
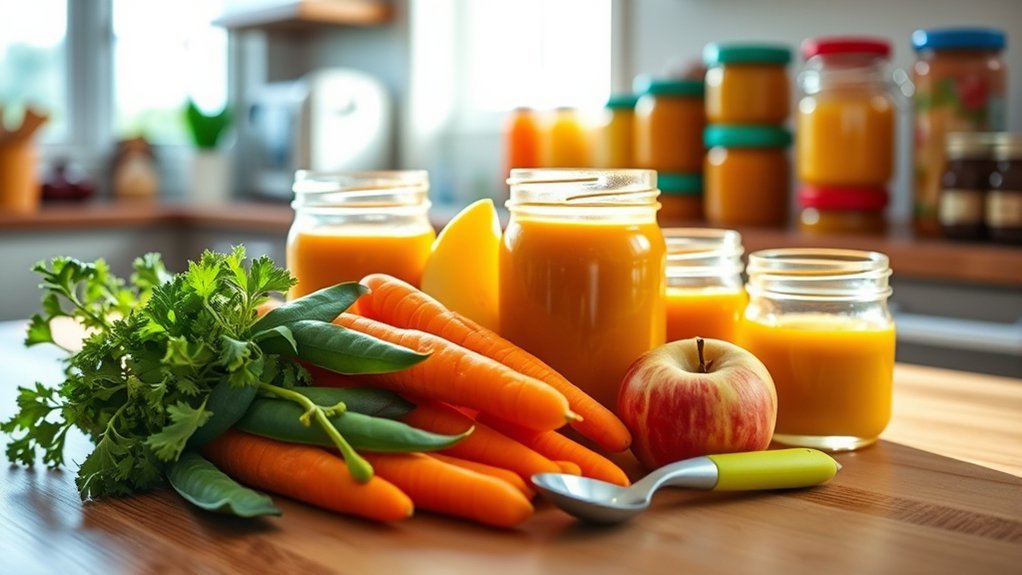
Solid food should gradually add variety, nutrients, and feeding practice rather than immediately replace breast milk or infant formula. Offer foods from several groups over time, including vegetables, fruit, grains, meat or other proteins, and suitable dairy foods without added sugar.
Prioritize Iron-Rich Foods
At about 6 months, babies need an iron source outside breast milk. The CDC identifies iron-rich food, iron-fortified cereal, or prescribed iron drops as ways to meet this need.
Age-appropriate options include:
- Pureed or finely minced meat and poultry.
- Mashed beans, lentils, and peas.
- Iron-fortified infant cereal.
- Egg prepared in a safe texture.
- Soft fish selected from lower-mercury choices.
Pairing plant sources of iron with vitamin C-rich whole foods, such as berries, broccoli, tomato, pear, or sweet potato, can support a varied diet.
Offer Varied Grains
Rice cereal does not have to be the first or only cereal. CDC guidance recommends offering a variety of fortified cereals, such as oat, barley, and multigrain cereal, rather than relying only on rice cereal. This broadens nutrition and reduces repeated exposure to arsenic from one food source.
Introduce Allergens Safely
Current guidance supports introducing potentially allergenic foods when other complementary foods are introduced, provided the texture is safe. Offer one new single-ingredient food at a time initially and wait three to five days before another new food so a reaction is easier to identify.
Egg, peanut, wheat, dairy, sesame, fish, shellfish, soy, and tree nuts must be prepared in a safe form. For example, thin smooth peanut butter with warm water or familiar puree instead of offering a thick spoonful. Ask your pediatrician how to introduce peanut if your baby has severe eczema or an egg allergy.
Stop feeding the food and seek medical guidance if you notice hives, swelling, repeated vomiting, coughing, wheezing, breathing trouble, sudden sleepiness, or another concerning reaction. Breathing difficulty or severe swelling requires emergency care.
Progress Through Textures
Start with smooth or mashed food when needed, then increase thickness and softness as your baby’s skills develop. Repeatedly serving only thin puree can limit opportunities to practice moving and chewing food.
Gagging can occur while a baby learns to manage texture and is often noisy. Choking blocks the airway and may prevent effective coughing or sound. Caregivers should learn infant choking first aid and continue close supervision during every meal.
Foods and Drinks to Avoid or Limit
The CDC lists several foods and drinks that are unsafe or unsuitable for young babies:
- Honey before 12 months: This includes honey cooked or mixed into homemade food because it can cause infant botulism.
- Fruit or vegetable juice before 12 months: Use mashed or cooked whole fruit instead.
- Cow’s milk as a drink before 12 months: Yogurt and cheese may be introduced earlier in suitable forms, but cow’s milk should not replace breast milk or formula as a beverage during the first year.
- Unpasteurized food and drinks: Avoid raw milk, unpasteurized juice, and foods made from unpasteurized milk.
- Added sugar: Babies have little room for foods that provide calories without needed nutrients.
- High-sodium food: Avoid adding salt and limit processed meats, salty canned foods, and heavily seasoned packaged meals.
- High-mercury fish: Avoid shark, swordfish, king mackerel, marlin, orange roughy, Gulf of Mexico tilefish, and bigeye tuna.
- Unsafe shapes and textures: Avoid hard, round, sticky, or poorly cut foods that can block the airway.
Warning: Never add honey to baby food before 12 months, even if the honey is baked, heated, organic, raw, or pasteurized. Processing does not make honey an appropriate food for an infant younger than one year.
Creative Homemade Baby Food Combinations
Begin with single ingredients so you can watch for reactions. Once each ingredient has been tolerated, try combinations such as:
- Sweet potato and pear: A smooth or mashed combination with mild sweetness and varied nutrients.
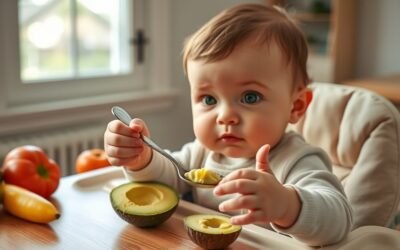
- Avocado and banana: A no-cook option with a creamy texture and energy-dense fat.
- Lentils, carrots, and olive oil: A savory combination that supplies plant protein, iron, and added energy.
- Chicken, peas, and potato: An iron-rich meal that can progress from puree to a soft mash.
- Oat cereal and mashed berries: A varied-grain option with iron fortification and whole fruit.
- Plain full-fat yogurt and peach: A soft dairy-and-fruit combination without added sugar.
- Thinned peanut butter and familiar oat cereal: An age-appropriate allergen option after discussing special risk factors with your pediatrician.
You can add small amounts of mild herbs and spices, such as cinnamon, basil, cumin, garlic, or oregano, without adding salt or sugar. Adjust every recipe to your baby’s current swallowing and feeding skills.
Frequently Asked Questions
How do I know if my baby is ready for homemade food?
Most babies begin solid food at about 6 months. Look for head and neck control, the ability to sit upright with support, interest in accepting food, and the ability to swallow rather than immediately push food out. Introducing solids before 4 months is not recommended.
What equipment do I need to make homemade baby food?
You need basic cooking equipment, a fork or another tool for mashing, clean utensils, food-safe containers, and labels. A regular blender or food processor is useful for smooth puree but is not essential for soft foods.
Can I freeze homemade baby food?
Yes. Freeze small portions in clean, freezer-safe containers and label them with the food and date. General homemade baby food should be used within 1–2 months, although the official storage chart lists longer freezer times for plain strained fruits and vegetables.
How long can homemade baby food stay in the refrigerator?
Use general homemade baby food within 1–2 days. Plain strained fruits and vegetables may be refrigerated for 2–3 days, strained meat or egg for 1 day, and meat-and-vegetable combinations for 1–2 days.
How should I introduce new foods and allergens?
Begin with one new single-ingredient food at a time and wait three to five days before another new food. Introduce allergens in a safe texture when your baby is ready for complementary food. Speak with your pediatrician before introducing peanut if your baby has severe eczema or an egg allergy.
What is the difference between gagging and choking?
Gagging is a protective response that may be noisy and can occur while a baby learns to handle texture. Choking blocks the airway and may prevent effective coughing or sound. Always supervise meals, use safe textures, and learn infant choking first aid.
Is store-bought baby food unhealthy?
No. Store-bought baby food can be nutritious and convenient. Read the ingredient list, added-sugar and sodium information, allergen declaration, age guidance, and package condition. Homemade and commercial foods can be used together.
Does my baby need rice cereal as a first food?
No. There is no required first food. Iron-fortified cereal can be useful, but offer varied grains such as oat, barley, and multigrain cereal rather than relying only on rice cereal.
Conclusion
Homemade baby food can provide ingredient control, flexible textures, and an easy way to share suitable family foods. It also requires time, safe handling, thoughtful storage, and attention to iron, allergens, and choking risks. Store-bought food can be an equally reasonable option when you choose products that fit your baby’s age and nutritional needs.
You do not have to commit to one method. A practical routine might include homemade batches when time allows, fortified cereal for iron, and sealed commercial food for travel or busy days. The goal is not a perfect puree—it is a safe, varied, developmentally appropriate diet that supports your baby’s growth.
Sources
- Centers for Disease Control and Prevention: When, What, and How to Introduce Solid Foods — readiness, first foods, allergens, textures, choking prevention, and grain variety.
- Centers for Disease Control and Prevention: Foods and Drinks to Avoid or Limit — honey, juice, cow’s milk, sodium, added sugar, unpasteurized foods, and high-mercury fish.
- FoodSafety.gov: Children Under Five — preparation, refrigeration, freezing, microwaving, and storage guidance.
- Centers for Disease Control and Prevention: Iron — infant iron needs and iron sources beginning at about 6 months.
- U.S. Food and Drug Administration: Once Baby Arrives — handwashing, utensil cleaning, portioning, contamination, honey, and safe reheating.
- National Library of Medicine: Are Homemade and Commercial Infant Foods Different? — comparative review of nutritional and food-variety differences.